July CREATivities
The Summer BUZZ Collection
Re-Release Sale-bration thru July 19!
The Gilded Raven Release!
"Rocky Mountain Christmas"
Winter 2025 Collection
Adopt all the Loveleigh Kitties, they're PURRfect for every occasion!
Showing posts with label Blockheads Paper Arts Design Team Projects. Show all posts

Wednesday, April 24, 2013

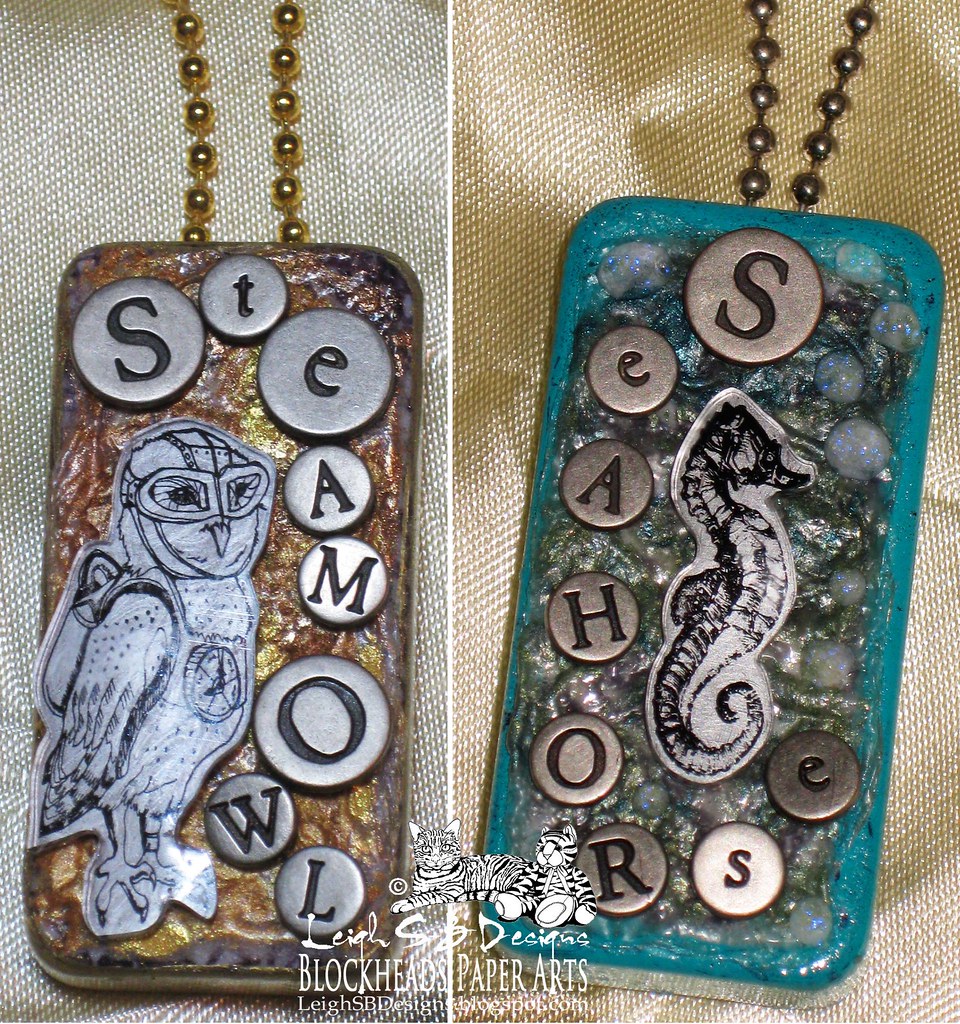
"Serenity of the Sea" Asymmetrical Asian Amulet

Hello Friends!

This month the Blockheads Paper Arts DT has been playing with Grungeboard and today I'm sharing an asymmetrical Asian-water themed necklace I designed with Blockheads stamps, Jet Black StazOn ink, Grungeboard Shapes - Stripes, Perfect Pearls, Magic Transparent White Viva Pearl Pen and jewelry supplies.


I used the following stamps from Blockheads Paper Arts: Waves and Chinese text from the Chinese Princess set and the Seahorse from the Seashells with Round Sand Frame set.

My necklace is also reversible!  For an all silver look just turn the necklace and the fish charm around!

Wednesday, April 3, 2013

Industrial Grunge Photo Frame with Grungeboard Scraps

Hello Friends!

 Today I'm sharing an Industrial Grunge style photo frame I've created for Blockheads Paper Arts.  The Blockheads team are featuring Grungeboard this month so I went with a faux scrap metal look using scraps of Grungeboard and metallic Distress Stains


Wednesday, March 27, 2013

Delft Blue Bunny Card with matching envelope for Blockheads!

Hello Everyone!

As a ceramic artist I love to paint in the Delft Blue style Holland is famous for.  I thoroughly enjoy translating the style over to my paper art as well and today I'm sharing an Easter/Spring card with a matching envelope I created for Blockheads Paper Arts just using Memento Ink and Copic markers.


Blockheads Paper Arts stamp sets used:
Easter Full Sheet and Love and Romance.


Saturday, March 23, 2013

"Kensi Pram" 3D Gift Box

Hello Everyone!
Today I'm sharing a super cute 3D pram gift box that I made for a friend who recently had a little girl named Kensington.  So I'm calling this cutie the 'Kensi Pram' ;0)


 I used my Silhouette Cameo and Designer Edition software to die cut out the 'Baby Buggy Bag' from the Bundle of Joy SVG kit by SVGCuts.  I used white cardstock for all the pieces so that I could rubber stamp them with the following Blockheads Paper Arts stamps:
Nature Medallions , Painted Butterflies, Verses (full sheet)


Stamp the main body of the pram with the flower medallion in Pixie Dust VersaMagic ink.  Apply Tea Dye Distress Ink to the edges with a foam ink applicator.  Stamp the other side with wishes for the new baby - I chose the words 'Love', 'Dream', 'Create' and 'Inspire'.  Apply Spun Sugar Distress Ink to the cardstock with a foam ink applicator while the words are still slightly damp so that they blend and smear a bit to create a dreamy effect.


 Stamp the hood sides with the small blossom in Pink Petunia VersaMagic and the main hood part in London Fog Memento ink.  Apply Spun Sugar Distress Ink to the edges.  Stamp the hood accent piece and the frills with the flourish in Perfect Plumeria and apply Spun Sugar DI to the edges too.  Stain the large wheels with Tea Dye Distress Ink and the wheel center circles with Perfect Plumeria VersaMagic ink.  Assemble and adhere everything with Scotch Quick Dry Adhesive.  Embellish with pink buttons and add dimensional pearl accents with a Magic Transparent White Viva Pearl Pen or use Liquid Pearls instead.

click to enlarge the photos
To complete my creation I made an oval gift tag and stamped it a few times with a tiny pram in Pixie Dust VersaMagic ink and edged it with Tea Dye Distress Ink.  The word 'Congrats' is stamped with Rick Cocoa Memento ink (both stamps are from a CardMaker set).  Cut two pieces of pink ribbon and attach them to the tag with a tiny white button brad (Recollections).  Add pink tissue paper then sit a baggie full of pink jelly beans for the new Mom inside the pram.  So cute!

Thanks for stopping by and have a fabulous weekend!
I'm entering this one in the following challenges:
 Stuck On Us Sketches - Baby Stroller Die Cut Challenge
 Divas by Design - Babies and Toddlers
 Paper Craftink Journey - Ribbon or Lace
 Charisma Cards #11 Die Cuts
 Jelly Park Challenges - Pretty Pastels
Hot Shot Craft #15 Anything But a Card
Crafting for all Seasons #48 Anything But a Card

Happy Stamping!
 THE SHARPIE DOMINO QUEEN
I design for Blockheads Paper Arts * Third Coast Rubber Stamps * Lost Coast Designs * Smeared Ink * About Art Accents

Tuesday, March 12, 2013

Vintage Travel Booklet with Tags - upcycled paper towel tube!

Hello Friends!


The Blockheads Paper Arts design team are doing Travel themed projects this month and I'm really pleased with my project I'm sharing today!  I've upcycled the cardboard tube from a roll of paper towel to make the page pouches for my mini travel booklet!  I love the travel worn vintage feel of the completed booklet with the shipping tags tucked in to each pouch!


My travel booklet is perfect for a 6 day trip!  You can journal about each day on the tags and write either the name of the location or the date inside the red arrows.  You can glue photos or clippings to the pouch covers and stash all sorts of things like tickets inside the pouches too! 

Thursday, February 28, 2013

Textured Pearls Domino Necklaces - A DominoART Technique!

Hello Friends!


Before I tell you all about today's projects I want to remind everyone that DominoART's first official challenge, sponsored by Rick St Dennis, starts March 1st over on my DominoART Blog!  Rick is graciously providing a freebie digi Domino Book Kit which will only be available for download for two days as well as some awesome prizes!  So pop by for the grand launch Friday March 1st!  It's going to be so much fun :0)

To get you in the mood for altering dominoes I've got a super fun technique for you all to try that I first discovered in 2002 and it's still a pleasure to do!  The Blockheads Design Team have been featuring Perfect Pearls this month.  For paper arts this one is known as Heated Pearls but for dominoes I decided to call it Textured Pearls and you can see in my demo photos why I decided on that name.  The finished look is sooo textural and shimmery!

Thursday, February 21, 2013

Turn Scraps into Vintage Elegant TagART

Hello Friends!
Today I'm sharing a tall tag I made just using scraps!


I'm a self-confessed hoarder when it comes to my art.  I can't throw anything out because everything 'speaks' to me and I see its potential for future use!  Nothing is safe whether it be wine corks, gum containers, ribbon off gift boxes but especially scraps of cardstock left over from previous projects.  I know I'm not alone in this affliction, raise your hand if you hoard your scraps too, you know who you are ;0)

In an effort not to hoard the left over scraps from a Gelli Arts Plate print I created for my over-sized postage stamp card, Painted Butterflies, I used them to make this tall tag!  I'm so proud of myself LOL!

Thursday, February 7, 2013

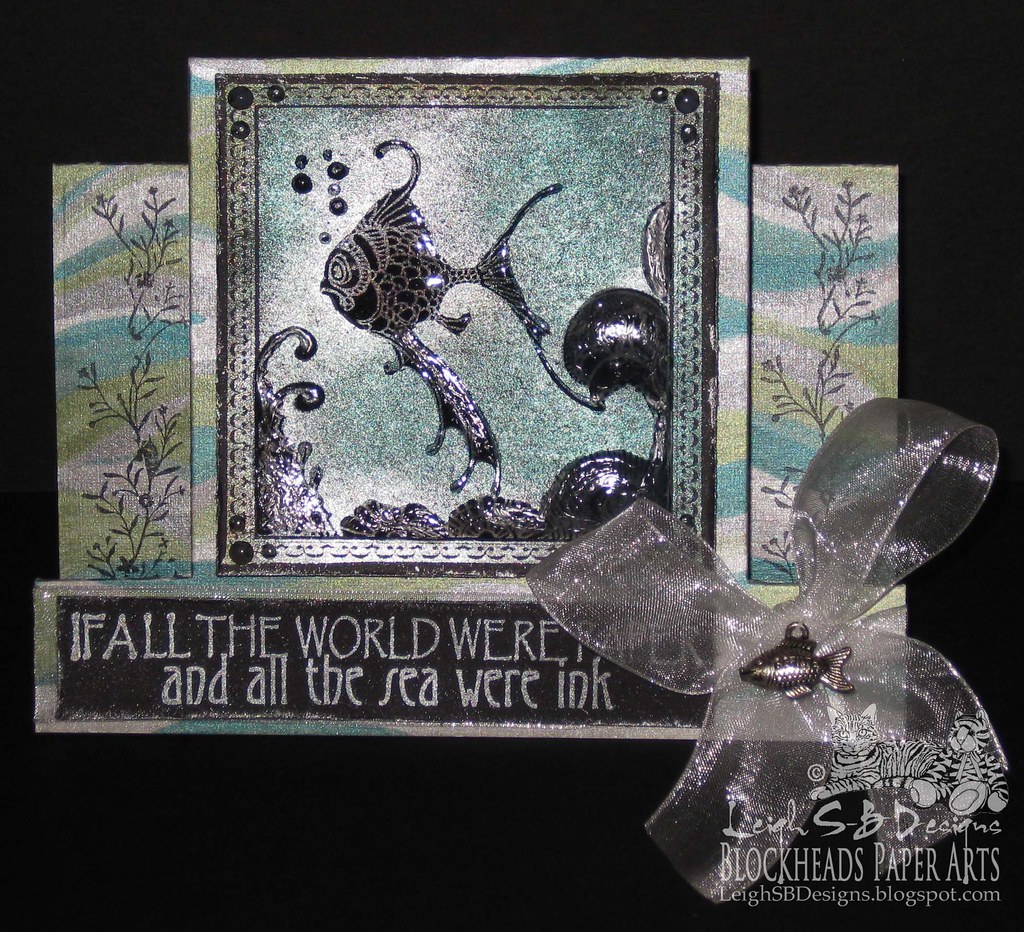
"Sea of Ink" Painting Backgrounds with Perfect Pearls

Hello Friends!

For February the Blockheads Paper Arts design team are featuring Ranger's Perfect Pearls and today I'm sharing two of my favourite PP techniques, painting with them and applying the dry powders to a stamped image.


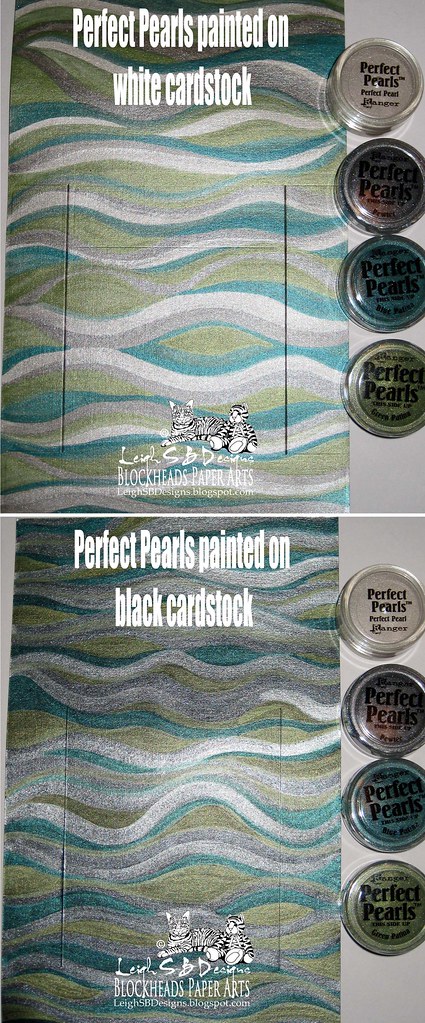
In the photo above I created a seascape background for my card.  I used the Perfect Pearls Patina set as well as white Perfect Pearl from the Metallics set on double-sided cardstock that is black on one side and white on the other.  You can see that the black cardstock produces a darker effect and the colours are brighter and much lighter when painted on white cardstock.  You can also use Pearl Ex Powders too if you only have those!  To paint with Perfect Pearls just use a few drops of water, add the dry powder and mix together.  You can play with how thick you want the consistency by either adding less or more of either the water or the powder.  A very small amount goes a long way.

Thursday, January 24, 2013

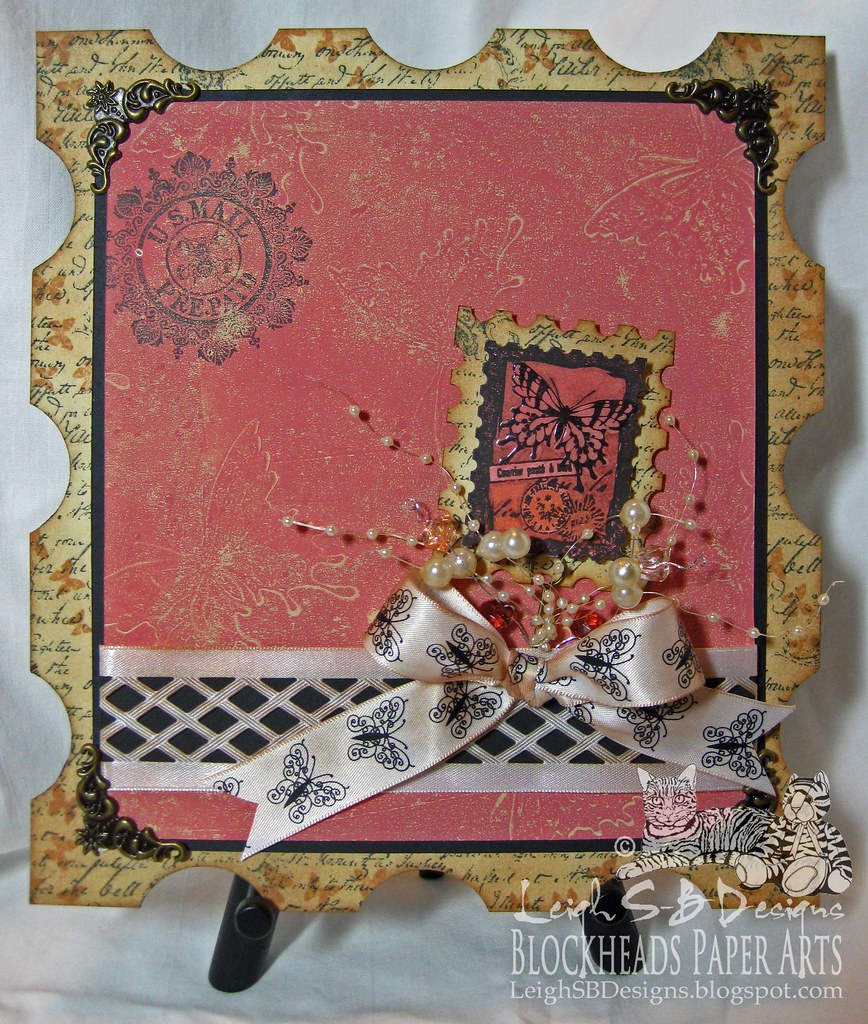
"Painted Butterflies" Oversized Postage Stamp Card for Blockheads

Hello Everyone!


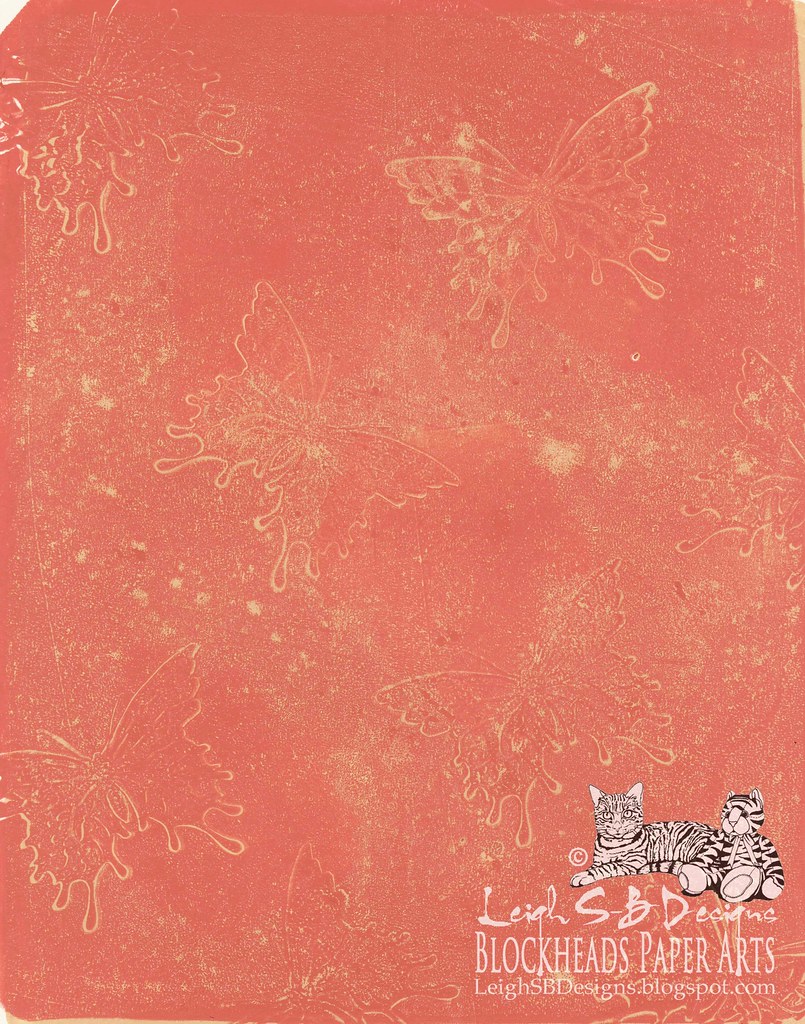
The Blockheads design team are featuring Butterfly projects this month and here's another one of my creations.  I had a ball playing with my new 8 x 10 Gelli Arts Printing Plate and created the print below by using up some old acrylic paints destined for the trash and Blockheads Paper Arts large Butterfly stamp from their exclusive Painted Butterflies stamp set.


Sunday, January 13, 2013

"Winter Buttlerfly" Valentine CAS Card for Blockheads!

Woohoo, my first post for 2013...Happy New Year to you all :0)


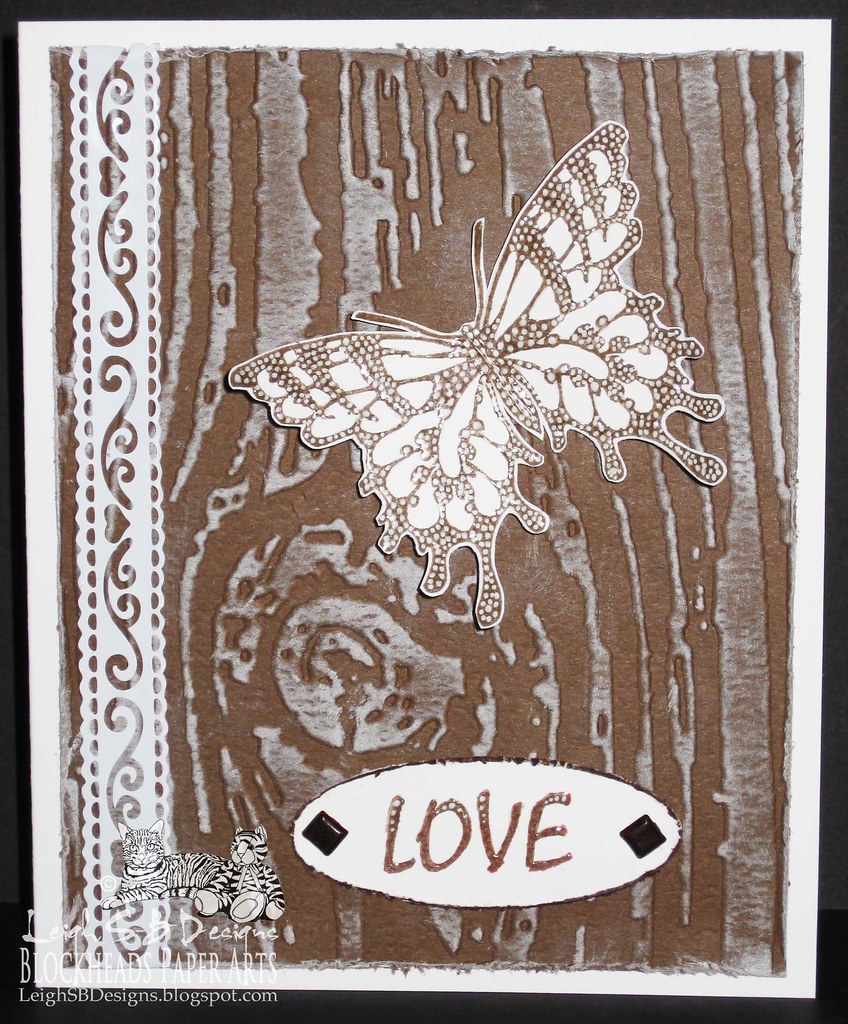
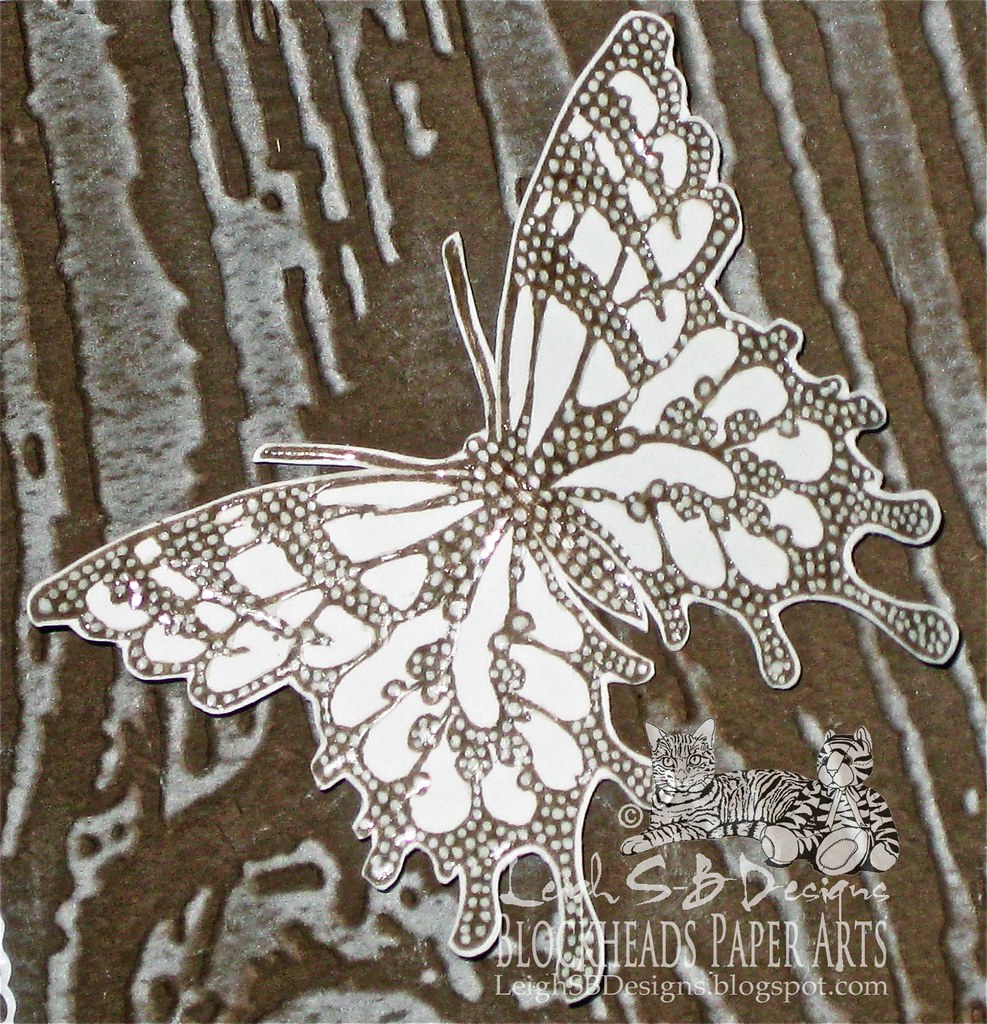
Southern California is having some really cold weather so I was inspired to create a monochromatic Valentine's Day card with a wintery feel to it!  The Blockheads Paper Arts design team are featuring Butterflies this month and here's my Winter Butterfly CAS card to give you some ideas.  Pop by the Blockheads blog to see the DT butterfly creations too!


The monochromatic colour scheme and wood grained background gives this card a masculine feel even though I used the the heart lace border along the left edge.  The self adhesive lace border by Stampabilities is made from plastic so I think that gives it more of an industrial feel instead of all girly and fluffy.  This is also a CAS card in my opinion coz it is actually pretty clean and simple compared to what I usually do ;0)

Tuesday, December 18, 2012

Christmas Robin DominoART Tree Ornament!

Season's Greetings to you all!

I thought I'd give you another break from my 12 Days of creepy Creepmas creations and invite you over to my DominoART blog to check out the Christmas Robin domino ornament I've made for Day 18 of DominoART's annual 24 Days of Christmas Festival ;0)


Thanks for stopping by and leaving me your wonderful comments!  I truly appreciate hearing from you all :0)

Happy Stamping and Happy Holidays!
 THE SHARPIE DOMINO QUEEN
I design for Blockheads Paper Arts * Third Coast Rubber Stamps * About Art Accents

Friday, May 25, 2012

Emboss Resist Dragon Pendant made Top 3 at the Craft Room!

Happy Friday Everyone!
Woohoo!!  My Emboss Resist Dragon Pendant made Top 3 in the Emboss It Craft Room Challenge!
Click on the photo of my project if you missed seeing it!


Thanks for the great challenge :0)
Happy Stamping!
 THE SHARPIE DOMINO QUEEN
I design for Blockheads Paper Arts * Third Coast Rubber Stamps * About Art Accents

Friday, April 13, 2012

"A View From A Window" Fantasy Art Card featuring Lost Coast Designs Border Stamps!

Happy Friday 13th!

 Not quite the view from a window you were expecting to see is it ;0)  It's raining buckets outside today so I changed my plans and decided to stay indoors to continue with my Atlantian fantasy story....


LSBD Log:  Day 42 - We are still finding so many wonderful treasures down here but today I discovered the best treasure of all!  I found a chamber with a phenomenal view overlooking the sunken city of Atlantis...


The Blockheads Design Team is playing with ideas for using border stamps and I've been having a ball with the borders by Lost Coast Designs!   My first project 'Portal To Atlantis' features the Iris Fold technique, my second project 'Codex Atlanticus' demonstrates using the border strips to make a basket weave and a border background collage and my third...wait for it...using the border stamps themselves to create a basket weave.  Alas, due to some time constraints I didn't get my 'tight basket weave' project completed in time for today but I was able to get this one with a loose weave design ready instead!

I used the following Lost Coast Designs border stamps on my fantasy art card:
Tear Drops (top right), Spiral (bottom left) and Wave (bottom right) to create the loose weave... looks like the ruins of the city of Atlantis don't you think!  Blockheads' Fish image from the Seascape - Fishes set and Inky sentiment from my favourite full sheet of Verses completed my card!

Wednesday, April 11, 2012

"Codex Atlanticus - Artifact #42" Art Card featuring Paper Weaved Border stamps by Lost Coast Designs

Howzit Everyone!

My fantasy scifi story continues from yesterday's project 'Portal To Atlantis' and I've got more fun uses for border stamps to share with you!

LSBD Log:  Day 31 - We have been exploring the strange ruins but its slow going with a lot of the chambers submerged under water but we are making some surprising discoveries.  Today's exciting find has made it all worth it - ref. catalogued artifact #42 the 'Codex Atlanticus'.  We have managed to translate a few sentences on the tablet depicting the Codex and believe it to be some kind of a cipher device but the meaning of the numbers and text on the right panel are still unknown .  The wealth of technology we are finding down here is astronomical...


I used the following Lost Coast Designs stamps on my fantasy art card:
Borders:  Tear Drops, Spiral, Wave, Antique Text, Tape Measure, Numbers and Bingo and the wonderful Steampunk Typewriter Girl image as the focal point of my card.

Tuesday, April 10, 2012

"Portal to Atlantis" Iris Fold Art Card featuring Lost Coast Designs Border Stamps at Blockheads Paper Arts

Howzit Bloggers!

I'm a huge fan of fantasy and Scifi and the stories about Atlantis and the Bermuda Triangle have been firm favourites of mine since I was about 13years old!  So when it came to designing some projects to give you ideas for what you can do with border stamps by Lost Coast Designs I was immediately inspired by the borders that seemed to have the feeling of water and my art card story developed from there.   So come with me on my Creative Adventure and delve into the mystery...


LSBD Log:  Day 11 - A strange portal has finally been unearthed revealing a spiral staircase, with intricately detailed mosaic steps, leading down into mysterious watery depths.  Could this be it?  Have we finally found the lost civilization of Atlantis, here in this remote location of the Bermuda Triangle?  What will we find down there?  The expedition will head down the staircase at 5am...

Friday, April 6, 2012

Fabergรฉ Eggs to get you in the mood for the Egg Hunt ;0)

Happy Easter Everyone!

How about an eggs-tra special project to get you in the mood for the Easter Bunny this weekend ;0)  I've been eggs-tra busy and I'm super egg-cited to show you my Fabergรฉ eggs!


Have you seen the really cool Digi stamps designed specifically for use with Spellbinders dies over at Blockheads Paper Arts?  They are super fun and I had an egg-tastic time using the Spellbinders Labels 18 Floral and Elegant digi frames on my Fabergรฉ eggs.  You can also get the Digi stamps free if you buy the Spellbinders dies so go check out the ones that are available!  They are really easy to use, once you've downloaded them you can alter the size, add your own sentiments digitally or stamp them and the dotted outline guide makes it easy to line up the die and cut them out.


The frame in the photo above is the Elegant digi stamp and I adjusted the size to fit the second to smallest Spellbinders Label 18 die in Photoshop to 2" wide.  I added the Easter Greetings sentiment in Photoshop too and printed out the design on Neenah Solar White cardstock.  Die cut the image with the Labels 18 die and then emboss it with the Spellbinders tan embossing mat.  I went for a yellow monochromatic colour scheme for this label and used the following Copic markers:  Y11, 15, 17 and 38.  I also coloured the inside border black with a Copic Multiliner and added some details and edged the frame with a metallic gold Marvy Le Plume pigment pen.


The frame in the photos above and below is the Floral digi stamp and both were adjusted to the same size as the yellow frame and I added the Easter sentiments to both in Photoshop too.  I used the following Copics to colour the blue label:  Y15 and 17, G21, BG02 and BG07 and edged the label in metallic gold Marvy Le Plume.


For the this label I decided to go with a pink monochromatic colour scheme and used RV10 and 13 and edged the label in metallic gold.  The inspiration for this one was the result of my printer acting up.  The cyan cartridge had come unseated for some reason and the first time I printed everything came out pink and I thought it looked really pretty!

Thursday, April 5, 2012

Projects Featuring Perfect Pearls Powders & Mists!

Howzit Everyone!
Blockheads Paper Arts is doing a feature on Perfect Pearls Powders and Mists in their upcoming newsletter.  So I've compiled a list of some of my projects where I used them so you can see just how much fun they are to play with!  If you haven't signed up for Blockheads' newsletter then do so quickly so you can also see what my design team mates have been doing with Perfect Pearls too!

Click on the project headings to go directly to the featured tutorial and the photos to enlarge them.

I'm going to start off by giving you a sneak peek at a project I'm currently working on...the theme is Atlantis and that's all I'm saying for now so stay tuned to see what I'm up to ;0)

Home Made Perfect Pearls Mists
For my secret project I made my own faux marble background paper with home made Perfect Pearls mists and Distress Inks re-inkers.  I concocted a Perfect Pearls powder, Distress Ink re-inker and water potion in a Mini Mister spritzer bottle.  You can see in the right hand photo how glorious the shimmer is!

Perfect Pearls Peacock Butterfly Box and matching Gift Card
The majority of this project features Patina Perfect Pearls.  I stamped most of the images with Perfect Pearls medium and then dusted the images with pewter and gold Patina PP.  I added water to the blue and green Patina PP to make creamy paints which I used to paint the peacock feathers and butterfly.

Magic Metals - Faux Embossed Metal Square Domino Pendant
For this project I added blue and green Perfect Pearls to the molten silver embossing powder to create this stunning altered Square Domino Pendant.

Magic Metals - Faux Embossed Metal Peacock Feather Card
I used the Perfect Pearls blue and green Patina in the same way as the Square Domino Pendant but this time the embellishment is made with Grungeboard and used on a card.

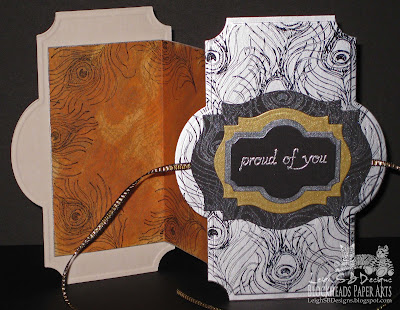
"Proud of You" Art Deco Accordion Card
 I used pewter Patina Perfect Pearls and PP medium to decorate the black mat on the front of this fancy fold accordion card.

Numerology DominoART Card
I used pewter Patina Perfect Pearls in conjunction with a Crafter's Workshop Template to create the really cool Numbers collage on the left hand side of this card.

Painted Butterflies DominoART Card
 Now on this particular card I used interference Pearl Ex powders but you will get the exact same effect with Perfect Pearls Interference powders too!
 
"Dream" Steampunk Mini Book
I used gold Patina Perfect Pearls to give the Word Stamps on the pages of my mini book a bit of bling.

Thank you for visiting with me today, I hope you've enjoyed checking out all my Perfect Pearls projects!  I'm dashing off now to continue working on an Easter themed project which I hope to get finished in time to share with you tomorrow ;0)

Happy Stamping!
 THE SHARPIE DOMINO QUEEN

I design for Blockheads Paper Arts * Third Coast Rubber Stamps * About Art Accents

Thursday, March 29, 2012

Faux Metal Peacock Feather Card - Blockheads' Magic Metals Technique Challenge

Howzit Everyone!

Here's my 2nd design team sample for the new challenge over at Blockheads Paper Arts called Magic Metals!  This time I created a faux embossed peacock feather embellishment for my card!

Faux Metal Peacock Feather

It's technique challenge time again at Blockheads Paper Arts and Karen is hosting the challenge this month and she has an awesome tutorial and technique sample for you to check out over at Blockheads Paper Arts where you will find all the challenge details.  Also check out my first project featuring faux gold embossed postage stamps!


Here's my card I made using Blockheads' latest stamp set - Proud As A Peacock and a sentiment from the Verses full sheet.

Faux Metal Postage Stamps Card for Blockheads' Magic Metals Technique Challenge!

Howzit Everyone!

It's technique challenge time again at Blockheads Paper Arts and this one is called Magic Metals!  Karen is hosting the challenge this month and she has an awesome tutorial and technique sample for you to check out over at Blockheads Paper Arts.

Faux Metal Postage Stamps
 

I've been having a ball and my studio has been more like a witch's den or whatever you call the place where witches concoct spells and potions.  I've been creating with embossing powder flying everywhere with a lot of "a sprinkle of this and what would happen if I add a sprinkle of that" going on ;0)


Here's my first design team creation for the Magic Metals technique challenge with more to follow so don't go anywhere!  I created these faux embossed metal postage stamp embellishments for my card with embossing powder.  I'm a stamp collector of the other kind too and I was inspired by my gold plated metal commemorative stamps and this is the result and I hope you like them!


All the stamps used are exclusive to Blockheads Paper Arts.  I used sections of the Botanical Silhouettes stamps to create my faux metal postage stamps and cut outs, the French Script from Backgrounds for All Occasions and the Postcard stamp from the Vintage Light and Form set to create my faux vintage ledger paper background.


Saturday, March 17, 2012

"Proud Of You" Art Deco Accordion Card!

Hello Bloggers!

 Over the last few days we've (the Blockheads Design Team) been sharing our 'Different Points of View' in celebration of the launch of the "Proud As A Peacock" stamp set!  It's a horrible wet and wintery day here in San Diego and I'm so happy I'm indoors and sharing my 3rd Peacock inspired
project that has an Art Deco feel to it and this one also features a stamp from Blockheads "Botanical Silhouettes" set which launched last week!

"Proud of You" Art Deco Accordion Card

Click on the pics below of my first two projects if you missed them:  
"Twilight Serenade" and "We're So Proud"

"Proud As A Peacock"
"Botanical Silhouettes"