
July CREATivities
The Summer BUZZ Collection
Re-Release Sale-bration thru July 19!
The Gilded Raven Release!
"Rocky Mountain Christmas"
Winter 2025 Collection
Adopt all the Loveleigh Kitties, they're PURRfect for every occasion!
Showing posts with label Made by Leigh Snaith-Brunton. Show all posts

Friday, January 23, 2026

11th Edgar Allan Poe 2026 CREATivities: "The Gilded Ravens" Art Panel by Leigh

Happy January Creative Friends!
January 19th was Edgar Allan Poe's Birthday and National Poe Appreciation Day!
In LeighSBDesigns style we show our appreciation for Edgar Allan Poe and celebrate his birthday every year with a new digi stamp release and our annual POE Party Week!
 

Today is the finale of our 11th annual Edgar Allan Poe Appreciation CREATivities and what POEtastic time we've had!  Thank you to Val for her beautiful makes and to Nan for her wonderful contributions each and every year!
 
If you're just joining us then enjoy a look back at our POEtastic inspirational makes starting January 19th featuring my brand new The Gilded Raven digi stamp release and more as well as the makes shared in our 5 day Poe Mini Hop!
The Poe Mini Hop info and linky are in the MAIN POST!
  
πŸ–€ πŸ–€ πŸ–€ 
 
The Gilded Raven
Digi Stamp Release
 
 
In celebration of Poe's Birthday I've got two new Raven themed digi stamp sets for you that are totally POE-fect for your Poe inspired makes this year.  Whether you're a fan of Poe, Ravens and birds in general you will have so much fun creating with these two new sets!
 
Shop the release sale through January 23rd at LeighSBDesigns.com and add both of these Raven designs to your digi stamp collections!
 
πŸ–€ πŸ–€ πŸ–€
 
 
My entire Edgar Allan Poe Collection is also on sale through January 23 midnight pacific! 

πŸ–€ πŸ–€ πŸ–€
 
The Gilded Raven makes by Leigh

 
The Gilded Ravens
Art Panel 
by Leigh


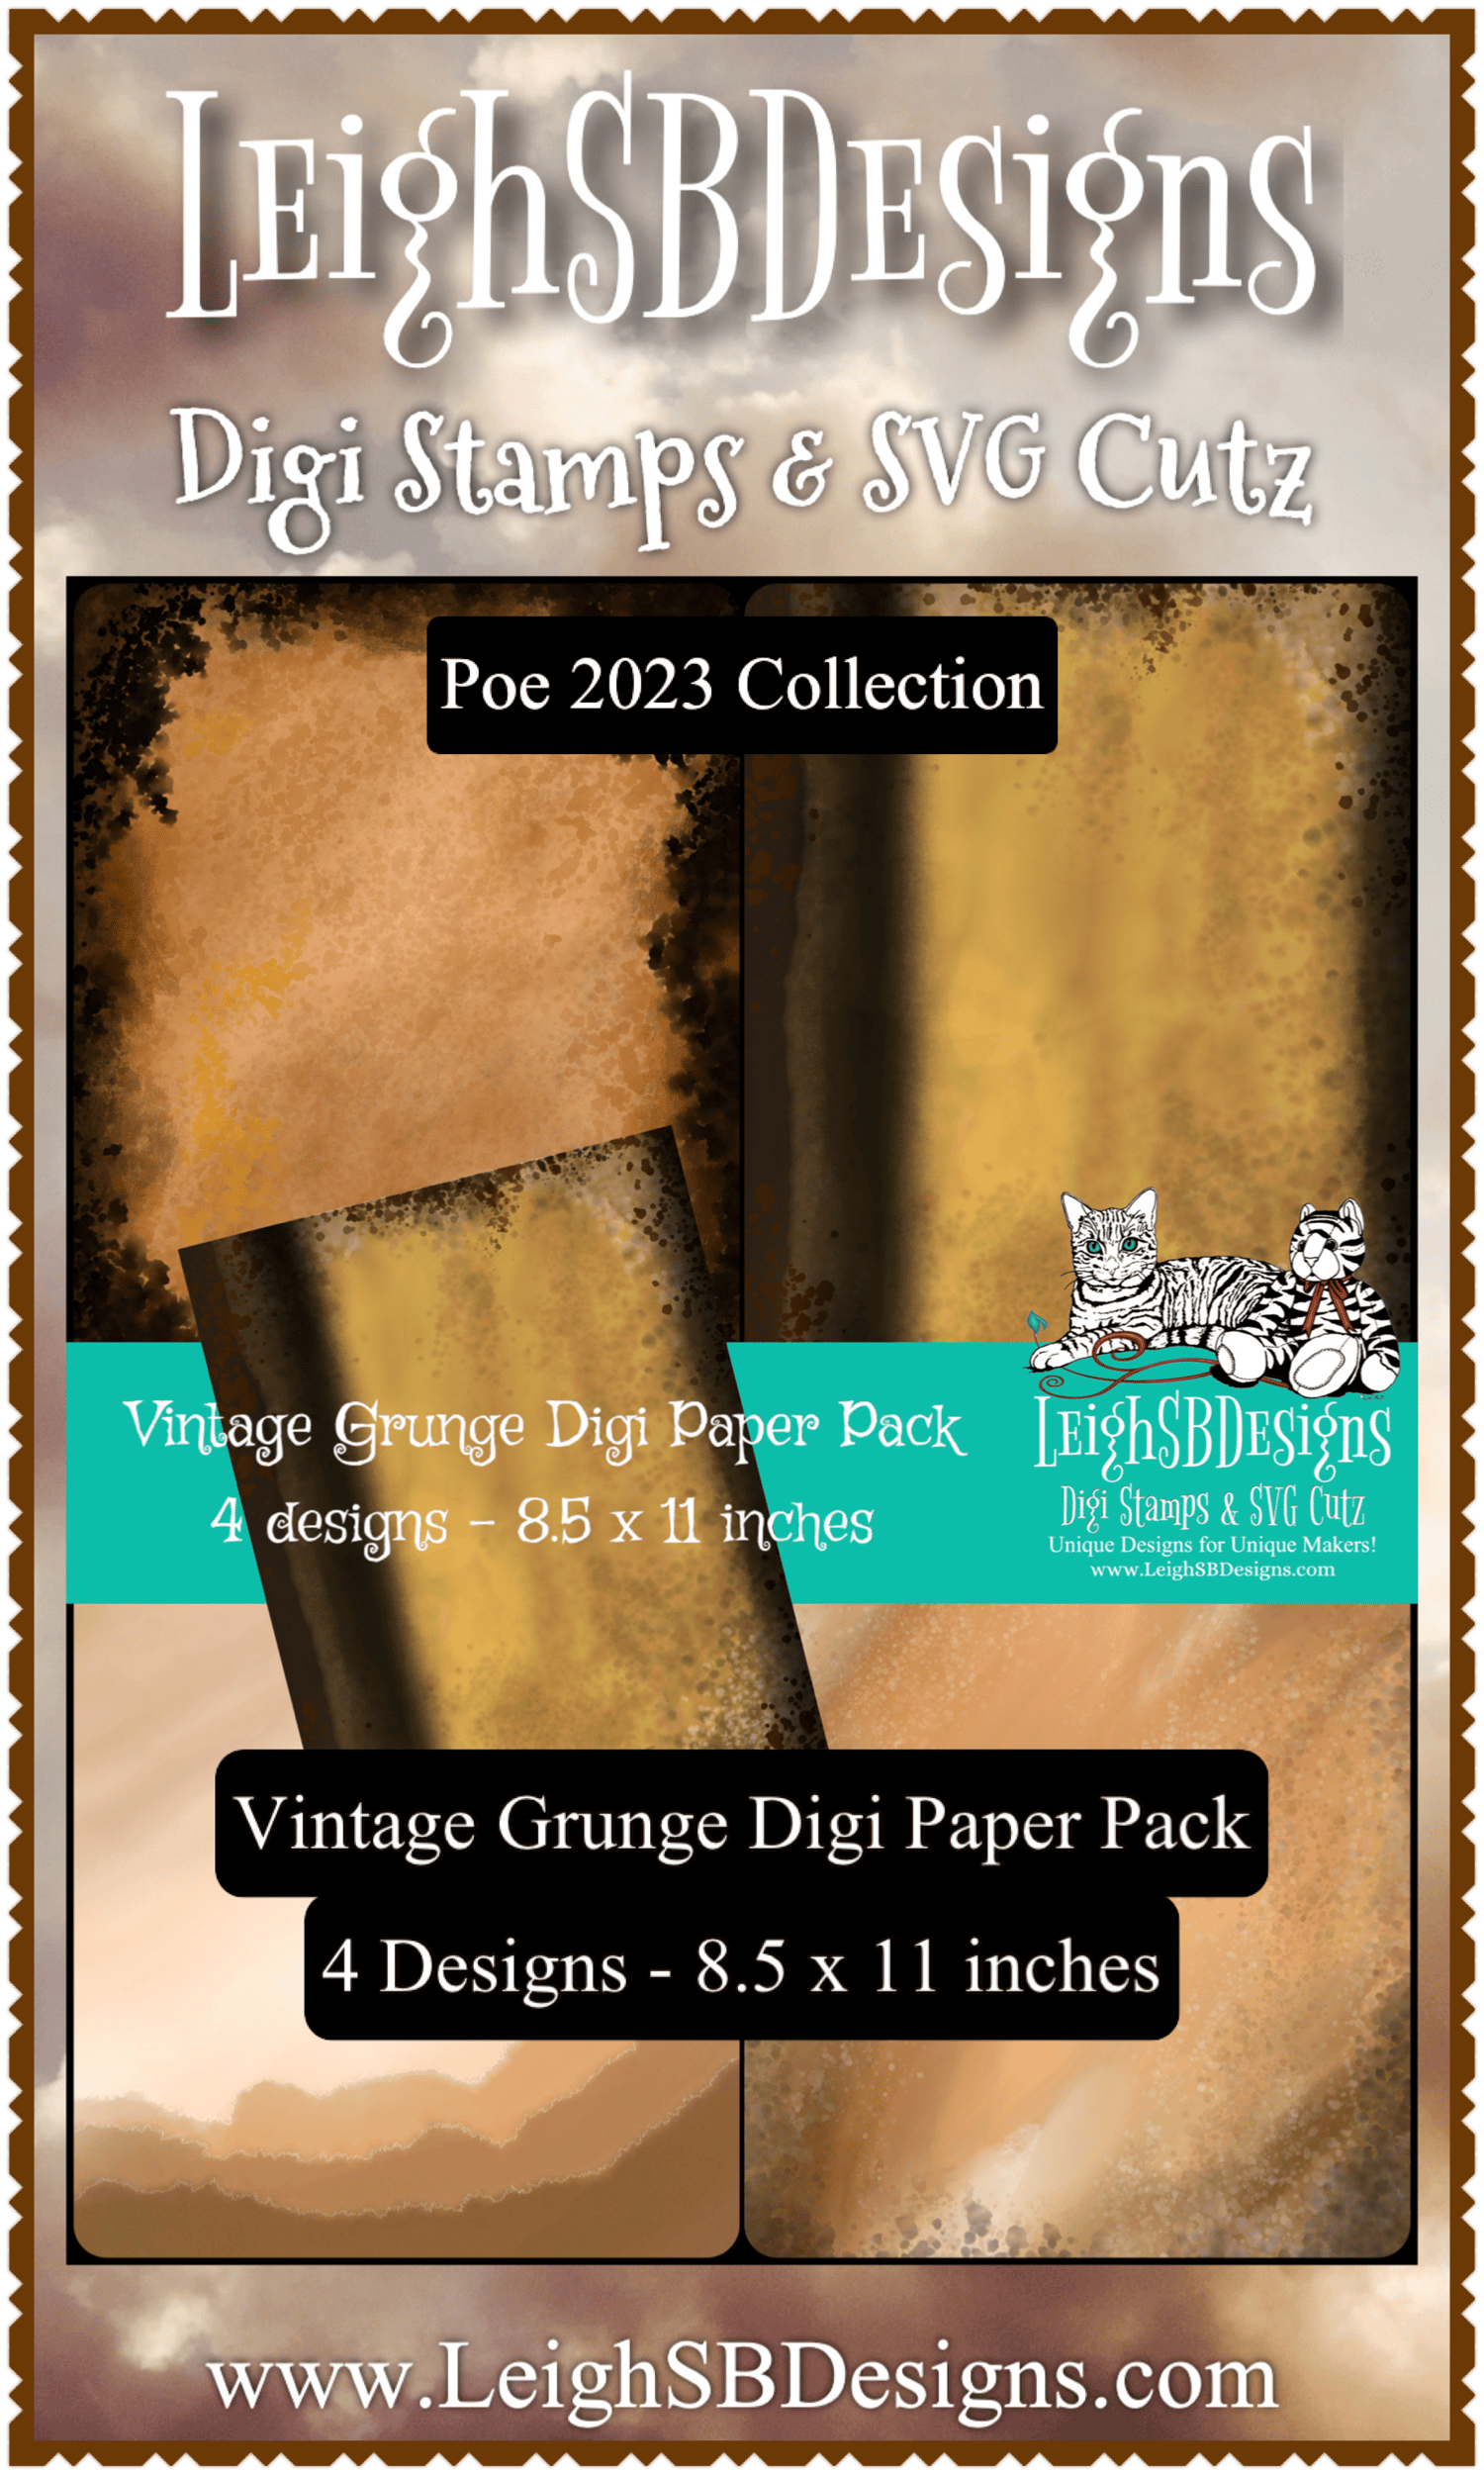
For our Poe CREATivities finale today I've got a POEtastic art panel featuring digi stamps from my new The Gilded Raven release and decorative digi paper from the Vintage Grunge decorative digi paper pack.
 

 I coloured both the The Gilded Raven and the The Gilded Raven Ornate Raven Stand digitally in Adobe Fresco and combined the coloured images with the wonderful background from the Vintage Grunge decorative digi paper pack in Photoshop prior to printing.


LeighSBDesigns Vintage Grunge Decorative Digi Paper Pack
  
I then fussy cut the images out leaving a narrow border that makes them pop nicely against the background and applied gold Spectum Noir Midas metallic pigment ink to the edges.
 
 
 I then had a blast creating an exotic backdrop for the Gilded Ravens.
I used the large Wild Feathers create-a-card die by Crafter's Companion die cut from black cardstock and matted it onto beautiful marbleized cardstock with a pearlescent shimmer and gold foil striations.  I then edged the black feather panel with copper Spectrum Noir Midas metallic pigment ink.
 
 
I used the same pearlescent and foiled cardstock to die cut all the foliage - Holiday Greenery by Tim Holtz.  The fabulous stonework wall elements are a Crafter's Companion die with a mat layer which I coloured with Tea Dye and Frayed Burlap Distress Oxide sprays and the cobblestone overlay was cut from black cardstock then edged with metallic gold Spectum Noir Midas pigment ink.
 
 
 "The Gilded Raven" text is from The Gilded Raven set which I also printed out onto decorative paper from my Vintage Grunge decorative digi paper pack.  I used a small Spellbinders Labels Seven nesting die that looks like an open book to die cut out the text as well as a mat layer cut from black cardstock to give the piece more heft.  I applied copper Spectum Noir Midas pigment ink to the edges then creased it down the center and curved the "pages" to create a wonderful 3D book.
 
 
I adhered all the die cut elements to the panel with glue and the Gilded Raven Bird Stand with black foam tape for lots of varied dimension and texture.
 
 
 The panel will later be included in my "Poe Book of Makes" but to allow the panel to stand on display for now I made an easel out of black cardstock and adhered it to the back of the panel.
 

 And that wraps up our 11th annual Edgar Allan Poe Appreciation CREATivities, I hope you've enjoyed seeing all our Poe inspirational makes this year!
We hope to see you again January 19th 2027, make a note on your calendars and then join us as we celebrate our love for Edgar Allan Poe!
 
Happy Creating!
THE SHARPIE DOMINO QUEEN

Thursday, January 22, 2026

11th Edgar Allan Poe 2026 CREATivities: The Gilded Raven 3D Window TagArt by Leigh

Happy January Creative Friends!
January 19th was Edgar Allan Poe's Birthday and National Poe Appreciation Day!
In LeighSBDesigns style we show our appreciation for Edgar Allan Poe and celebrate his birthday every year with a new digi stamp release and our annual POE Party Week!
 

Our 11th annual Edgar Allan Poe Appreciation CREATivities are in full swing!
Join us daily through January 23 for POEtastic inspirational makes featuring my brand new The Gilded Raven digi stamp release and more and play in our 5 day Poe Mini Hop where you are all invited to share your own Poe inspired makes with us!
The Poe Mini Hop info and linky can be found in the MAIN POST!
Come join the fun! 
  
πŸ–€ πŸ–€ πŸ–€ 
 
The Gilded Raven
Digi Stamp Release
 
 
In celebration of Poe's Birthday I've got two new Raven themed digi stamp sets for you that are totally POE-fect for your Poe inspired makes this year.  Whether you're a fan of Poe, Ravens and birds in general you will have so much fun creating with these two new sets!
 
Shop the release sale through January 23rd at LeighSBDesigns.com and add both of these Raven designs to your digi stamp collections!
 
πŸ–€ πŸ–€ πŸ–€
 
 
My entire Edgar Allan Poe Collection is also on sale through January 23 midnight pacific! 

πŸ–€ πŸ–€ πŸ–€
 
 
The Gilded Raven
3D Window TagArt
by Leigh


For our Poe CREATivities today I've got a POEtastic 3D Window TagArt make featuring digi stamps from my new The Gilded Raven release and decorative digi paper from the Vintage Grunge decorative digi paper pack.
 

 I coloured the The Gilded Raven digitally in Adobe Fresco then combined the coloured image with the wonderful background from the Vintage Grunge decorative digi paper pack in Photoshop prior to printing.


LeighSBDesigns Vintage Grunge Decorative Digi Paper Pack
  
I then fussy cut out the hanging bird stand leaving a narrow border around the image.


To create the hanging center piece I punched tiny holes at the top and bottom of the image and added gold jewelry findings.  At the top I used a jump ring, chain and wire to create the hanger.  On the bottom I attached a gold feather charm with a jump ring.
 
 
 "The Gilded Raven" text is from The Gilded Raven Ornate Raven Stand set which I also printed out onto decorative paper from my Vintage Grunge decorative digi paper pack.


To make the front panel of the 3D window tag I used wood grain slimline sized cardstock by Kingston Crafts and 2 Contemporary Tags nesting dies by Crafter's Companion/Sheena Douglas and die cut the window frame.  I then applied metallic gold Sprectum Noir Midas pigment ink to the edges.
 
  
Next I cut the same from black heavy weight cardstock.  I then adhered the hanging Raven Bird Stand to the back of the window tag with glue and applied a thick layer of black foam tape to the back of the entire tag and adhered it to the black window tag mat to create a nice dimensional front panel.
 
 
I then die cut another panel for the back of the 3D window tag with just the largest tag die and edged it with gold pigment ink.  Next I applied copper pigment ink to the smaller tag die cut, from the front panel, then decorated it with Crafter's Companion Thorn and Bloom vellum lace washi tape.  I then adhered it to the inside of the tag.
 
 
I decorated the front of the tag with Forest Crows by Memory Box and Holiday Greenery by Tim Holtz die out of black cardstock.  I then applied metallic gold Sprectum Noir Midas pigment ink to all the edges then adhered them to the front of the tag with glue.
 
  
To make the top fold tag I then scored a fold line into the black back panel and adhered it to the front panel.  To complete my 3D Window TagArt I added black flag fiber and metallic gold ribbon threaded through the hole,  
 

 Thanks for stopping by to see today's Edgar Allan Poe inspiration!
FYI, I will have my finale Poe make up in the evening on the 23rd.
 
Happy POE Week!
THE SHARPIE DOMINO QUEEN

Saturday, December 20, 2025

Celebrate the Season 2025: "Sunlight Through the Pines" Rocky Mountain Christmas Card with Light by Leigh

Happy December Creative Friends
Welcome to our December CREATivities!
Let's get festive together and Celebrate the Season!


December is the most wonderful time of the year and we are throwing a big end-of-year bash!
Join us for our Celebrate the Season Countdown to Christmas Day in LeighSBDesigns style with seasonal makes that include Winter, Christmas and Fall themed inspiration by Leigh and Val!
 
You can join the CREATivites too and play along as a Festive Maker in our annual
  
All our December posts are conveniently included in the Hop linky too so you won't miss a thing!


πŸ’œ πŸ’œ πŸ’œ πŸ’œ 
 
Celebrate the Season
Christmas Countdown
 
"Sunlight Through the Pines"
Rocky Mountain Christmas
Card by Val
 

I'm here today Celebrating the Season with a wonderful card that has a magical hidden light element featuring both the Sunlight Through the Pines and Aspenglow digi stamps from my new "Rocky Mountain Christmas" collection as well as Pastel Blizzard decorative paper from the Poinsettia and Holly Christmas 2023 Collection.


See the launch post HERE
 
  
I combined the magical Aspenglow landscape with the Pastel Green decorative digi paper, which is one of the the four designs included in the Pastel Blizzard decorative digi paper packand printed it out.


I used a large die from a Spellbinders Deckle nesting die set to die cut out the scene then applied metallic gold Spectrum Noir pigment ink to the panel edges.  I added the glint of "Aspenglow" sunlight to the scene with yellow and orange Prismacolor pencil crayons.


 I then die cut the scallop edged mat layer with a Spellbinders nesting die from pale silver Crafter's Companion glitter cardstock.  For the magical "Aspenglow" sunlight effect for the sun above the Rocky Mountains I then cut a half circle into the mat that lines up with the sun in the scene for the light bulb placement before adhering the image panel to the mat.
 
 
I coloured the Sunlight Through the Pines sprig digitally and printed out two of them.
 
 
 I fussy cut out the sprigs leaving a narrow white border around the images.
 
 
 Then applied Crystal Stickles glitter glue to the Aspenglow landscape scene and the pine cones for lots of pretty sparkle.
 
  
For the background layer I embossed a white cardstock panel using a 5 x 7 inch Crafter's Companion 3D embossing folder called Sparkling Snowflake then distressed the edges with a Tim Holtz distressing tool.
 
 
Next I matted the embossed panel onto a slightly larger mat layer cut from the same pale silver glitter cardstock and adhered them to a side fold card made from heavy weight white cardstock.
  
 I then eyeballed the placement for the main image panel and the light effect and punched a hole through the folded card base, the embossed background layer and the glitter mat layer with a Tim Holtz pokey tool.
 
  
 For the light element I used a mini button battery dew drop light string and cut it leaving only one light bulb on the string.  I then threaded the wire through the hole from the inside of the folded card, lined the light bulb up with the sun and adhered the light and the wire to the back of the main image panel with tape.  I then adhered the main panel to the front of the card with white foam tape.
 
  
 I then adhered the pine cone sprigs to the card with a combo of foam tape and glue to allow for the height variations.  I embellished the top sprig with mint green and white sparkly eyelash fiber which I tied in a bow.
 
 
 Next I die cut the "Merry Christmas" sentiment with a Crafter's Companion die out of the same pale silver cardstock and again out of white cardstock and adhered the die cuts together to create a chunkier sentiment.  I then adhered the sentiment to the bottom edge of the main panel with glue.
 
 
 Flip the switch on the light box and viola....the card glows prettily in the evening light!
 
 
 I then decorated the inside of the card.
Here you can see the placement of the light box on the back of the card front which I secured with tape and glue dots.
   
I used Crafter's Companion cardstock to cut the inside panel and a Marvy decorative corner punch on the right hand side corners for an elegant touch.  
 
  
To complete my card I die cut the "Happy New Year" sentiment by Scrapbook.com from the same pale silver cardstock and white cardstock to create the chunky sentiment.
 
Join our December CREATivites!
There's just 4 days left to play along as a Festive Maker in our annual
Christmas Countdown Hop and 6 days left to also play in our December Challenge!
 
πŸ’œ πŸ’œ πŸ’œ πŸ’œ
 
 Happy Creating!
THE SHARPIE DOMINO QUEEN