Howzit Creative Friends!
Today is the last day of LeighSBDesigns 2nd Birthday month and to finish our celebrations with a bang I've put some party themed designs on FLASH SALE🎉
Click on over and shop the SALE....it will end Wednesday at midnight pacific🎉
Howzit Creative Friends!
It’s Christmas in July time at LeighSBDesigns and Val is here to get the party started🎄
All LeighSBDesigns’ Christmas themed digis are currently on sale! Enjoy 25% off the Christmas collection PLUS additional flash sales on all other digis that make an appearance like in today’s project! The Christmas in July sale ends at midnight PT on July 31st, you don’t want to miss adding them to your collections😁
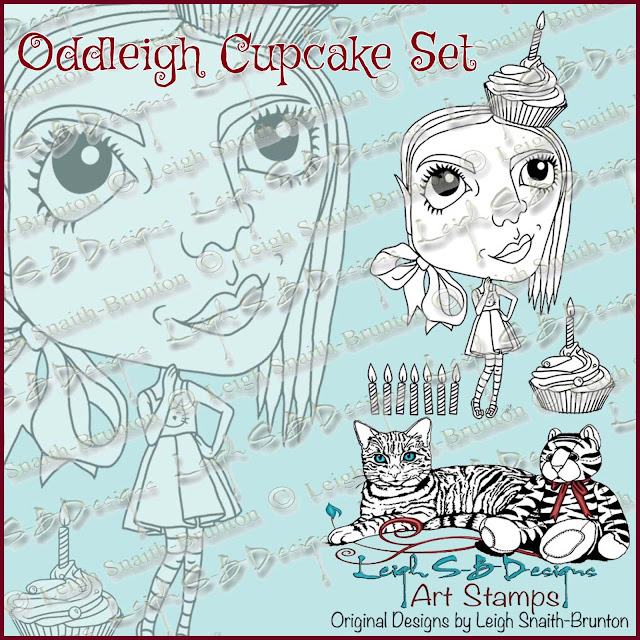
Now for today’s fun project by LeighSBDesigner Val featuring lil miss Oddleigh Cupcakefestively wearing a party hat from the Party Hat pack! She’s all dressed up and off to a Christmas Party 🎉
Hiya Creative Friends!
We're celebrating LeighSBDesigns 1st Birthday this month with a Birthday Card Contest using the FREEBIE🎉 The prizes are sponsored by LeighSBDesigns, Simply B Stamps and Ike's Art and the contest ends April 22nd so hurry and get in your entries, you don't want to miss it!!! All the contest details can be found on this POST and submit your entries into the linky party on this PAGE!
Attention LeighSBDesigns Etsy Boutique customers!!! You have received Birthday Gifts, check your Etsy Conversation inboxes for your pressies😋
This project just made me smile, what a clever way to use lil miss Oddleigh Cupcake, who is looking ever so stylish! I love how Val used her dress and body to create the boutique mannequins and the Party Hats to make a decorative garland hanging from gold chain in the store window❤️
Oddleigh Cupcake Set includes:
lil miss Oddleigh Cupcake, a row of Candles and a stand alone Cupcake decorated with pearls.
Party Hats pack includes 3 decorated party hats plus a blank one for you to customize yourself!
Val used these supplies:
Spectrum Noir markers
White gel pen
Gold Peel-offs
Studio Glitter glue
Black and White polka dot washy tape
Neenah white cardstock
Black cardstock
Acetate
Store Banner created in Serif CraftArtist 2
Background decorative paper printed from Serif CraftArtist 2
Thanks for stopping by to see Val's project today!
Happy Stamping!
Hiya Creative Friends!
Firstly, did you know I'm celebrating LeighSBDesigns 1st Birthday this month? Check out all the Birthday Celebrations HERE! There's customer gifts, a Birthday Card Contest using the provided FREEBIE, 3 prizes up for grabs and details on the upcoming Etsy Boutique SALEbration!
Come and join the party🎉
For today's Tutorial Tuesday I'm sharing the fun Z Fold Spinner Birthday Card I made my nephew for his 11th birthday plus there's a little video below showing it in action for you to check out too!
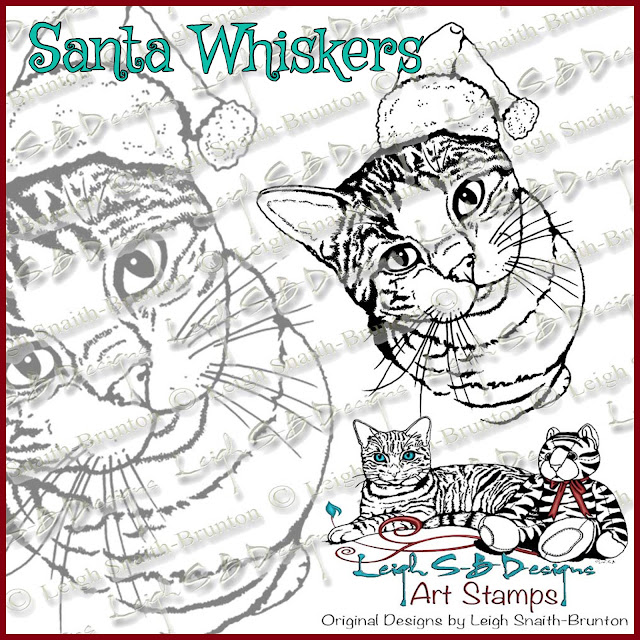
Today's featured digi designs are my new Birthday Cupcake,the Party Hat pack withSanta Whiskers joining the party sporting one of the party hats....he's so cute😻
All three are now on FLASH SALE until midnight PDT tonight!
A Z Fold card is so much fun and including the spinner element adds that extra WOW factor! Totally makes it a super cool birthday card for boys and girls and adults too of course!
Start off by making a regular side folding card and then fold the front of the card in half creating a mountain fold. I used white cardstock but you can use whatever colour you want.
Center the largest of Spellbinders' Nestabilities Mega Ovals LG dies on the front fold and die cut out an oval window.
Adhere decorative paper to the entire front side of the card and then die cut out the window oval again. Frame the oval window with a metallic gold paint marker.
Emboss a panel of red cardstock with a birthday themed embossing folder and apply metallic gold rub-on creme to enhance the embossed design. Edge the entire panel with the metallic gold paint marker. Now for all the digi image fun!
Measure the height and width at the widest part of the oval window and adjust the size of the Birthday Cupcake to fit the space. You need 2 cupcakes with one being a mirror image. I also printed out 2 extra candles as well.
Merge one of the Party Hats onto Santa Whiskers in your art software before printing him out or add the party hat after printing with just a bit of fussy cutting and layering.
Colour all the images with Copics and add highlights with a white dylusions paint pen.
I also added lots of yummy sparkle with clear Wink of Stella and metallic gold Spectrum Noir Sparkle glitter brush pen to the cupcake frosting, candles and party hat.
Fussy cut out all the images. For the 2 cupcakes, fussy cut them both out by holding them together back to back. Then adhere them together and sandwich a length of clear fishing line down the center. Adhere the ends of the fishing line into the fold crease of the oval window on the back of the card, pull the line taught and trim off any excess.
Apply Black Soot Distress ink to all the edges of the card including the window crease.
Rubber stamp the birthday sentiments with Onyx Black Versafine ink and adhere the red embossed panel to the inside of the card and add the kitty. Embellish the left side of the Z fold with metallic gold number stickers and the 2 candles. I used two 1's coz my nephew turned 11 and mirrored the number with the 2 fussy cut out candles.
Wind up the spinner by twisting it quite a bit to get a good spin out of it, pop it inside an envelope and its ready for the grand surprise😀
Check out my little video to see it in action😋
Subscribe to my YouTube channel and I'd appreciate a thumbs up too😘
Click on the pix to go shopping for these fun designs! The FLASH SALE ends at midnight pacific tonight!
Black Soot Distress ink
Clear Wink of Stella
Spectrum Noir Sparkle Glitter Brush pen - metallic gold
DecoColor metallic gold paint marker
Neenah white cardstock
Red cardstock
Decorative paper
Scotch Quick Dry Adhesive
Fishing line
Metallic gold number stickers
Metallic rub-on creme
Thanks for stopping by to see my tutorial today now pop on over and check out all the fun Birthday Celebrations, grab the FREEBIE and enter the contest🎉
Welcome to my 3rd annual Poe Appreciation Day Blog Hop!
It's Day 4 already of our 5 day blog hop in honor of Edgar Allan Poe's birthday which was on the 19th🎉 What a POEtastic time we're having, so many wonderful projects have been shared! If you're just joining us then start your hopping on my Day 1 post HERE!
This is a progressive hop with Poe inspired projects joining the fun every day as more Poe fans link up and share the Blog Hop roll on their own blogs! EVERYONE is invited to take part or just hop so come join the fun and celebrate your love of all things Poe with us! It is super easy to participate, you can play every day or just one day and link up anytime with no need to sign-up! Anything goes, use any images from any company and all kinds of art is welcome including old ones, even the ones previously shared in the last 2 hops are welcome this year! Only blogs that include links to LeighSBDesigns Inspiration Blog and the Blog Hop Roll in the posts can play! If you're a fan of Poe here's your excuse to make some Poe-tastic art! All the info you need is up on the POE PAGE!
The Poe Blog Hop Roll is at the bottom of today's post and it's on the Poe Page HERE too! Just click on all the thumbnails in the collection to hop all the blogs playing!
I have a birthday gift for everyone too which I used on my project today, here's some "POE LOVE" for you❤️ I'd appreciate it if you'd all go and favourite LeighSBDesigns Etsy Boutique and join my LeighSBDesigns Facebook Fan Group😋 Click the pic to go to LeighSBDesigns' website to download the freebie. Its up for a limited time and will disappear on January 24th! Please don't pin or share, send your friends here instead to grab it for themselves😋
Day 4 "Oddleigh Poe's Birthday Party" Pop-up Card by Leigh
My Oddleigh girls are smitten with Mr Poe and thrilled to have such a distinguished gentleman join the family. They excitedly planned his surprise party and pulled out all the stops. At first Mr Poe wasn't too sure about the Party Hat they promptly put on his head but he's now having a splendid time!
Here's a closer look at the tiny folk! They're all 2.5 inches tall and 1 inch wide. They're fussy cut out twice, once leaving a white border around each image and again to leave the narrow black border after matting on black cardstock. This both strengthens the tiny cut outs and also makes them pop nicely against the background.
Here's a closer look at all the box card panels. Oddleigh Raven Nevermore and The Raven decorate the side flaps, Poe Love which is the Hop Freebie is on the front flap. The Oddleigh girls put up the Happy Birthday banner behind them to make Poe feel at home! It decorates the back panel and features the Raven from the Oddleigh Poe and Raven set.
I used Copics to colour all the images and brown Derwent Pastel pencil blended with a Dove Blender pen on the panel backgrounds. The images, the panels and the box card are blinged up with Star Dust Stickles glitter and clear Wink of Stella which you can't really see in the photos but the entire project is very sparkly in real life!
The Oddleigh girls made sure to use black everywhere and decorated with black upside down twirly streamers and a spikey upside down icicles die cut border to make Poe feel at home. The pop-up box card is a Lawn Fawn die.
Check out my Poe Collection launch video and my release post to see the entire collection I designed to celebrate my 3rd Poe Hop! I'm so pleased you love them and have been using them in the hop already😉
All Poe Collection digis are on sale for 30% off thru Jan 23rd, sale ends at midnight pacific!
The 2 Oddleigh girls and the Party Hat Pack are now FLASH SALE for 25% off until midnight TONIGHT pacific time! Click on the pix to go shopping!
Are you ready to join the fun? Then all the info you need is up on the POE PAGE plus the last 2 Poe Blog Hop collections are there too for even more Poe inspiration! Come and celebrate your love of Poe and win a prize too!
POE BLOG HOP PRIZES
I'm giving away 2 prizes:
A Blogger Prize will be awarded randomly to one blog playing and a Commenter Prize will be awarded randomly to one visitor commenting.
To qualify for the prizes EVERYONE, including the bloggers, must comment on ALL projects shared in the hop!
Howzit Stamping Friends!
It's Tutorial Tuesday time and today I've got a birthday card to share featuring one of my new digi designs from the Christmas Collection with a little tweak to the image plus a peek at an upcoming digi set I'm working on! Did you see Sunday's post unveiling LeighSBDesigns 2017 Christmas Collection, check it out if you missed it! Shop the new releases which are on sale for 30% off until Dec 3rd!
featuring Santa Whiskers plus a peek at an upcoming digi set 😜
Today I want to show you how easy it is to transform a holiday specific image and make it work for any occasion! I'm sure you have looked at a stamp image and had second thoughts about whether you should buy it coz you think it can only be used once a year. For this demo I've used Santa Whiskers from my new Christmas Collection and transformed him from a Christmas kitty into a Party kitty just by changing out the hat.
I started out by adding the Party Hat (which is part of an upcoming set) to Santa Whiskers in Photoshop CS6 and then printed out kitty with the hat and a 2nd hat onto white mixed media cardstock suitable for both Copics and coloured pencils. No worries if you don't have fancy software to merge the images before printing, just print the images as is and simply cover the Santa hat with the party hat afterwards.
Prismacolor pencils used: black
dark brown
blush pink
canary yellow
chartreuse
grass green
I coloured the kitty with Prismacolor pencils and the background is done with blue Derwent pastel pencil blended with a Dove blender pen. I coloured the hat on the merged image a solid dark grey to enhance the cast shadow of the layered hat which I fussy cut out and coloured with Copics. I used Dylusions white paint pen for the highlights.
The hat was adhered to the main image with pop dots and I applied Viva Pearl Magic Transparent white to the green dots for extra dimension and shimmer. Yellow stickles glitter glue was applied to the hat pompom and fringe for lots of fun sparkle.
I used colour coordinating decorative paper and cardstock to make the card and a Happy Birthday Cuttlebug embossing folder which I tinted with Tumbled Glass Distress Ink. I also applied the glitter glue to some of the text as well as the edges of all the panels which were also distressed with Tim's paper distresser tool. I embellished the panels with dots of metallic gold Liquid Pearls to complete the card.
I hope you enjoyed seeing how I made my card today and inspired to look at your stamp collections with fresh eyes with the knowledge that you don't have to be limited by a holiday specific stamp image any more😉
Thanks for stopping by to see my project today!
Happy Stamping!




 THE SHARPIE DOMINO QUEEN