July CREATivities
The Summer BUZZ Collection
Re-Release Sale-bration thru July 19!
The Gilded Raven Release!
"Rocky Mountain Christmas"
Winter 2025 Collection
Adopt all the Loveleigh Kitties, they're PURRfect for every occasion!
Showing posts with label Cards for Kids. Show all posts

Tuesday, December 22, 2020

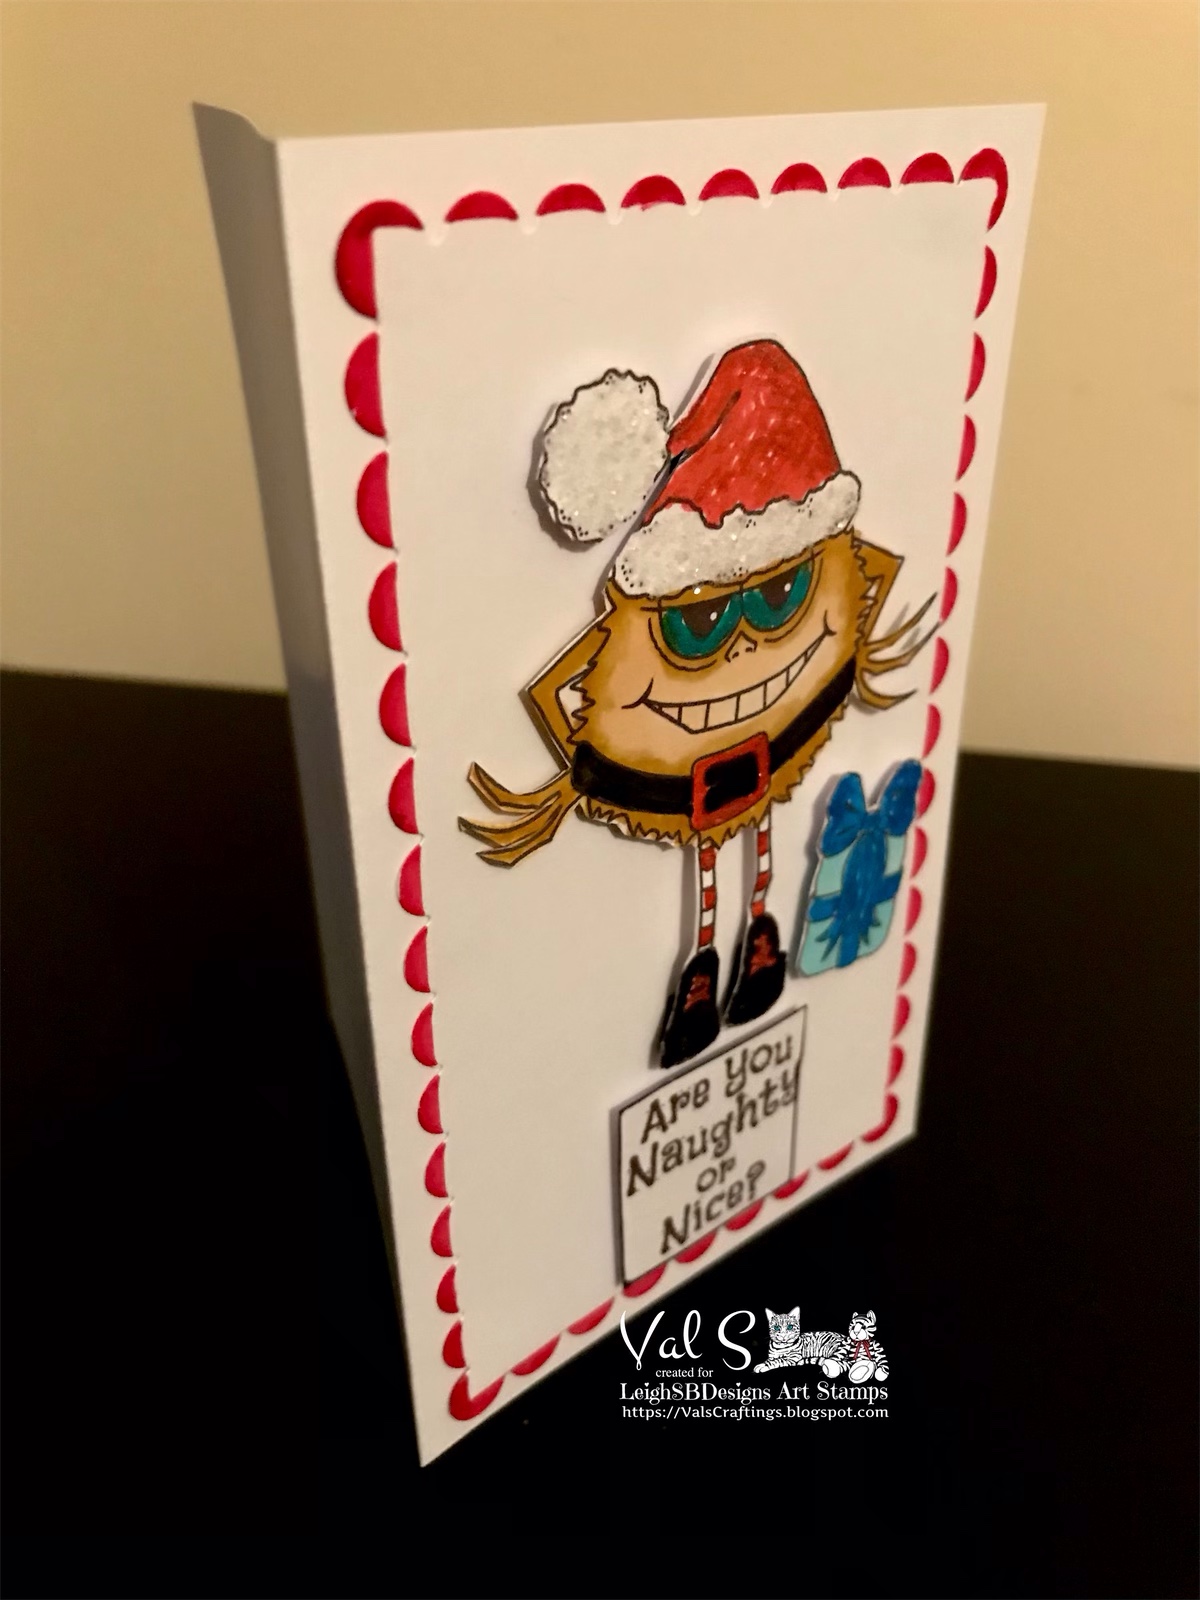
Are you Naughty or Nice? Santa Claws Balleigh Monster card for kids by Val!

Howzit Creative Friends!
If you missed our fabulous 'Tis the Season "stay crafty @ home" Blog Hop you can see all the festive hop entries shared by fans of LeighSBDesigns and makes shared by Val and I HERE and don't forget to shop the
 The fun continues on here now with more fabulous inspiration for the remainder of 2020 into 2021 and you've got more blog hop fun to look forward to starting with our annual Edgar Allan Poe Appreciation Hop that begins on Poe's birthday, January 19!


❄️ Are You Naughty or Nice? ❄️
Santa Claws Balleigh Monster card by Val

LeighSBDesigner Val's festive inspiration for you today is a fun and mischievous make featuring my new Santa Claws Balleigh Monster and the senti from the Naughty or Nice Sandy Oddleigh set ❄️
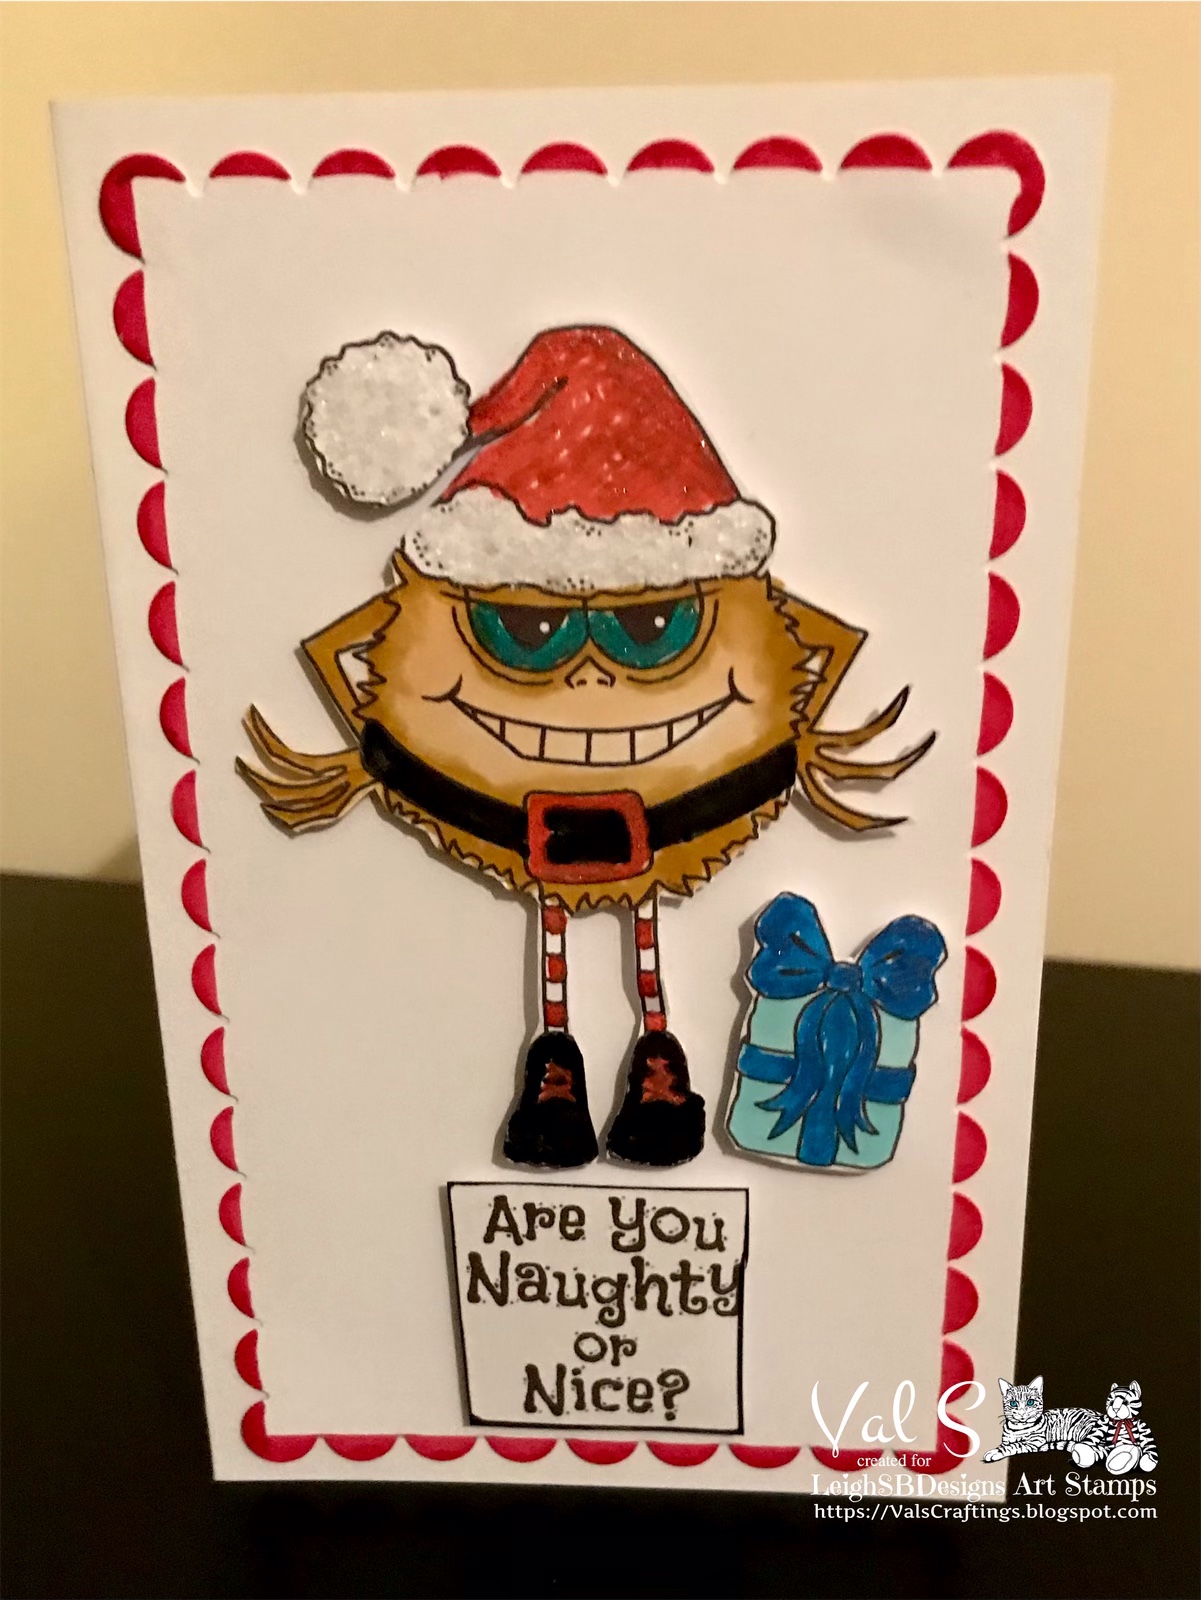
 
 
Val used the following supplies to create her fun and festive card perfect for kids of any age!
 
 
Spectrum Noir Tri-Blends:
Cool Blues, Fiery Red, Brown Blends, Mint Blue, True Black
Tim Holtz Rock Candy Glitter
White Gel Pen 
Smooth white cardstock
Pop sticky dots
 

Check out my STAMPtember 2020 Collection!


Thanks for stopping by to see today's featured make!
Stay Safe and Happy Creating!
THE SHARPIE DOMINO QUEEN

Sunday, December 20, 2020

'Tis the Season Blog Hop: Believe in Santa Claws - Santa Claws Balleigh Monster Card by Leigh!

Howzit Creative Friends!
 Welcome one and all to our fun 'Tis the Season "stay crafty @ home" Blog Hop to help keep your spirits high, creatively inspired and busy while celebrating the season safe at home during this terrible pandemic!
 
Today is the finale of our festive hop, thank you for playing along with us over the last 2 months and sharing all your fabulous seasonal makes with us, we've enjoyed seeing them all❤️
 
 The 'Tis the Season Blog Hop details and festive linky party are in the main post HERE
The linky will close at 5 til midnight pacific tonight and then you've got Monday to hop today's entries and double check you haven't missed any shares😁
 
The fun will continue on with more fabulous inspiration for the remainder of 2020 into 2021 and you've got more blog hop fun to look forward to starting with our annual Edgar Allan Poe Appreciation Hop that begins on Poe's birthday, January 19!  Do stay and continue to be creatively inspired with us and watch for my winner announcement post before Christmas Day🥰 


❄️ Believe in Santa Claws ❄️
Balleigh Monster card by Leigh

My ‘Tis the Season Blog Hop finale inspiration for you today is the festive quirky cute Santa Claws Balleigh Monster card I made for my nephew❄️
 
 
I had some much fun watercolour painting Santa Claws Balleigh Monster as a cheeky lil snowball!
 
 
 Doesn’t that grin just make you smile!

 
He's super cute in his Santa Hat and belt....I fussy cut just the white fluffy trim and pompom and the belt from another print and layered over the top of the main image.  I coloured his belt buckle and sneaker laces with a metallic gold gel pen.
 
 
 For lots of pretty sparkle I applied Crystal Stickles glitter to his hat pompom and hat trim and clear Spectrum Noir sparkle pen to his snowball body, arms and the present's bow.  I fussy cut out a 2nd bow and glued it in place at the knot to create lots of fun dimension on the present.
 
 
I then layered both panels onto dark red cardstock and mounted them onto gorgeous white glitter card....in the sunlight the whole card glitters prettily like diamonds.
 

The "believe in santa claws" senti is 1 of 2 versions included in the Santa Claws Balleigh Monster set!
 
 
This is such a fun and festive card perfect for all ages❄️
Check out my STAMPtember 2020 Collection!


Thanks for stopping by to see today's featured make!
Stay Safe and Happy Creating!
THE SHARPIE DOMINO QUEEN

Sunday, April 5, 2020

Make a Wish - Yeti Build-a-Scene Birthday Bridge Card by Leigh!

Howzit Creative Friends!
I hope everyone is continuing to keep healthy during this terrible time!  I’m still experiencing some mild symptoms but thankfully doing okay compared to the horrible symptoms others are struggling with😖. Let’s all just stay safe inside and craft together and even get your whole family involved, there's lots to see and do to keep you busy this month🥰.

I’m so happy to see you all joining in on our 3rd Birthday Celebrations so far and sharing fabulous projects in our Birthday Blog Hop, YAY🥳  If you’re just joining us then here’s the scoop on our month of fun🥳

April is LeighSBDesigns Art Stamps Birthday month and I'm throwing a big party to celebrate🥳  I kicked off with a Birthday Blog Hop which has a Birthday Bunny FREEBIE as my gift to you for playing as well as a SALE-bration through April 12th!  I also launched our brand new MeWe Fan Group too!

Then during our Birthday Week of April 13-19 there will be a Digi Giveaway on Facebook and MeWe plus daily surprise coupons in the groups as well as Instagram!  LeighSBDesigns will also be sponsoring that week in the Crafting of Hue group too🥳.

Check out my April 1st post  for all the info on how to play in our Birthday Blog Hop Linky Party!  The hop has 3 themes you can have fun with, Birthday/Party, Spring and Easter or merge them all together!

Please share this badge on your blogs and social media sites

For your inspiration today I'm sharing the fun 13th Birthday bridge card I recently made for nephew🥳


I used the Yeti from the Winter Yeti Build-a-Scene set and the Sign Post from the Yeti Senti Add-On Pack as well as the Candles from the Oddleigh Cupcake set!  Shop for those in LeighSBDesigns SALE-bration through April 12th🥳


I made a long border using my Candles digi multiple times to create the bridge for the card and coloured all my images with Copics and fussy cut them out.


The “Make a Wish” stamp is by Crafter’s Companion and I masked and stamped it to stack the words onto my sign post.


Lots of sparkle was a must so I used Spectrum Noir Clear Sparkle Pen on the images as well as Diamond Stickles glitter glue on the candles and the Party Hat Star.


I also fussy cut an extra Party Hat from the Yeti Senti Build-a-Scene add-on pack and layered it with a pop dot for extra dimension!


The “13 Balloon Numbers” are stamps and matching dies also from Crafter’s Companion.


I created an extra layer bridge inside the card for the Yeti to stand on.


The entire card was constructed from heavy weight white cardstock and embossed with a Happy Birthday Cuttlebug embossing folder.


I applied Peacock Feathers Distress Ink to the card edges.


I made a top fold card for the back of my bridge card as a place to put my card message.


I printed my Birthday message onto teal cardstock.


The fun part of this dimensional bridge card is that it still folds flat for easy mailing in a regular sized envelope!


Stay Inspired and Stay Safe😘
Thanks for stopping by to see today's featured project!

Happy Creating!
THE SHARPIE DOMINO QUEEN

Friday, April 12, 2019

Egg Hunt - Scully Bunny Kid's Easter card by Leigh!

Howzit Creative Friends!
Today I'm sharing the super adorbs Easter card I made for my nephew using my Scully Bunny and Easter Eggs set🐰  Scully Bunny is super cute and fun with her ears sticking out above the card fold!  She's perfect for kid's cards and with the blue on the ears, perfect for a boy's card!
 

Both Scully Bunny and the pile of Easter Eggs were coloured with Copics with white gel pen details and fussy cut out leaving a narrow white border.  I coloured up a 2nd set of Easter Eggs and fussy cut them out without a border and layered them on top with pop dots to create the fun dimension.  For even more dimension and a touch of shimmer I embellished the eggs with Viva Pearl magic transparent 3D gel.


I made a top folding card from white cardstock and added the fun cloud sky panel made with a Crafter's Companion embossing folder and Peacock Feathers Distress Oxide ink.  I then embellished the clouds and Scully Bunny's hat with Diamond Stickles glitter glue.  I finished off by stamping up the fun banner sentiment (Studio G) with Twisted Citron Distress Oxide ink.


On the inside I stamped a fun Easter sentiment with Peacock Feathers Distress Oxide ink, it's wacky font was perfect for my card!


Shop for the Scully Bunny and Easter Eggs set🐰 at LeighSBDesigns Etsy Boutique!
I hope you’ll add this cutie to your collections😉

https://www.etsy.com/listing/678359228/new-scully-bunny-easter-eggs-set-of-2?ref=shop_home_feat_2

Thanks for stopping by to see today's featured project!
Happy Creating!
THE SHARPIE DOMINO QUEEN

Wednesday, April 10, 2019

Happy Easter - Bunny card by Val!

Howzit Creative Friends!
Today I'm sharing an adorable Easter themed card created by LeighSBDesigner Val.  This one features the Easter Bunny freebie I created for LeighSBDesigns Art Stamps grand opening 2 years ago this month!  We're busy celebrating our 2nd birthday over on LeighSBDesigns Facebook Fan Group all month long, come and join the fun!

Easter Bunny is perfect for all your kid projects as well as adult ones too! 


Materials used:
Spectrum Noir markers:  TN3, TN4, TN5,CR5, CR2, CR4, CG4, CB4 and LG4
Distress Oxides:  Mustard Seed and Squeezed Lemonade
Americana Tripple Thick Glossy Accent
Tim Holtz Clear Candy Glitter
Happy Easter stamp
Smooth white cardstock
Black cardstock


Come and join LeighSBDesigns Facebook Fan Group to get this awesome FREEBIE!
 FACEBOOK FAN GROUP

Thanks for stopping by to see today's featured project!
Happy Creating!
THE SHARPIE DOMINO QUEEN

Monday, April 4, 2016

Lego Birthday - Cards for Kids

Howzit Everyone!
Today I'm sharing a card I made for my nephew's 9th birthday.  I used Lost Coast Designs stamps so this card is performing double duty as my DT project for our new April challenge.  The theme this month is "Anything Goes" so pop on over and join the fun at Lost Coast Portal to Creativity!


My nephew loves Lego and we went to Legoland for his birthday so I couldn't resist making a Lego inspired card.  The blocks were all made with a square paper punch and the dots with a standard size hole punch.


For the decorative panel I stamped the Lost Coast Designs Party Hats from set 2 and Party text from Party Hats set 1 in Memento Cantaloupe ink on yellow cardstock, the Happy Birthday text from the Misc. Words set with Brilliance Galaxy Gold ink on blue cardstock and the number 9 from the License Plate alphabet set with Tuxedo Black Memento ink on red cardstock.  I used a circle punch and punched out the number, edged it with Brilliance Galaxy Gold and mounted it to the card on a wiggly spinny thingie. 


All the "lego" parts and the stamped panel were adhered to a black mat which I embossed with a Cuttlebug bubble embossing folder and corner punched with a decorative corner punch.  All punches used are by Marvy.  I then mounted that on to a folded card I made from white cardstock.

My nephew loved his card and I hope you do too ;0)
Thanks for stopping by and I'll see you over at Lost Coast Portal to Creativity!

Happy Stamping!
 THE SHARPIE DOMINO QUEEN
I design for * Lost Coast Designs * Carmen's Veranda * Rick St Dennis EDT * Forever Dark *

Monday, December 12, 2011

"Percy On Ice" Removable Christmas Tree Ornament Card designed for the 3CCC!

Happy Rainy Monday!
It's pouring down outside so I'm in a winter mood today and thought I'd share this project I designed for the Third Coast Creative Coterie!


I also created this one with a special little someone in mind, Daniel my 4 yr old nephew ;0)  This is his Christmas card this year!  The ornament comes displayed on the card and then it's easily removed for hanging on the Christmas tree!  I think he'll love it, don't you :0)


Monday, October 31, 2011

Kid's Treat Box Card featuring Third Coast Rubber Stamps!

The Trick or Treating continues with a definite treat in this case ;0)

Check out the Treat Box Card I designed for the Third Coast Creative Coterie design team that's perfect for kid's of all ages ;0)


I made this one especially for my 4 year old nephew, Daniel, and it went all the way to the UK and arrived in time and in one piece, phew! 

All the stamps used are by Third Coast Rubber Stamps:
AP-479-P Free Parking
AP-523 Broomstick Dog
VB-041-EE Happy Bat Sm


I stamped the scene onto white cardstock with a Tuxedo Black Memento ink pad and did all the colouring with Derwent Watercolour pencils and a Dove Blender pen.   I drew in the curvy trail line with a few scattered leaves to give the impression that the Broomstick Dog had just whooshed in then added highlights with a white gel pen.  I then distressed the edges of the panel with Black Soot Distress Ink.


I cut some panels from Halloween themed decorative paper and adhered them to the black folded card and mounted the panel onto the card with double-sided tape.


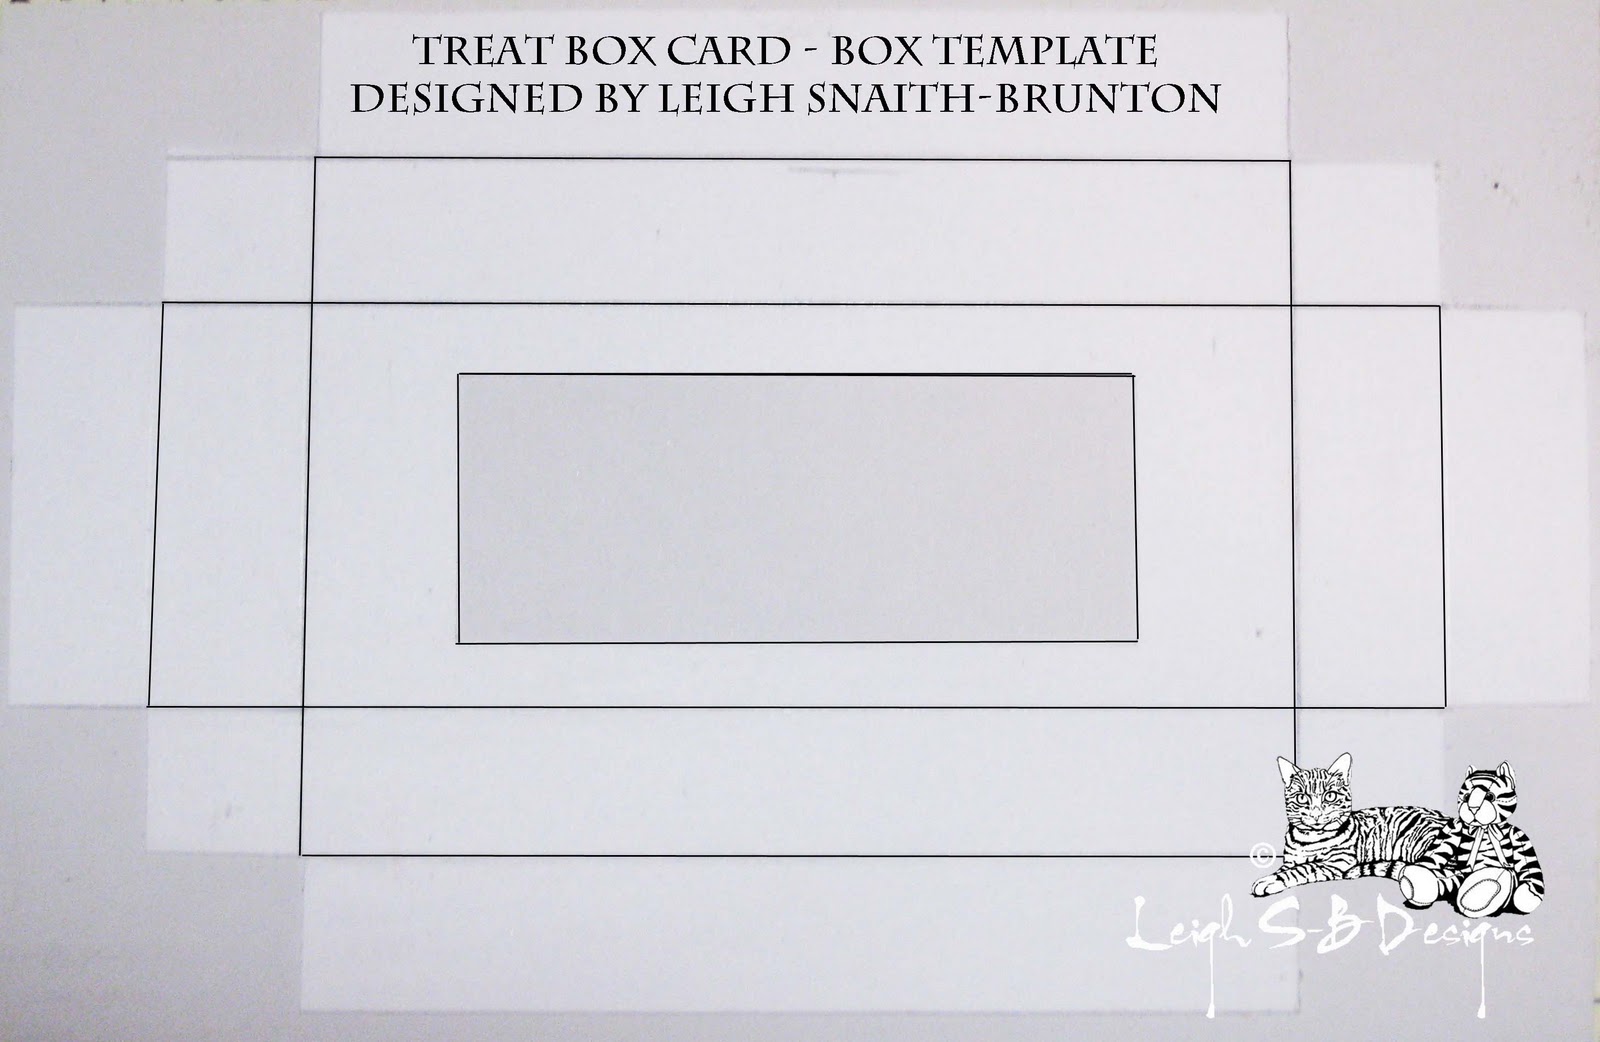
I then constructed a box for the treat based on the size of the actual chocolate from white cardstock which I then covered with the decorative spider web paper.


I cut an X slit in the window, trimmed the flaps, folded and adhered the flaps with a glue stick.


I then constructed the box and adhered the sections together with a glue stick. 


Only one side of the box can be opened to get the chocolate out so I drew in an arrow and wrote 'Open' on the side to be opened.  


I then adhered the treat box to the front of the card with double-sided tape and added the Martha Stewart Crafts self-adhesive bat border along the top of the card and the skulls border on both sides of the treat box.

After I took all my photos I decided to bling the card up a bit and made it more magical!  I added glitter glue around the edge of the stamped panel, edged the matte bats, edged the window on the treat box and also added glitter glue to the moon.  It was just the finishing touch that was needed ;0)

Thanks for joining me on this spooktacular Halloween night!
Sleep tight and don't let the boogie man bite ;0)

THE SHARPIE DOMINO QUEEN
I design for Blockheads Paper Arts * Third Coast Rubber Stamps * About Art Accents