July CREATivities
The Summer BUZZ Collection
Re-Release Sale-bration thru July 19!
The Gilded Raven Release!
"Rocky Mountain Christmas"
Winter 2025 Collection
Adopt all the Loveleigh Kitties, they're PURRfect for every occasion!
Showing posts with label TECHNIQUES: Distress Ink Watercolouring. Show all posts

Tuesday, August 29, 2017

Tutorial Tuesday: Grunge in Wonderland - Distress Oxides Backgrounds and Painting by Leigh!

Hello dear friends!
First I would like to express my sympathies to everyone impacted by Hurricane Harvey, my thoughts and prayers are with you all😢

 For today's Tutorial Tuesday I'm going to show you how I used Distress Oxides to paint with as well as create the backgrounds for my Grunge in Wonderland collages.


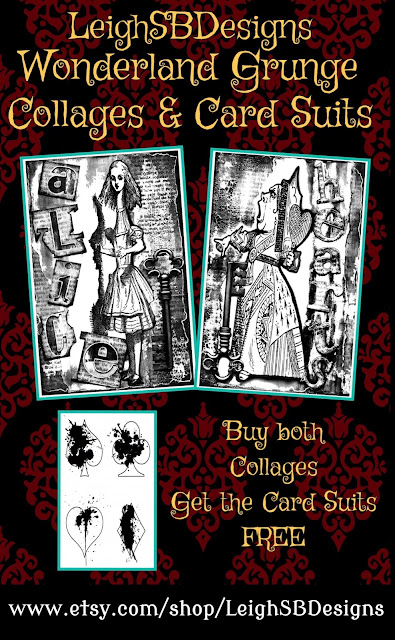
The 2 Grunge in Wonderland collages, Alice and Queen of Hearts, companion Grunge Card Suits set plus the FREEBIE BUNDLE package are on FLASH SALE for today only, add them to your collections before midnight PDT!
https://www.etsy.com/listing/550082453/freebie-bundle-wonderland-grunge-set-set?ref=listing-shop-header-0
Click this badge to get the freebie Grunge Card Suits set!

DISTRESS OXIDES BACKGROUNDS


Smear Distress Oxides directly onto a non-stick craft sheet.  You can be as random as you want with how you apply the ink or control the colour placement to suit your project.  I used DO Vintage Photo, Walnut Stain, Spiced Marmalade and Faded Jeans.  Spritz the inks with water, a little or a lot depending on how saturated or diluted you want the inks to be.  I did about 4-5 light spritz, just enough for each colour to bead up. 


Lay a white sheet of your favourite mixed media cardstock on top of the spritzed inks, press down and rub your hands around as the inks absorb into the cardstock.  Use paper towel to mop up excess liquid and dry the cardstock with a heat too.


Smear a bit of DO Fired Brick onto the craft sheet and use a paint brush to dilute with water.  Randomly splatter the ink onto the cardstock and dry with a heat tool.


 Do the same with DO Broken China.


The finished result is so grungy and gorgeous.  I love this colour combination of smears and splatters.


Make sure the background cardstock is completely dry before loading it into your printer!  I then laid out the two Grunge in Wonderland collages side by side in Photoshop CS6 and printed them out directly onto the DO background cardstock.  LOVE how they turned out💜

PAINTING WITH DISTRESS OXIDES


I really loved the over all effect of the background on the Alice Grunge Collage so decided to do minimal additional Distress Oxide painitng on her.  Smear a bit of DO Faded Jeans and Wilted Violet onto the craft sheet and dilute with a bit of water to make watercolours.  Use a paint brush to paint the letters and Alice's dress and vary the dilution of the inks as you apply the colours and blend to create shading.
 

The Queen of Hearts Grunge Collage is more involved.  I printed a second image onto plain white cardstock and used the DO to paint just the Queen.


Once dry I added details and highlights with a white Dylusions paint pen and fussy cut her out.  I used clear mounting foam to pop her up from the background collage.


I also wanted the letters and the key to stand out more from the background but not compete with the Queen so applied Inkssentials Matte accents to give them texture and dimension.


I completed each project by layering the collages onto colour coordinating cardstocks.  I love how they both turned out!  They were both relatively fast and easy to do while still achieving a fabulous end result 😄

 Thanks for stopping by to see my tutorial today, I hope I've given you lots of inspiration on how to use your Distress Oxides with digi art stamps as well as rubber stamps!

For 15% off every day shop my Joggles affiliate links, thank for your support😊

Happy Stamping!
THE SHARPIE DOMINO QUEEN

Thursday, February 4, 2016

"Dark Etchings" Domino Book for Rick St Dennis EDT!

Hello Everyone!

I'm super stoked to now be on the fabulous Rick St Dennis Elite Design Team!  Rick's images in both digi and rubber are simply stunning and there's a huge variety of imagery to suit every possible taste!  Check out all the digis in his Zibbet and Etsy stores and some real rubber is available Here!

This is my first EDT post for the Rick St Dennis Fans and Friends Facebook group.  February sees some changes regarding our challenges which you can read about HERE!  We also have 2 fun blogs for more EDT inspiration too:
Airless Chambers and Sparkle and Glitter

 My project today is a Domino Book and is another addition to a series of "Dark Etchings" I've been having fun with for a while now.  I call them 'dark etchnings' because I create monochromatic black and gray pieces that remind me of traditional etched prints.  Previous ones were done with Black Soot Distress Ink on watercolour paper and this one is done with Copics and Sharpie markers.  Check out my other Rick St Dennis ones HERE!


The dominoes are stamped with black StazOn ink and coloured with gray and black Sharpies.  The edges and sides with the dots are coloured solid black.


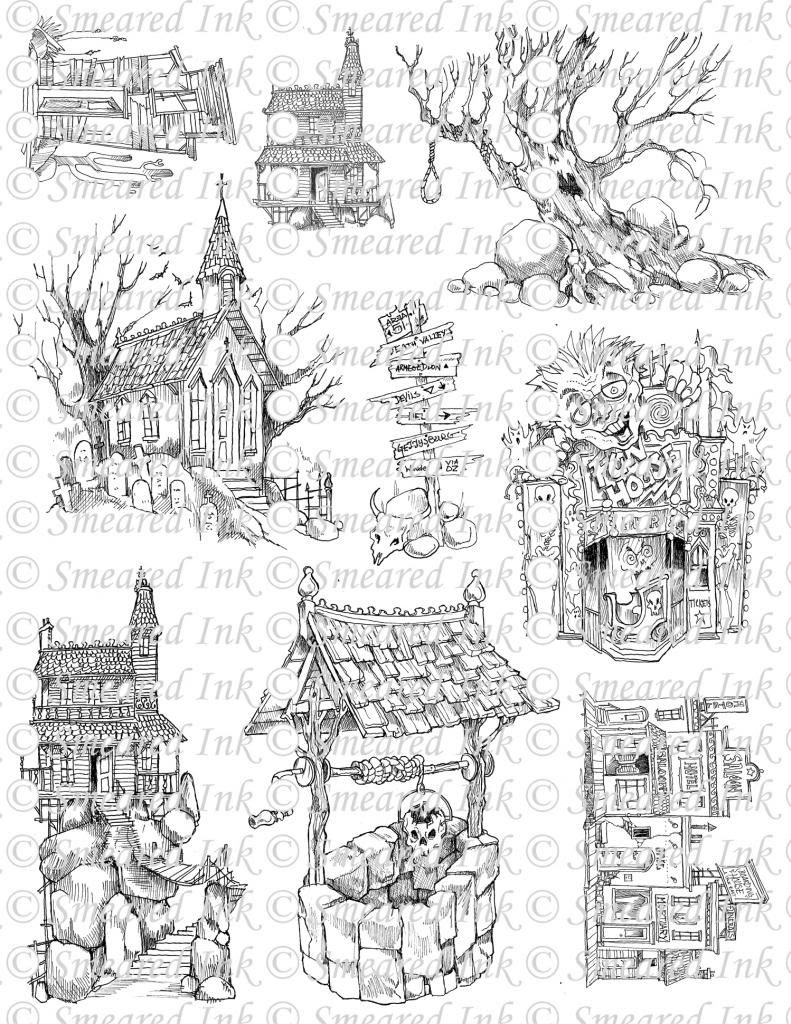
Here's the pages of the book.  The scene is a compilation of Rick St Dennis "Haunted Places #1" digis coloured with Copics in shades of gray.  Sadly the rubber is no longer available and the digis aren't up in the RSD stores so ask for the digis if you need them but this technique is well suited for lots of the images that are available!  Check out all the digis in the Zibbet and Etsy stores.
UPDATE:
Haunted Places is now available at the RSD Zibbet store here:  https://www.zibbet.com/rick1949/haunted-places-one-digi-sheet


The edges of each page have Black Soot Distress Ink applied and the black background has a metallic silver edging which you can see in the photo below.


Here's the completed Domino Book with a black ribbon tied in a bow, the ribbon has silver wire wrapped around the ends.


 Thank you for visiting with me today!
Happy Stamping!
 THE SHARPIE DOMINO QUEEN
I design for Rick St Dennis EDT * Lost Coast Designs * Carmen's Veranda * Forever Dark *

Sunday, January 31, 2016

Finale of our Lost Coast Designs New Stamp Showcase - Watercoloured Floral cards

Howzit Friends!
I've been having a blast with my fellow Lost Coast Designs DT members over on our Lost Coast Portal to Creativity Blog for the last 2 weeks showing off our new Lost Coast Designs stamps with a "New Stamps Showcase" event!  We hope you have enjoyed and been inspired by our projects every day!  If you've missed the fun then pop on over and start on Day 1 and also check out our NEW IMAGES at Lost Coast Designs, they are so freaking awesome you're going to want them all!

We are giving away one of our new stamps!  Visit and comment on all the New Stamp Showcase posts from January 18 through to today and let us know what you think of our featured projects.  Readers who comment every day of the event and then tell us today which new stamp is their favourite will be entered into a random draw to win their fave new stamp!!!!
I will announce the winner on Wednesday, Feb 3rd, so you've got time to catch up!  

For the finale today I'm sharing a trio of single stemmed floral cards. 
I used the following new Lost Coast Designs stamps:
Open Rose, Tulip, Doodle Flowers and Misc Words as well as the Little Diamonds background.


I made 3 fussy cut floral cards, 2 tall and skinny plus 1 small gift card, using the Distress Inks watercolour technique.  The flowers were stamped on watercolour paper with black Versafine ink and coloured with Fired Brick, Peeled Paint, Forest Moss and Mustard Seed Distress Inks. 


I made the tall and skinny folded card bases from white cardstock and stamped those with the Doodle Flowers in Mustard Seed DI.  I then cut away the entire right hand side of all 3 cards.


Transform them with single "word" sentiments!
 The photo below shows them closed with the diamond stamped interiors now visible in the cut outs making the front and insides all part of the overall design.  I used Sage VersaMagic ink to stamp the interiors but first I stamped onto scrap paper to remove some ink for a more distressed effect.


Thanks for visiting with me today, now don't forget to pop by all the New Stamps Showcase posts starting from the January 18 post and leave us lots of love for the chance to win your fave new stamp!
Are you ready?  GO! ;0)

Happy Stamping!
 THE SHARPIE DOMINO QUEEN
I design for Rick St Dennis EDT * Lost Coast Designs * Carmen's Veranda * Forever Dark *

Wednesday, March 11, 2015

Shades of Green ATCs - "50 Shades of GREEN" Lost Coast Designs Readers Blog Hop Giveaway!

I'm super excited to be hosting
Lost Coast Designs very first
Readers Progressive Blog Hop Giveaway!
the
"50 Shades of GREEN"
blog hop starts today on the
Lost Coaster's Review blog and EVERYONE is invited to participate and be in the running to win a $20 gift certificate to spend at
Lost Coast Designs!

Members of the Lost Coast Design Team kick off the hop today at 11am PST so pop on over, hop all the blogs in the Blog Hop roll Inlinkz collection, which is below my projects, get inspired and join the fun!

Link up your own Shades of GREEN projects from today through to March 30 and keep the blog hop rolling!

 Visit the Lost Coaster’s Review blog for all the info and rules on how YOU can play and win!

The hop will close at NOON PST on March 30th and the winner announced on March 31st and some Honourable Mention blog badges
are up for grabs too!


 I'm sharing 3 ATCs here today to get you in the mood and inspire you to join the fun ;0)  Plus another project which is over on my DominoART blog too!
All ATCs feature Lost Coast Designs rubber stamps only!
 All 3 ATCs were designed using watercolour paper cut to size (Artist Trading Cards must be 2.5 x 3.5 inches or 64 x 89 mm) and I used the Distress Ink Watercolour technique to blend and achieve depth and various shades of green with a watercolour brush pen directly from the stamped image and from the ink pad itself.  I used Peeled Paint and Forest Moss Distress Inks on them all to achieve the various effects. 

3D water droplets enhance her head piece and the background
Lily was stamped with Forest Moss and Peeled Paint Distress Inks, watercoloured and extra details added with a Peeled Paint Distress Marker.  3D water droplets were added with a Vive Pearl Magic Transparent White pen.  Peeled Paint DI and Stickles Crystal glitter with a green tinge was applied to the edges of the white paper roses and the detail on Lily's dress.

click to enlarge
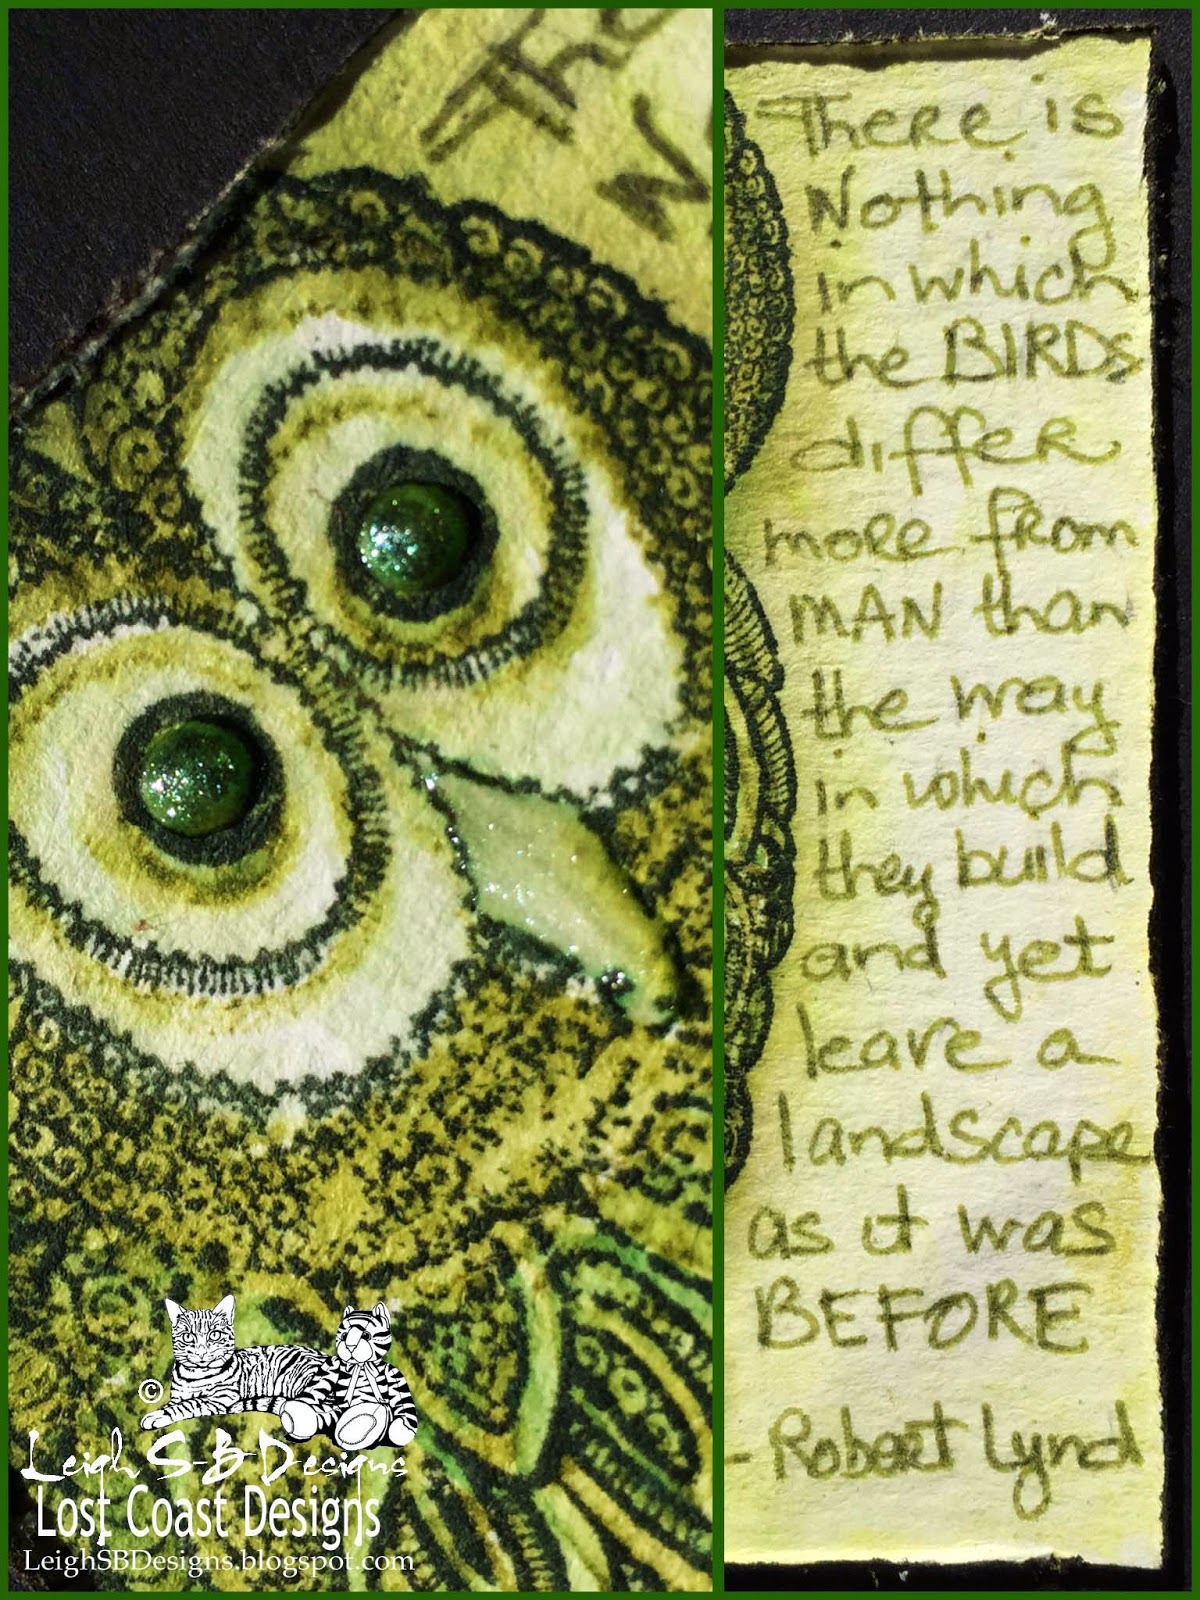
For this ATC I stamped the large owl from the Owl Set in Forest Moss using a stamp positioner.  The image was watercoloured with Forest Moss and Peeled Paint DI.  The owl image was then over stamped (using the stamp positioner tool) in black Archival Ink to make the image pop.  Dimension was added to the eyes and beak with a Vive Pearl Magic Transparent White pen.  This 3D paint truly is magic because it has a whitish shimmer to it and it takes on whatever colour you apply it to which you can see here...the eyes look dark green and the beak is a pale greenish-white.  I hand wrote the Bird quote in Peeled Paint Distress Marker.


I used the Feathered Bird and Feathers stamps for my last ATC.  The Feathered Bird was stamped with Forest Moss DI and watercolour blended to enhance it's inky style.  The Feathers image was overstamped with Peeled Paint DI with some minimal blending.  The silver Peace bead was attached with green floral wire and tied at the back after I punched tiny holes into the ATC.  I distressed all 3 ATCs with Tim's Tonic Paper Distresser tool and the rough edges stained with Forest Moss DI.

Thank you for hopping with me today!  I hope I've inspired you to get out all your green supplies and join the fun by participating in our blog hop!  The blog hop roll Inlinkz collection is below!  So off you hop and see what fabulous Shades of Green projects await you!


This hop is going to be so much fun,
are you excited to get stamping?

May the luck of the Leprechauns be with you!
Challenges Entered:
Eclectic Ellapu

Happy Stamping!
 THE SHARPIE DOMINO QUEEN
I design for Smeared Ink * Lost Coast Designs * Altered Eclectic Challenges *About Art Accents

Wednesday, September 11, 2013

Dark Etchings Series 1 - Haunted Places!

Howzit Friends!

 I've been having fun playing with a technique that I call faux etching coz it reminds me of the print etchings I did when I was studying Fine Art.


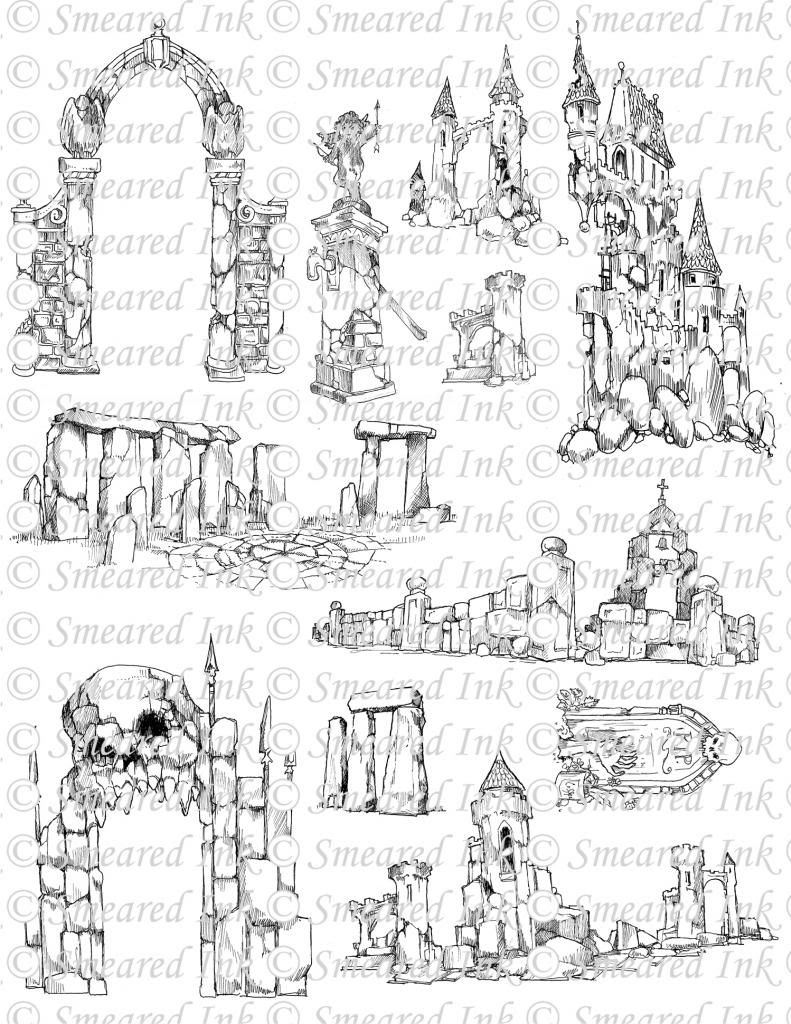
Last week I shared the first in my Dark Etchings series which was the ATC for Smudgy Antics previous challenge...their new challenge started on Monday, Use Embellishments, so pop over and check it out!!  Now I'm super excited to show you these because both feature the newest rubber images designed by Rick St Dennis and are featured sets in Smeared Inks' Rubber Club!  These images are freaky fabulous and you should grab them for your Halloween projects this year, let them know I referred you if you decide to join up ;0)

Smeared Inks' Rubber Club exclusives
Haunted Places 1 and Haunted Places 2


 Dark Etching - Sacred Ground


 The faux etching technique is so much fun and really simple to do and the hardest part about my etching above was all the masking.  I used 3 of the stamp images to collage the scene as well as portions of the image from the center of the sheet...you'll be able to spot the collaged sections, just click on the photo to enlarge it.  Everything was stamped with Black Soot Distress Ink onto watercolour paper and I used a Japanese water brush pen that has the built in reservoir.  It really is just a watercolouring technique coz the water picks up the stamped ink and you can control how much ink to pick up for light areas and add more directly from the ink pad for darker areas.  You don't need any special masking paper either coz I used plain old Scotch Magic Tape and just mask the areas off on the rubber stamp, ink it up, then remove the tape before stamping.  You can either eyeball the placements or use a stamp positioner to line everything up perfectly!  


Dark Etching - The Signs

  
I used two images from the Haunted Places 2 sheet to create the etching above.  I used my Perfect Square tool to trim down the watercolour paper before adhering both etchings to black cardstock and then used my Perfect Layers tool to cut the 3/16" black borders.  Use my special coupon code Leigh5% to get 5% off your entire purchase once you realize you can't live without these tools!  I think I'm actually going to frame these two I love them so much ;0)  I've also got more up my sleeve for Dark Etchings Series 1....I'll be sharing my Smudgy Antics DT "Embellishments" piece next.  I'm also taking part in the next round, #9, of the Smeared and Smudged DT Throwdown with the ghouls of Smeared Ink themselves so you won't want to miss checking it all out on our new DT Throwndown blog!!
Happy Stamping!
 THE SHARPIE DOMINO QUEEN
I design for Blockheads Paper Arts * Third Coast Rubber Stamps * Lost Coast Designs * Smeared Ink * About Art Accents

Tuesday, July 23, 2013

"Kitty in a Garden Breeze" Winner of Perfect Tears Card Contest and shown live from CHA on Create & Craft TV!

Hello Friends!
I'm so excited to announce that this card of mine won the card category in Perfect Paper Craftings' Brand Ambassador Perfect Tears Contest and will be shown on their CHA TV segment live from Las Vegas on Create and Craft on Wednesday July 24!  Create and Craft is a UK crafting channel which you can watch on their website at Create and Craft TV.  The segment will be repeated a few times during CHA so tune in to see my card ;0) 


My card features two of Lost Coast Designs stamps: Flourish - Long Swirl and Floppy Ear Cat and the Perfect Tears tools which I used to create the paper flowers and the iris folding in the large center flower.  Perfect Layers, Perfect Tears and Perfect Squares are the most awesome 'you can not live without' tools for scrapbookers and paper crafters!  For more info about Perfect Paper Craftings' products please visit my Ambassador page and use my special code Leigh5% at checkout to get 5% off your entire order :0)

More info about how I made my winning card will be up here later this week so please stop by again and check it out :0)

Happy Stamping!
 THE SHARPIE DOMINO QUEEN
I design for Blockheads Paper Arts * Third Coast Rubber Stamps * Lost Coast Designs * Smeared Ink * About Art Accents

Wednesday, May 22, 2013

Vintage-Shabby Mini Cards for Blockheads

Hello Friends!
Last week I showed you how I made a vintage shabby chic swing card using just one Distress Ink pad to create a watercolour effect.  I'm back today to share two mini cards and this time I've combined more than one ink pad to create a multiple colour watercolour effect.


Friday, May 17, 2013

Vintage Travel Shabby Chic Swing Card for Blockheads!

Hello Friends!
Shabby chic is this month's featured style and the Blockheads Paper Arts' design team has a variety of projects for you to try!  Today I'm sharing a shabby chic vintage travel themed swing card created with a Distress Inks watercolour technique.