News
The Summer BUZZ Collection
Re-Release Sale-bration thru July 19!
The Gilded Raven Release!
"Rocky Mountain Christmas"
Winter 2025 Collection
Adopt all the Loveleigh Kitties, they're PURRfect for every occasion!
Showing posts with label TECHNIQUES: PrismaColor Coloured Pencils. Show all posts

Saturday, June 13, 2020

The Summer BUZZ Blog Hop: "Busy Bees" Pyramage Card by Leigh!

Howzit Creative Friends!
Welcome one and all to LeighSBDesigns fun blog hop for June in celebration of Summer and LeighSBDesigns' brand new release, The Summer BUZZ Collection🌞  We’re busy sharing our creations featuring the new Summer themed release and more with you all and loving all your fabulous Summer makes you've shared in the hop so far🌞

Everyone is welcome to enter projects using LeighSBDesigns Art Stamps and/or any other company products in The Summer BUZZ Blog Hop any time through June 30th when the hop linky closes at 11:59pm pacific!  All the hop details, rules and the linky party can be found at the bottom of my June 8th post!  I hope you’ll join us for a month of creative Summer fun🌞

🌞🌞🌞 SUMMER SALE 🌞🌞🌞
 
UPDATE
 
Shop LeighSBDesigns SUMMER SALE at LeighSBDesigns Etsy Boutique for the brand new Summer BUZZ Collection and more!


🐝 Busy Bees 🐝
torn tags pyramage card by Leigh

My Summer BUZZ Blog Hop inspiration for you today is a colourful stacked torn tags card featuring my new Busy Bees set🐝


The fun focal design of my torn tags pyramage card is coloured with Prismacolor pencils and the tag edged with Wild Honey and Ripe Persimmon Distress Oxide Inks.  I used magic transparent Viva Pearl pen to add dimensional shimmery shine to the bee wings and flower centers.


I printed the Busy Bees collage out in 3 different sizes and used Tim's Stacked Tags dies to die cut them out then tore the bottom edge of each tag.


I used Squeezed Lemonade, Wild Honey and Ripe Persimmon Distress Oxide Inks to colour the largest tag with foam ink applicators and added Ripe Persimmon paint brush splatters.  For the medium tag I used Tumbled Glass, Broken china and Mermaid Lagoon Distress Oxide Inks and Mermaid Lagoon for the splatters.


For lots of pretty sparkle I added Crystal Stickles glitter glue to the flower centers on the 2 larger tags and then edged all 3 tags.


I made a folded card from heavy weight white cardstock and cut the top edge to mirror the tag shape and layered all the tags and the "Busy Bees!" sentiment to the card with pop dots for a fun 3D pyramage look!


Shop the SUMMER SALE through midnight pacific June 30th🐝

Have a fabulous crafty day and thanks for visiting!
Stay Inspired and Stay Safe!
THE SHARPIE DOMINO QUEEN

Thursday, May 7, 2020

MerMay Blog Hop: Exotic Meri Oddleigh and Friends by Leigh!

Howzit Creative Friends!
I hope you are continuing to stay safe and healthy during this terrible time😘
We’re busy celebrating May with our first MerMay Blog Hop through May 14 and then my annual Halloween in May "Something Wicked This Way Comes" Blog Hop will help keep us busy for the remainder of the month🎃

 We’re now halfway through our FINtastic MerMay Blog Hop and enjoying the mermazing projects shared already🧜‍♀️  Come join the fun and create mermaid magic with us this month🧜‍♀️  Swim back to my May 1st post for all the details and the MerMay Blog Hop Linky Party is at the bottom of the post!

Shop LeighSBDesigns Mermaid Sale through May 14!
sale ends at midnight pacific!  

🧜🏻‍♀️ MerMay Blog Hop 2020 🧜🏻‍♀️

🧜‍♀️ Exotic Meri Oddleigh Mermaid and Friends 🧜‍♀️
by Leigh

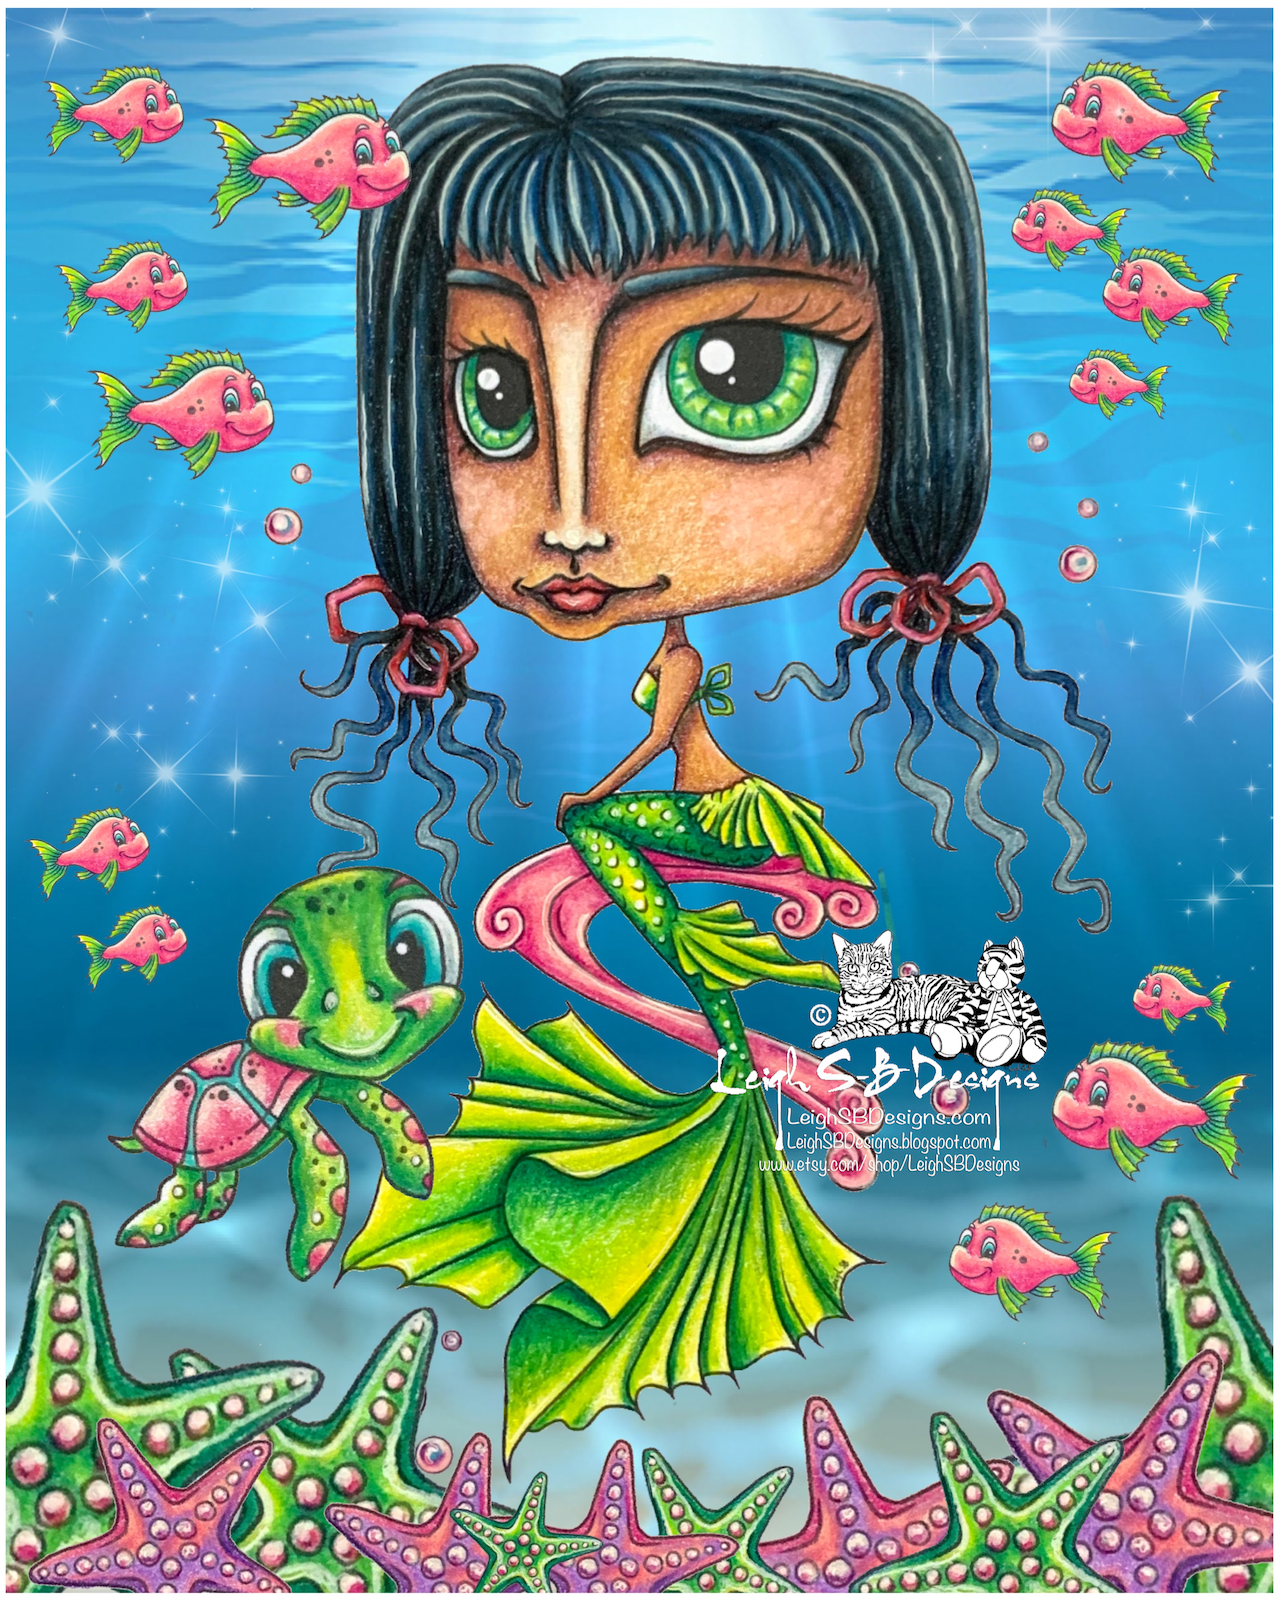
🧜🏻‍♀️ It’s Day 7 of MerMay and I’ve got another magical Meri Oddleigh Mermaid and Friends creation for you today!  This time I gave her an exotic look and coloured her and her friends up with Prismacolor pencils!


Then I did some digital magic in photoshop to create my mermazing under the sea scene🧜‍♀️


🧜‍♀️Meri Oddleigh Mermaid and Friends set 🧜‍♀️

Have a fabulous creative day and thanks for stopping by to see today's featured project!
Stay Inspired and Stay Safe!
THE SHARPIE DOMINO QUEEN

Wednesday, July 31, 2019

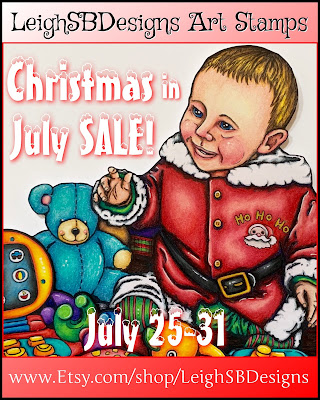
Christmas in July: Baby's 1st Christmas by Leigh!

Happy Christmas in July Creative Friends🎄
Today is the last day of our Christmas in July inspiration week and sale!  Sale ends at midnight pacific tonight so dash on over to LeighSBDesigns Etsy Boutique  asap and pick up some fabulous images for your Christmas cards this year❄️

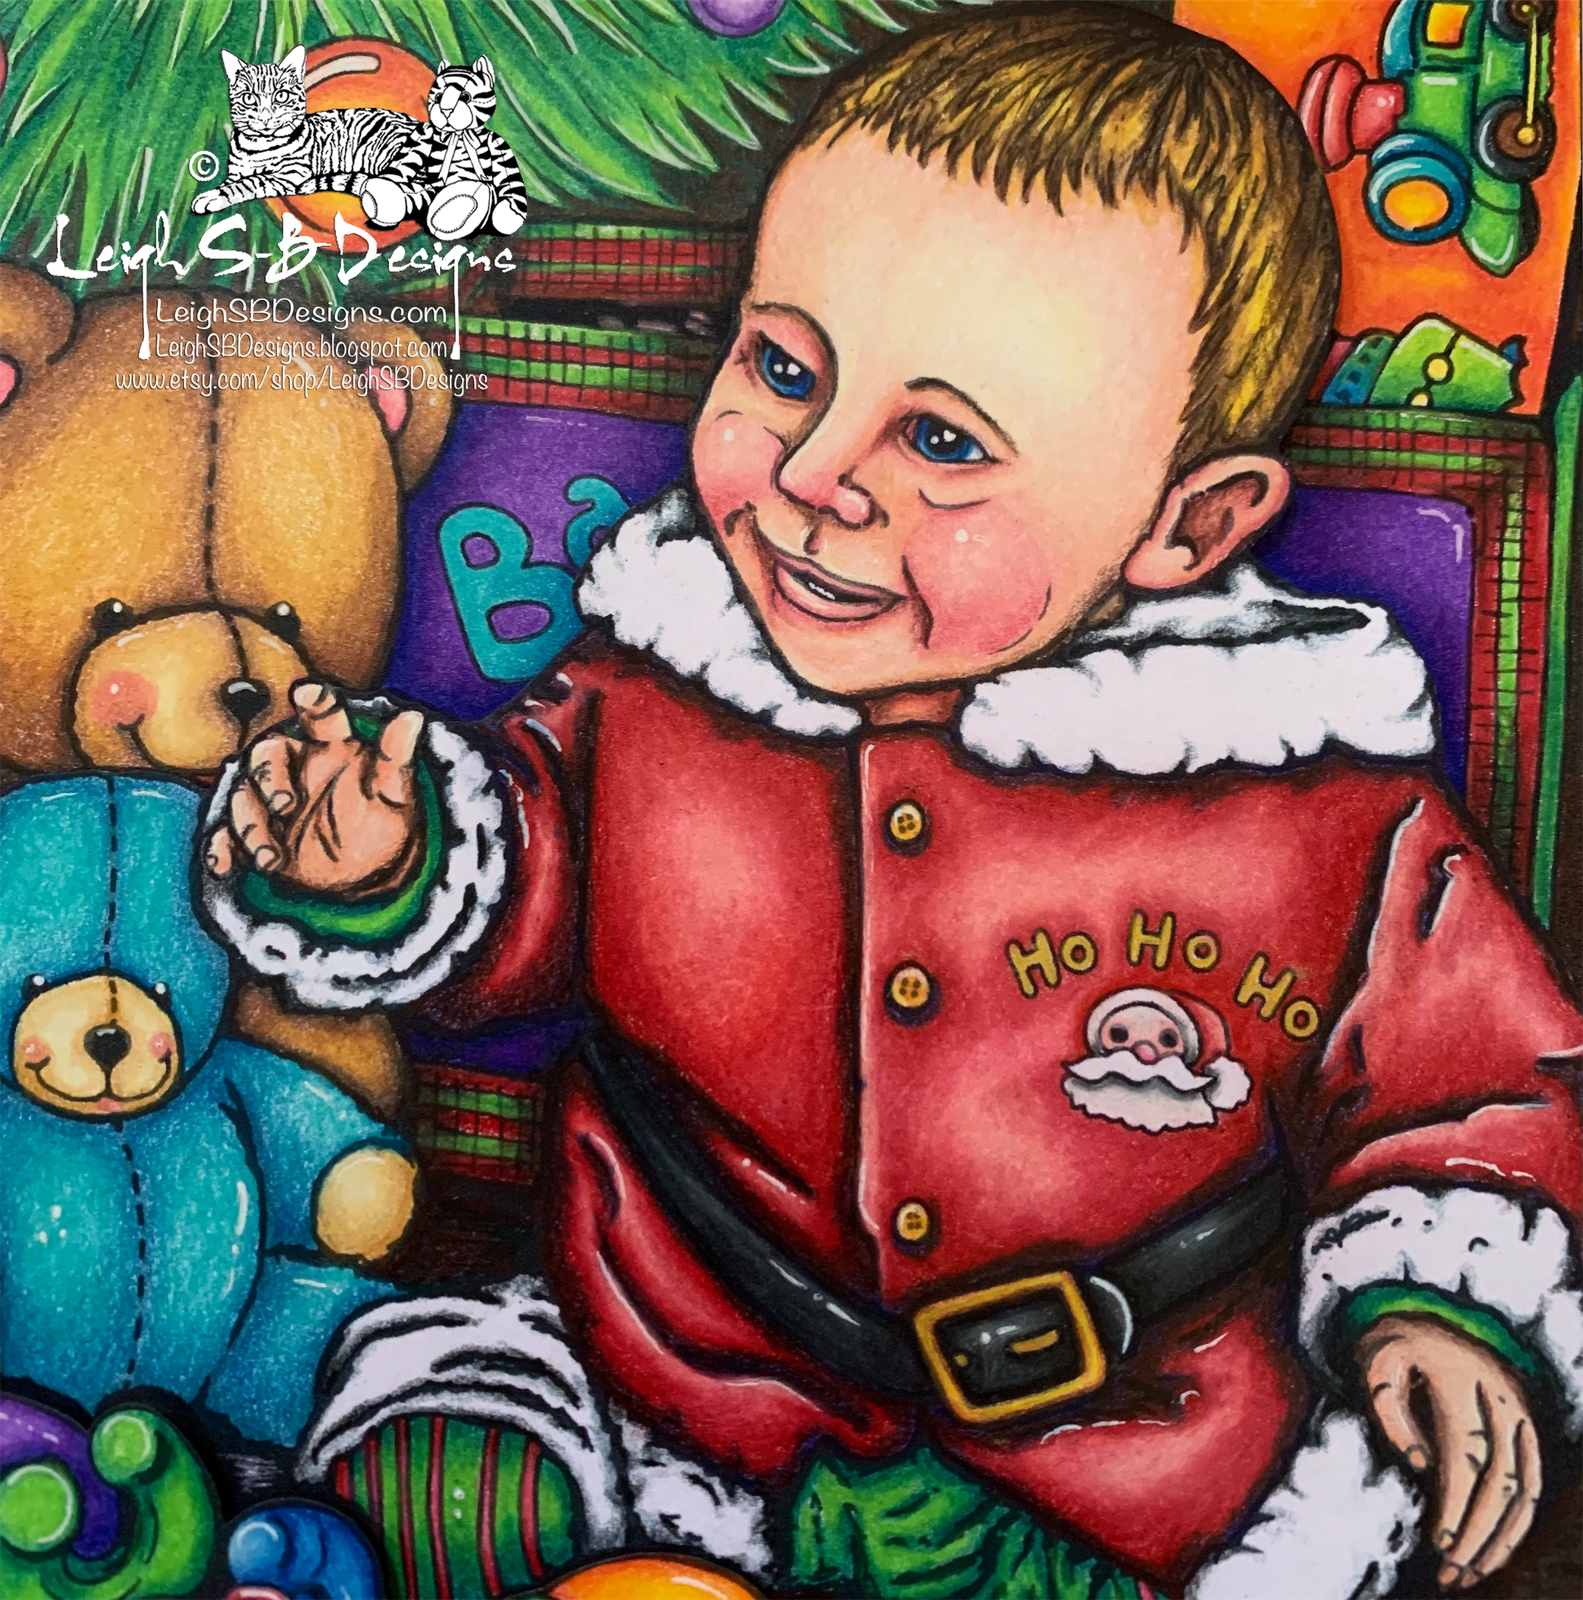
For your inspiration today I'm sharing my colouring of First Christmas🎅🏻


This is a drawing of my nephew's first Christmas coloured with Prismacolor pencils😉
How cute is he!!!


There's nothing more magical than seeing the joy of Christmas morning through the eyes of a
child🎅🏻

 
Get First Christmas and more in the Christmas in July Sale at LeighSBDesigns Etsy Boutique🎄

https://www.etsy.com/shop/LeighSBDesigns

Thanks for stopping by to see today's featured project!
Happy Creating!
THE SHARPIE DOMINO QUEEN

Wednesday, July 3, 2019

"Fireworks Burning Bright" mixed media Oddleigh tag by Leigh!

Happy 4th of July Creative Friends!
I've got a fun and fabulous tag to share today plus 4th of July weekend SALEbration news🎉

Shop LeighSBDesigns store wide SALE this holiday weekend and pick up some must haves for your collections!  The Sale starts at midnight tonight and ends at midnight pacific on Sunday July 7th!  Enjoy😀


lil miss Oddleigh July 4th is the star of my mixed media tag creation today.  How adorbs is she!!!


She's so cute and super fun to create with and I paired her up with my own handwritten text.
 I'll be adding this lil text story to an upcoming Sentiment Set so stay tuned😉


 I had so much fun creating this fun July 4th scene with all the dimension, texture, sparkle and shimmer....soooo pretty!


I created the background with Wilted Violet, Tumbled Glass and Peacock Feathers Distress Oxides with fun water splats to create the mottled textural effect that I think looks like distant firework lights.  I used Dylusions paint pens to base colour in the Oddleigh Fireworks and then applied Sunny Yellow Viva Pearl 3D gel to the stars and blue and pink glitter glue to the sparks.  I also used black and white Dylusions paint pens to add the fun border to frame the scene as well as her cute checkerboard stockings.


 I coloured lil miss Oddleigh July 4th's hair and face with prismacolor pencils and her eyes, lips, clothes and the USA flag with sparkle gel pens.  For even more shimmer I applied clear Spectrum Noir Sparkle pen to her eyes and eyelashes as well as the highlight areas on her face.  The text is handwritten with a black sharpie fine point pen and mounted on Crafter's Companion heavy weight black cardstock.  I used the same cardstock to die cut out the large Crafter's Companion Contemporary Tag.  To add even more fun shine I used gold Pebeo gilding wax to edge and enhance the stitched design on the black tag as well as frame all the text.  I layered my scene onto the tag with pop dots for some fun dimension and adhered the text with tacky glue.


I hope you've enjoyed seeing lil miss Oddleigh celebrate her 4th of July and hope your evening is as magical as hers🎉 

Don't forget to shop my SALEbration this weekend and add her and her friends to your collections😉

Thanks for stopping by to see today's featured project!
Happy Creating!
THE SHARPIE DOMINO QUEEN

Sunday, May 5, 2019

MerMae Ocean Scene WIP by Leigh!

Happy Sunday Creative Friends!
I’m sharing another “colouring in progress” today using MerMae and Ocean Scenery from my new Mermaid Collection🧜‍♀️  I’m using Prismacolor pencils on this one too.


 The Mermaid Collection is available as a bundle as well as individually!
You can now shop for them at LeighSBDesigns Etsy Boutique at special intro prices end TODAY at midnight pacific!

https://www.etsy.com/uk/listing/702786593/mermaid-collection-bundle-realistic

MerMae is a beautiful realistically drawn fantasy mermaid with flowing hair framing her lovely face and a magical tail with gorgeous fins.

https://www.etsy.com/uk/listing/701338989/mermae-mermaid-realistic-fantasy-mermaid

MerWitch is gorgeous creature with a darker edgy vibe.  She's very haute couture in her stylish Witch hat embellished with seaweed, exoskeleton torso and spiderweb fins.  She will be perfect for your Halloween projects especially for our upcoming annual Half-o-Ween in May blog hop😉

https://www.etsy.com/uk/listing/701339395/merwitch-mermaid-realistic-fantasy-witch

The Ocean Scenery set completes the Mermaid Collection!
With the Bubbles, Tall Greenery and Leafy Greenery you can create fabulous underwater scenes for MerMae and MerWitch.  You can even use the greenery for land scenes too, the possibilities are endless!

https://www.etsy.com/uk/listing/688929878/ocean-scenery-set-mermaid-collection

 Need them all then get the Mermaid Collection Bundle!

https://www.etsy.com/uk/listing/702786593/mermaid-collection-bundle-realistic

Thanks for stopping by to see today's featured project!
Happy Creating!
THE SHARPIE DOMINO QUEEN

Friday, May 3, 2019

MerMae colouring in progress by Leigh!


Happy Friday Creative Friends!
I’m having fun colouring up an underwater scene I created using MerMae and Ocean Scenery from my new Mermaid Collection🧜‍♀️  Here’s a colouring in progress using Prismacolor pencils!


 The Mermaid Collection is available as a bundle as well as individually!
You can now shop for them at LeighSBDesigns Etsy Boutique at special intro prices good through May 5th.
Sale will end at midnight pacific!

https://www.etsy.com/uk/listing/702786593/mermaid-collection-bundle-realistic

MerMae is a beautiful realistically drawn fantasy mermaid with flowing hair framing her lovely face and a magical tail with gorgeous fins.

https://www.etsy.com/uk/listing/701338989/mermae-mermaid-realistic-fantasy-mermaid

MerWitch is gorgeous creature with a darker edgy vibe.  She's very haute couture in her stylish Witch hat embellished with seaweed, exoskeleton torso and spiderweb fins.  She will be perfect for your Halloween projects especially for our upcoming annual Half-o-Ween in May blog hop😉

https://www.etsy.com/uk/listing/701339395/merwitch-mermaid-realistic-fantasy-witch

The Ocean Scenery set completes the Mermaid Collection!
With the Bubbles, Tall Greenery and Leafy Greenery you can create fabulous underwater scenes for MerMae and MerWitch.  You can even use the greenery for land scenes too, the possibilities are endless!

https://www.etsy.com/uk/listing/688929878/ocean-scenery-set-mermaid-collection

 Need them all then get the Mermaid Collection Bundle!

https://www.etsy.com/uk/listing/702786593/mermaid-collection-bundle-realistic

Thanks for stopping by to see today's featured project!
Happy Creating!
THE SHARPIE DOMINO QUEEN

Tuesday, June 5, 2018

Tutorial Tuesdays: Anubis Fancy Tri-Fold card by Leigh

Howzit Creative Friends!
On May 31st we had a spooktacular mini Half-o-Ween blog hop to celebrate reaching the half way point to October🎃  Those of us who LOVE Halloween always need a good excuse to indulge our dark sides so a big THANK YOU to those who joined in on the fun!  I will announce the winners of the two prizes this week so stay tuned👻   


 I shared my fussy cut tri-fold card featuring my two new Anubis releases for the blog hop and now here's my tutorial to show you how I created it.


Anubis (sitting) and Anubis Bust are currently on sale at a special release price!
Sale ends June 10 at midnight PDT!
 

  Print out both images onto Neenah solar white cardstock.  I used Prismacolor pencils to colour the fur areas and Copics for the bandages, Egyptian paintings and ornamentation to show a difference in the texture and style between the two areas.  I added highlights with a white gel pen and used a metallic gold gel pen on all the jewelry and to enhance the designs on Anubis' faces.


 Fussy cut out both images leaving a narrow white border then mat onto black cardstock and fussy cut again leaving a narrow black border.  This is one of my fave techniques to do coz it both strengths the fussy cut elements and also makes them stand out nicely against the backgrounds.
 Now for the fancy tri-fold card!  Cut a sheet of watercolour paper down to 8.5 inches by 10.5 inches.  Score and fold into 3 panels measuring 3.5 inches wide.


 Randomly apply Pumice Stone and Tea Dye Distress Ink to the panels with a foam ink applicator just to add a base of colour.  Then smear Tea Dye and Black Soot DI onto a non-stick craft sheet, spritz with water and randomly press the panels into the ink.  Dry with a heat tool as you go and just continue adding more layers of drips and splats for a wonderful ancient papyrus look.
 

  Unevenly apply Tea Dye DI ink to the large hieroglyphs stamp and cover each panel to get the worn look of ancient Egyptian stone chiselled walls.
 

 Stamp Egyptian scenery along the bottom of the panels on both the front and back of the tri-fold with Onyx Black Versafine ink.  Mask off areas and continue stamping to create continuous scenes and use a black Pigma Micron pen to fill in extra details where the stamps ended.


 Stamp the last panel, which is the tallest, with more hieroglyphs in Onyx Black ink.  I also stamped the first panel on the opposite side just to give it a cohesive look on both sides.
 

 Adhere the scrap piece of burlap and the Anubis Bust to the front panel with glue and a pop dot.  Fussy cut out the front panel leaving about a 1/4 inch border around the images.  Fold the card with the spine of the front panel on the right hand side and adhere Anubis (sitting) to the 2nd panel so he's visible behind the Anubis Bust when the panels are folded.
 

 Continue where the first panel ended and fussy cut around Anubis (sitting).  Fold the 2nd panel with the spine on the left and continue fussy cutting out the 2nd panel.  Cut the top of the last panel into a point to look like a pyramid towering behind both Anubis'.


 Finish off by applying Black Soot DI to all the edges of the tri-fold card.


 ANUBIS BUST

ANUBIS

Supplies used:
Sphinx rubber stamp - Stamp Cabana
Hieroglyphs rubber stamp - Judikins
3 Egyptian scenery and Hieroglyph rubber stamps - Sonlight Impressions
Pumice Stone, Tea Dye and Black Soot Distress Inks
Onxy Black Versafine Ink
Foam Ink Applicator
Prismacolor pencils:
Black, White, Indigo Blue, Black Cherry, Dark Brown, Yellow Ochre, Goldenrod, Yellowed Orange, Canary Yellow and Crimson Red
Copic markers:
E11, 40 - 47, N0-4, BG11 and 13, G21 and 85, Y13-17 and Y38, R27, 29 and 59
Black Pigma Micron pen
Ranger white gel pen
Metallic gold gel pen
Neenah solar white cardstock
Canson watercolour paper
Black cardstock
Tim Holtz Distress Sprayer and water
Scrap of burlap fabric
Glue
Pop dot

I love how my project turned out and hope you've enjoyed seeing how it came together!
Don't forget to snap up these two gorgeous Anubis designs while they're on sale at a special release price!  The 30% off Sale ends June 10 at midnight PDT!

Thanks for stopping by to see my project today!
Happy Stamping!
THE SHARPIE DOMINO QUEEN