Shop LeighSBDesigns new website store and get 35% off your entire purchase with code LeighSBDesignsDec23
Sale ends Dec 31st at 11:55pm pacific
⛄ 🎄⛄ 🎄 ⛄ 🎄 ⛄ 🎄 ⛄ 🎄 ⛄ 🎄 ⛄ 🎄 ⛄ 🎄 ⛄ 🎄 ⛄
Check out my fabulous new
Poinsettia and Holly Collection
ThePoinsettia and Holly 2023Collection of 3 festive Digi Stamps, 3 packs of Decorative Digi Papers and 5 SVG Cutz sets are
here to fill you with festive warmth and the spirit of the season!
I can't believe tomorrow is Christmas Eve already, where has December gone, LOL? Don't forget ourTWO Challenges for December end Christmas Eve before midnight so hurry and get in your Poinsettia Holly themed makes and your Snowflake themed makes before Santa comes! Also enjoy 35% off in LeighSBDesigns December Sale with code LeighSBDesignsDec23 through Dec 31st!
Come join us and countdown to Christmas in LeighSBDesigns style🎅
The Poinsettia and Holly Botanicals and Bow "Colourize It" SVG Cutzset includes 2 styles of Poinsettia in 3 sizes with multiple layering options. This
photo guide shows all the elements included in the set as well as the
assembly options and is included in the download when you add this wonderful SVG
Cutz set to your collection.
You can do so much with this set and all the options included will let you start cutting and creating immediately. You can also resize the elements to suit your needs too!
Resizing Pro Tip
Center all the cut elements on your onscreen cut area and enlarge or reduce them all together as a group to ensure each part is resized correctly!
Now lets start making some Poinsettias!
Step 1
Cut the fancy Poinsettia overlays from both styles in various sizes out of patterned cardstock using your electronic cutting machine, I'm using my Silhouette Cameo 4.
Step 2
Cut the matching base layers for each Poinsettia from red cardstock.
Step 3
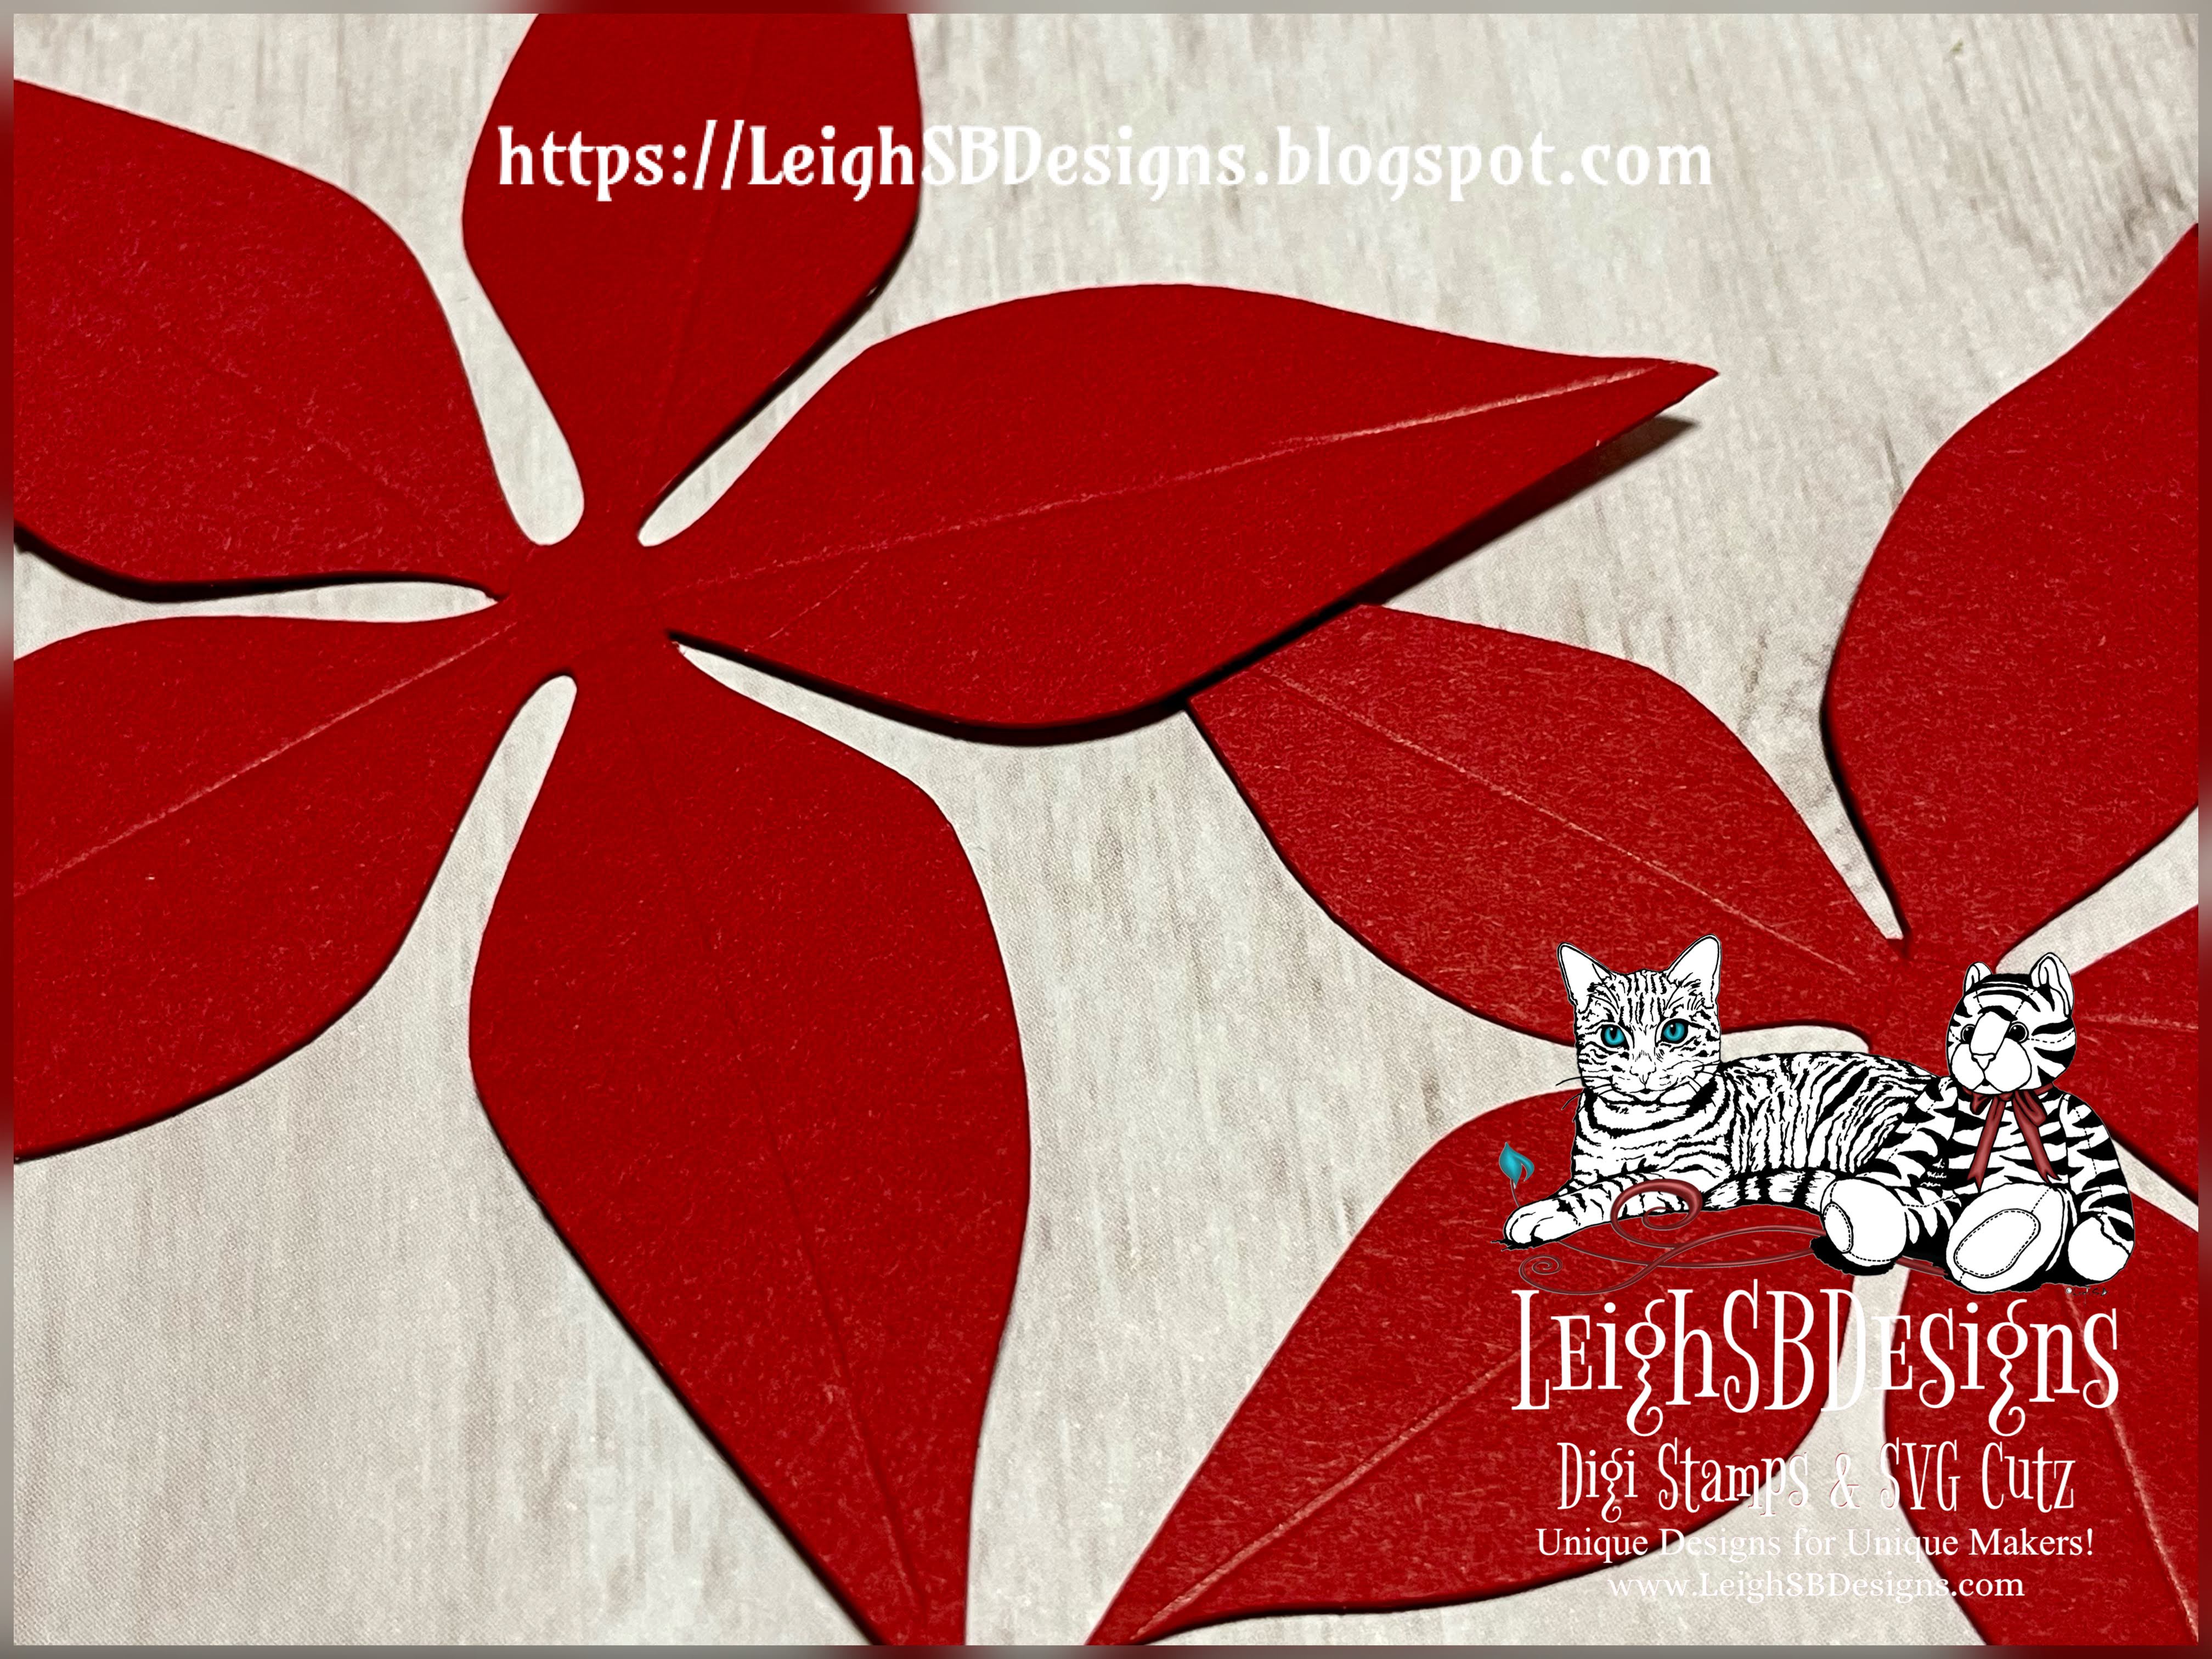
Score a fold line down the center of each petal stopping before you reach the center of the flowers.
Step 4
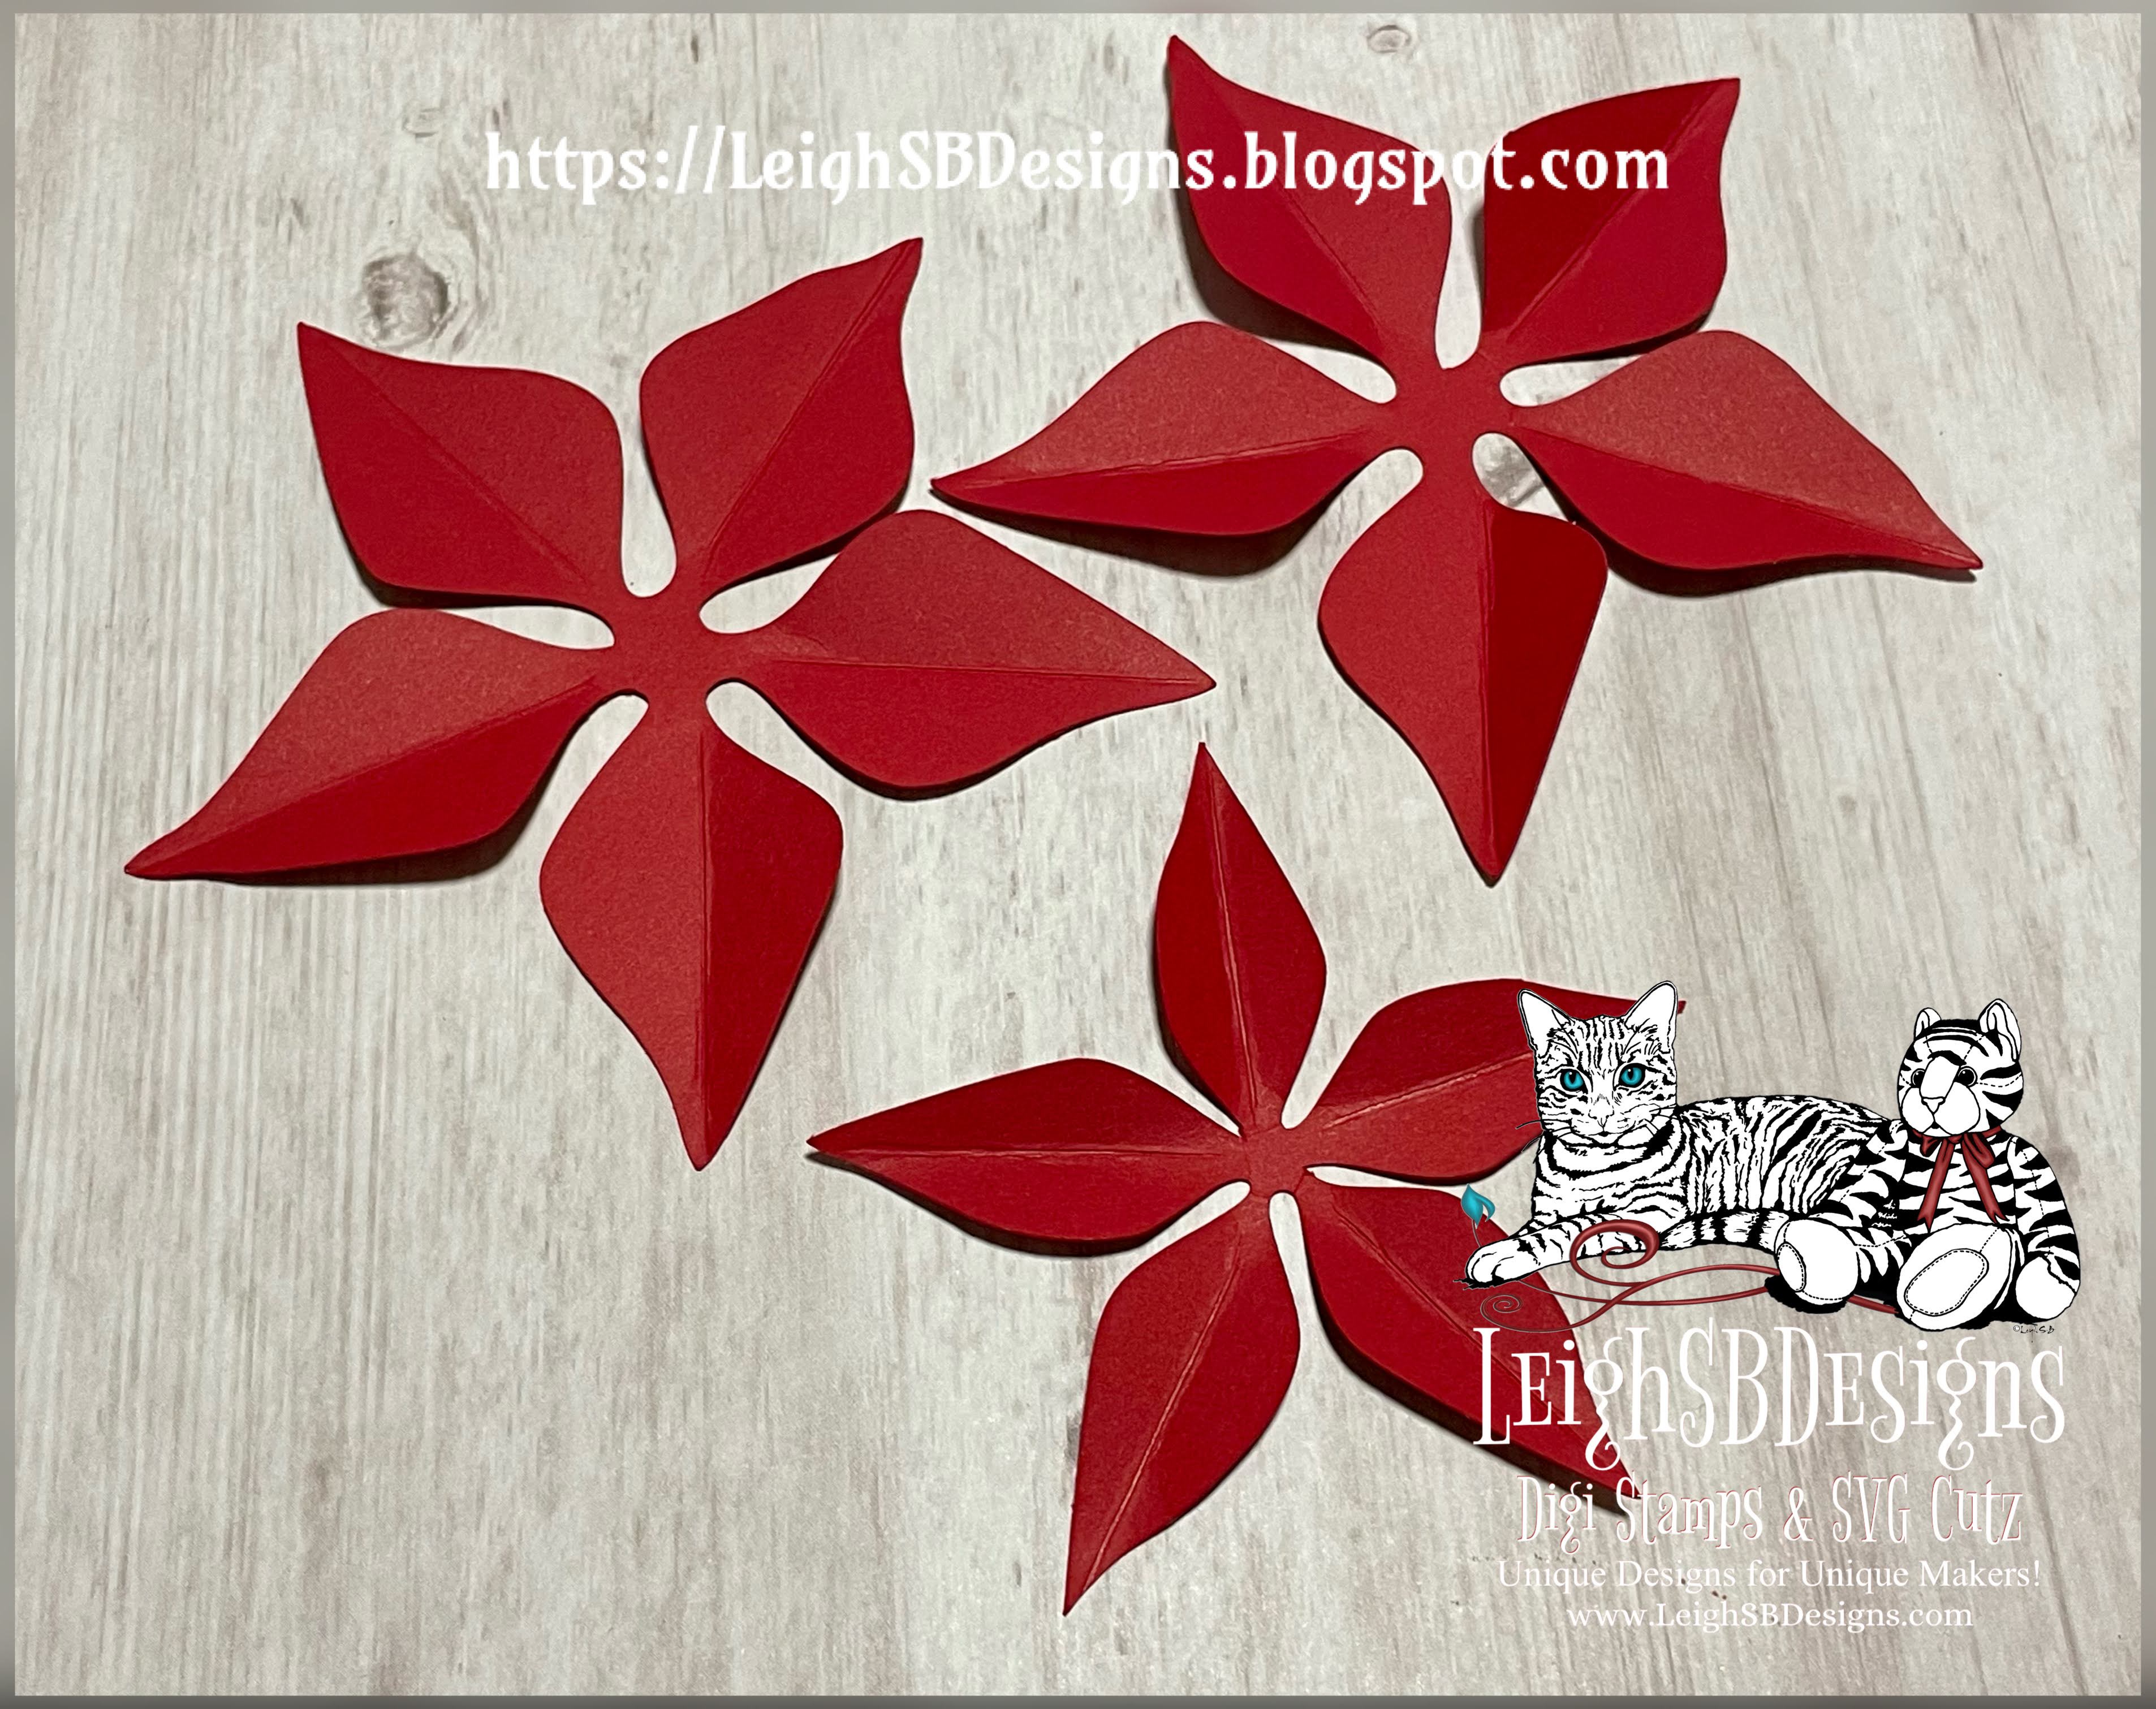
Pinch and gently fold each petal to give the Poinsettia flowers structure and dimension.
Step 5
Match up the fancy overlay flowers to their base flowers and adhere them together with a dab of glue in the center of each flower only.
Pro Tip
The Poinsettias aren't symmetrical so the easiest way to match the layers is by lining up the centers.
Pro Tip
For assembly I
recommend using wet glue that's not super grabby to get some extra time to wiggle layers into place.
Step 6
To make one 3D Poinsettia adhere two flowers on top of each other with the petals staggered.
Play around and have fun mix and matching the flower sizes as well as the styles. For the first Poinsettia I I combined flowers made from both styles in the same size.
For the second Poinsettia below I combined 2 same size flowers in the same style.
For the third Poinsettia I combined 2 different flower sizes in the same style.
Step 8
Customize the Poinsettia centers by cutting them out of a variety of cardstocks.
Mine are cut from yellow pearlescent cardstock.
Step 9
Customize your Poinsettias further by embellishing the centers with glitters, 3D drops or jewels.
I embellished mine with yellow-gold self adhesive pearls.
I hope you've enjoyed my two assembly tutorials this week and will have fun creating your own Poinsettias and Majestic Bows! Join me during Christmas week and make a fabulous 12" Christmas Wreath using your Poinsettias and Majestic Bows!
⛄ 🎄⛄ 🎄 ⛄ 🎄 ⛄ 🎄 ⛄ 🎄 ⛄ 🎄 ⛄ 🎄 ⛄ 🎄 ⛄ 🎄
Christmas Eve is the last day to play in ourTWO Challenges this month! Both linkies are in the same post so do come and join the fun for the chance to win
LeighSBDesigns prizes!
Shop LeighSBDesigns new website store and get 35% off your entire purchase with code LeighSBDesignsDec23
Sale ends Dec 31st at 11:55pm pacific
⛄ 🎄⛄ 🎄 ⛄ 🎄 ⛄ 🎄 ⛄ 🎄 ⛄ 🎄 ⛄ 🎄 ⛄ 🎄 ⛄ 🎄 ⛄
Check out my fabulous new
Poinsettia and Holly Collection
ThePoinsettia and Holly 2023Collection of 3 festive Digi Stamps, 3 packs of Decorative Digi Papers and 5 SVG Cutz sets are
here to fill you with festive warmth and the spirit of the season!



 THE SHARPIE DOMINO QUEEN