


Howzit Creative Friends!
It's Tutorial Tuesday time and LeighSBDesigner Nan has a fabulous Anubis themed Artist Trading Coin to share with you today!
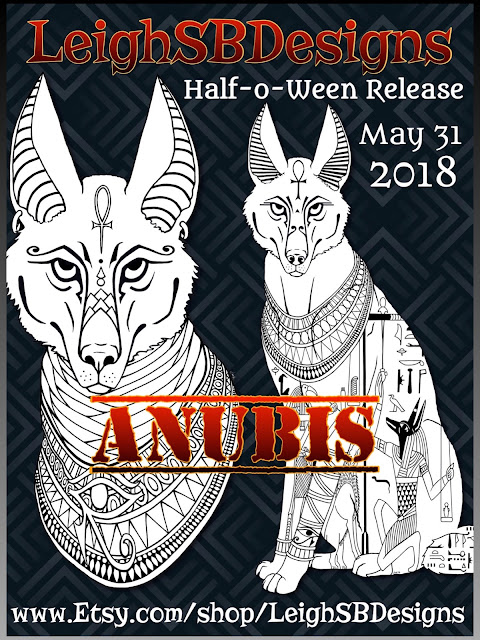
Add the Anubsi Bust and the Anubis (sitting) digis to your collections, both are on FLASH SALE until midnight PT on Thursday! Plus, have you checked out the Christmas in July sale yet? All the Christmas digis are on sale until July 31st, you don't want to miss it!
Shop the Christmas in July sale!
Shop the Anubis sale!

Hi Everyone, Nan here to show you how I made my Anubis Artist Trading Coin!
It's Tutorial Tuesday time and LeighSBDesigner Nan has a fabulous Anubis themed Artist Trading Coin to share with you today!
Add the Anubsi Bust and the Anubis (sitting) digis to your collections, both are on FLASH SALE until midnight PT on Thursday! Plus, have you checked out the Christmas in July sale yet? All the Christmas digis are on sale until July 31st, you don't want to miss it!
Shop the Christmas in July sale!
Shop the Anubis sale!

Hi Everyone, Nan here to show you how I made my Anubis Artist Trading Coin!
Start by printing out the Anubus Bust image sized to fit the 2 1/2 inch circle for the ATCoin. Then print out a background for the coin. I used some samples of Egyptian hieroglyphics and aged them with Tea Dye and Black Soot Distress Inks.

An artist trading coin is 2 1/2 inches, cut out the circle for the background using the distressed Hieroglyphicks with scissors, a die or a large circle punch. I wanted lots of texture so I created my own stencil using a die and scrap cardstock. Add the stencil design to the circle using texture paste applied with a palette knife.

Then sprinkle gold embossing powder onto the texture paste while it's still wet and heat emboss it. A heat gun made the wet texture paste bubble nicely which added to the vintage distressed look of the coin.

Add some embossed detailing to the outer edges of the coin for even more distressed texture. Then sprinkle gray and purple Nuance powders onto a craft mat, spritz with water and dip the edges of the coin into the colors. Apply touches of white acrylic paint to the embossed design with your finger for an aged distressed look. Age the image of Anubus with the same Distress Inks and let dry completely before using markers to color in the details. I used blues on him after looking at Egyptian art online, he was done in striking blues and I liked that idea.

To give the ATCoin more weight cut a backing piece for the coin from a cereal box and adhere the decorated coin to it with your favourite glue. I then created a "credits" panel for the back of the coin on my computer and only realized after taking my tutorial photos that I'd left the word "to" out of my description...darn it, LOL ;0)

Ink all of the edges again with Distress Inks after all the pieces have been glued together. Fussy cut out the Anubus Bust and add fabulous molten metal detail to his collar with gold embossing powder and then finish off by adhering him in place onto the coin.
Materials used:
White cardstock
Cereal Box
Tea Dye and Black Soot Distress Inks
Gold Embossing powder
Embossing folder
White acrylic paint
Texture Paste and palette knife
Glue
Thanks for stopping by to see today's featured project!
White cardstock
Cereal Box
Tea Dye and Black Soot Distress Inks
Gold Embossing powder
Embossing folder
White acrylic paint
Texture Paste and palette knife
Glue
Thanks for stopping by to see today's featured project!
Happy Creating!
 THE SHARPIE DOMINO QUEEN
Love it Nan with all the embossed texture! x
ReplyDeleteACK !!! What an awesome idea - this is fabulous :-) xxx
ReplyDelete