Howzit Creative Friends!
Welcome to LeighSBDesigns June Blog Hop in celebration of our Summer 2021 Chapter 1 release, the Bubbly Depths Collection of SVG Cutz🧜🏻♀️
Cool down this Summer and dive into the Bubbly Depths to explore the
magical world beneath the waves!
June 13 - 30th
🧜🏻♀️🐠🦈
Our 2021 crafty festivities continue into June with our new Bubbly Depths Blog Hop!
Everyone is welcome to come
and join the fun using any stamp company supplies and products.
Make
a splash this month and enter your Bubbly Depths SVG Cutz, mermaid,
ocean, sea and nautical themed makes in the Linky Party located in the MAIN HOP POST which includes all the
details on how to play and our few simple Hop Rules too! The linky party closes at 5 minutes to midnight
pacific on June 30.
Get creative with us and be inspired by all the fabulous makes shared all June long!
🧜🏻♀️🐠🦈 BUBBLY DEPTHS SALE 🧜🏻♀️🐠🦈
Check out LeighSBDesigns Etsy Boutique June Sale on now through June 30 midnight pacific!"Bubbly Depths"
Circle SVG Cutz Easel Card by Leigh
My Bubbly Depths Blog Hop inspiration for you today is a MER-MAZING round easel card featuring my Summer 2021 Chapter 1 release, the Bubbly Depths Collection🧜🏻♀️
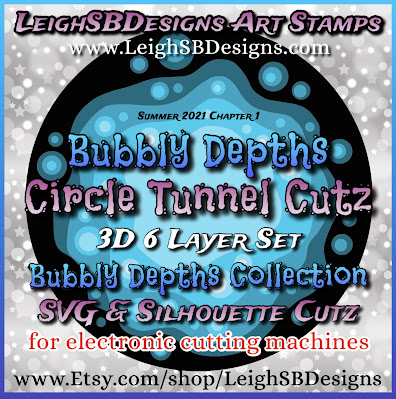
I used 5 of the 6 SVG Cutz layers included in the Bubbly Depths Circle Tunnel SVG Cutz set to create this FINtastic easel card!
For my layered scene I used 4 of the Bubbly Depths Circle Tunnel SVG Cutz layers with center aperture cuts plus the 6th layer which is just a circle cut so my watery background was visible through the last aperture.
I cut 3 circle shapes using the 6th layer from my Distress Oxide Spray cardstock and my Silhouette Cameo. I used one for the background of the layered scene, one for the back of my easel card and one for the base scene.
I cut the largest of the 2 netting sizes included in the Bubbly Depths Netting SVG Cutz set from black cardstock and pounced metallic silver ink all over the net. I also edged all the circle cut layers in silver too.
Using the Bubbly Depths Ocean Life SVG Cutz set I cut the Mermaid, both Sharks, 2 Starfish and 3 Fish from black cardstock and applied some metallic silver inks to them in various degrees depending on how "deep" they are in my scene.
I then applied Judikins Diamond Glaze to all the sea life for a wonderful glass-like 3D look.
I cut another one of the top Circle Cutz layers for the base of my easel card and layered it over the netting.
I used one of the Sharks as my easel card stopper which I adhered in place with pop dots. I also added Judikins Diamond glaze to the bubbles on the base.
I assembled all the layers with pop dots and adhered the sea life in place with a combination of pop dots and glue then embellished with clear dew drop gems.
A view of the easel card showing the Distress Oxide coloured cardstock I made for the back.
To make the easel card mechanism I used the 6th layer circle as a template and drew two interlocking circles onto heavy weight cardstock. I then scored a fold where the circles interlocked and a score fold in the middle of the top circle to create the easel fold.
The easel card folds flat for easy mailing so if you haven't tried your hand at making an easel card yet then I hope this one inspires you to give it a go!
I used the following to create this MER-MAZING 3D easel card:


Fabulous Leigh, love it and love the colour inks!
ReplyDeleteThank you ;0)
DeleteAmazing sea scene. Equally amazing is the fact the net was machine cut, not sure my Scan N Cut can cut so delicately.
ReplyDeleteThanks Angela! I bet your Scan n Cut will handle the delicate Netting Cutz nicely as Brother promotes it as a competitor to Cricut and Silhouette so I'm sure you'll be pleasantly surprised!
DeleteFabulous Leigh! I look forward to using these svg files when I get back to my craft room!
ReplyDeleteThanks Susan! I can't wait to see what you create with them!
Delete