Howzit Creative Friends!
Can you believe we're now in September!? Woohoo, Halloween is just around the corner and you know what that means right...time to think about LeighSBDesigns annual 31 Days of Halloween Blog Hop🎃 I'll be sending out a call for bloggers shortly but you can check out last year's hop HERE in the meanwhile and start getting ready, so stay tuned for that!
Edit: 31 DOH Blog Hop deets are HERE!
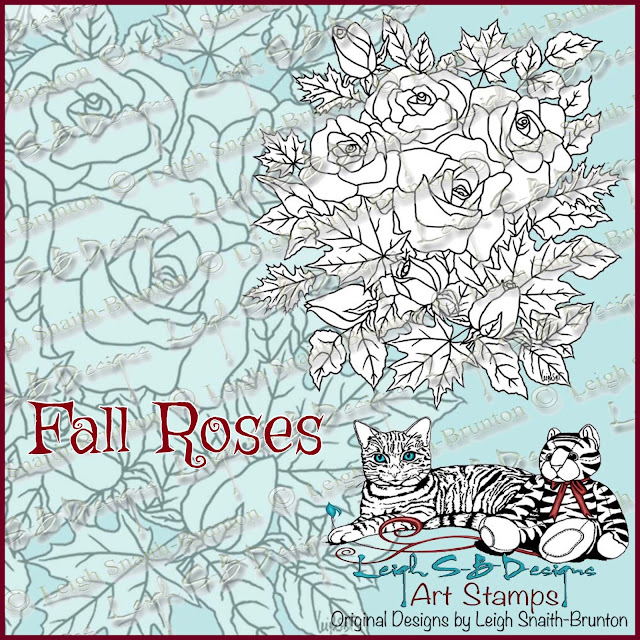
On to today's Tutorial Tuesday project by LeighSBDesigner Val featuring my Fall Roses which she's transformed into a fabulous wintery creation❄️
As usual, all featured digis are on FLASH SALE so snap up Fall Roses from now until midnight pacific on Thursday!

Hi everyone, I have a canvas tutorial for you today using the wonderful Fall Roses. I love how this design can be used for all the seasons just by changing the colour scheme!


For the base of my project I used an 8 x 10 inch canvas and created the speckled blue background with Nuance Powder which is similar to Pixi Powders and Brushos. I spritzed the canvas with water then sprinkled the powder over the watered area, you can add more power and water as required.
Can you believe we're now in September!? Woohoo, Halloween is just around the corner and you know what that means right...time to think about LeighSBDesigns annual 31 Days of Halloween Blog Hop🎃 I'll be sending out a call for bloggers shortly but you can check out last year's hop HERE in the meanwhile and start getting ready, so stay tuned for that!
Edit: 31 DOH Blog Hop deets are HERE!
On to today's Tutorial Tuesday project by LeighSBDesigner Val featuring my Fall Roses which she's transformed into a fabulous wintery creation❄️
As usual, all featured digis are on FLASH SALE so snap up Fall Roses from now until midnight pacific on Thursday!

Hi everyone, I have a canvas tutorial for you today using the wonderful Fall Roses. I love how this design can be used for all the seasons just by changing the colour scheme!


To start I printed out the image 3 times. I coloured them with Spectrum Noir, Colourista and Propmakers and then fussy cut out one entire image, adhered it to black cardstock and then fussy cut it out again leaving a narrow black border.

I coloured just the roses and some of the leaves on the other two images and fussy cut out only the sections I wanted to use.

Leave the canvas to dry for awhile or zap it briefly with a heat tool to speed up the process.

Once the canvas was dry I coloured the sides of the canvas and edged the upper rim using the chisel nib of the Spectrum Noir TB4 marker.
Adhere the main fussy cut image to the centre of the canvas using Mod Podge applied with a flat brush.

Then layer up the main image by adding the fussy cut extra roses and leaves with 3D silicone glue to add wonderful dimension to the design.


Your artwork is now ready to display on an easel or hang on the wall ;0)
I hope you've enjoyed my tutorial and will give it a try!
Come and share your projects with us on LeighSBDesigns Facebook Fan Group!
flash sale ends at midnight pacific on Thursday!

Materials used:
8 x 10 inch Canvas
TB4 Spectrum Noir marker
Colourista pens: Leaf Green and Pale Mint
Pastel Beige Propmaker
Blue Nuance Powder
Blue Nuance Powder
Smooth White Cardstock
Black Cardstock
Mod Podge
Flat Brush
3D Silicone glue


Thank you Leigh for showcasing my tutorial!
ReplyDeleteFabulous canvas Val! Love all the blues...
DeleteGreat news to see that you will be hosting 31DOH again Leigh! Funnily enough I was only looking for links about this on Tuesday...Looking forward to it!
ReplyDeleteThank you Susan for your fab comment on my canvas! x
DeleteLooking forward to 31 DOH too....always love seeing everyone's fab makes! x
ReplyDelete