Hello Friends!
Before I tell you about today's project I want to remind you all that voting starts today over on my DominoART blog for our spooktacular
15 Days of Half-O-Ween event sponsored by
Lost Coast Designs! Dash on over and check out the scary creations then vote for your favourite top 3, the winners will be announced on May 30 :0)
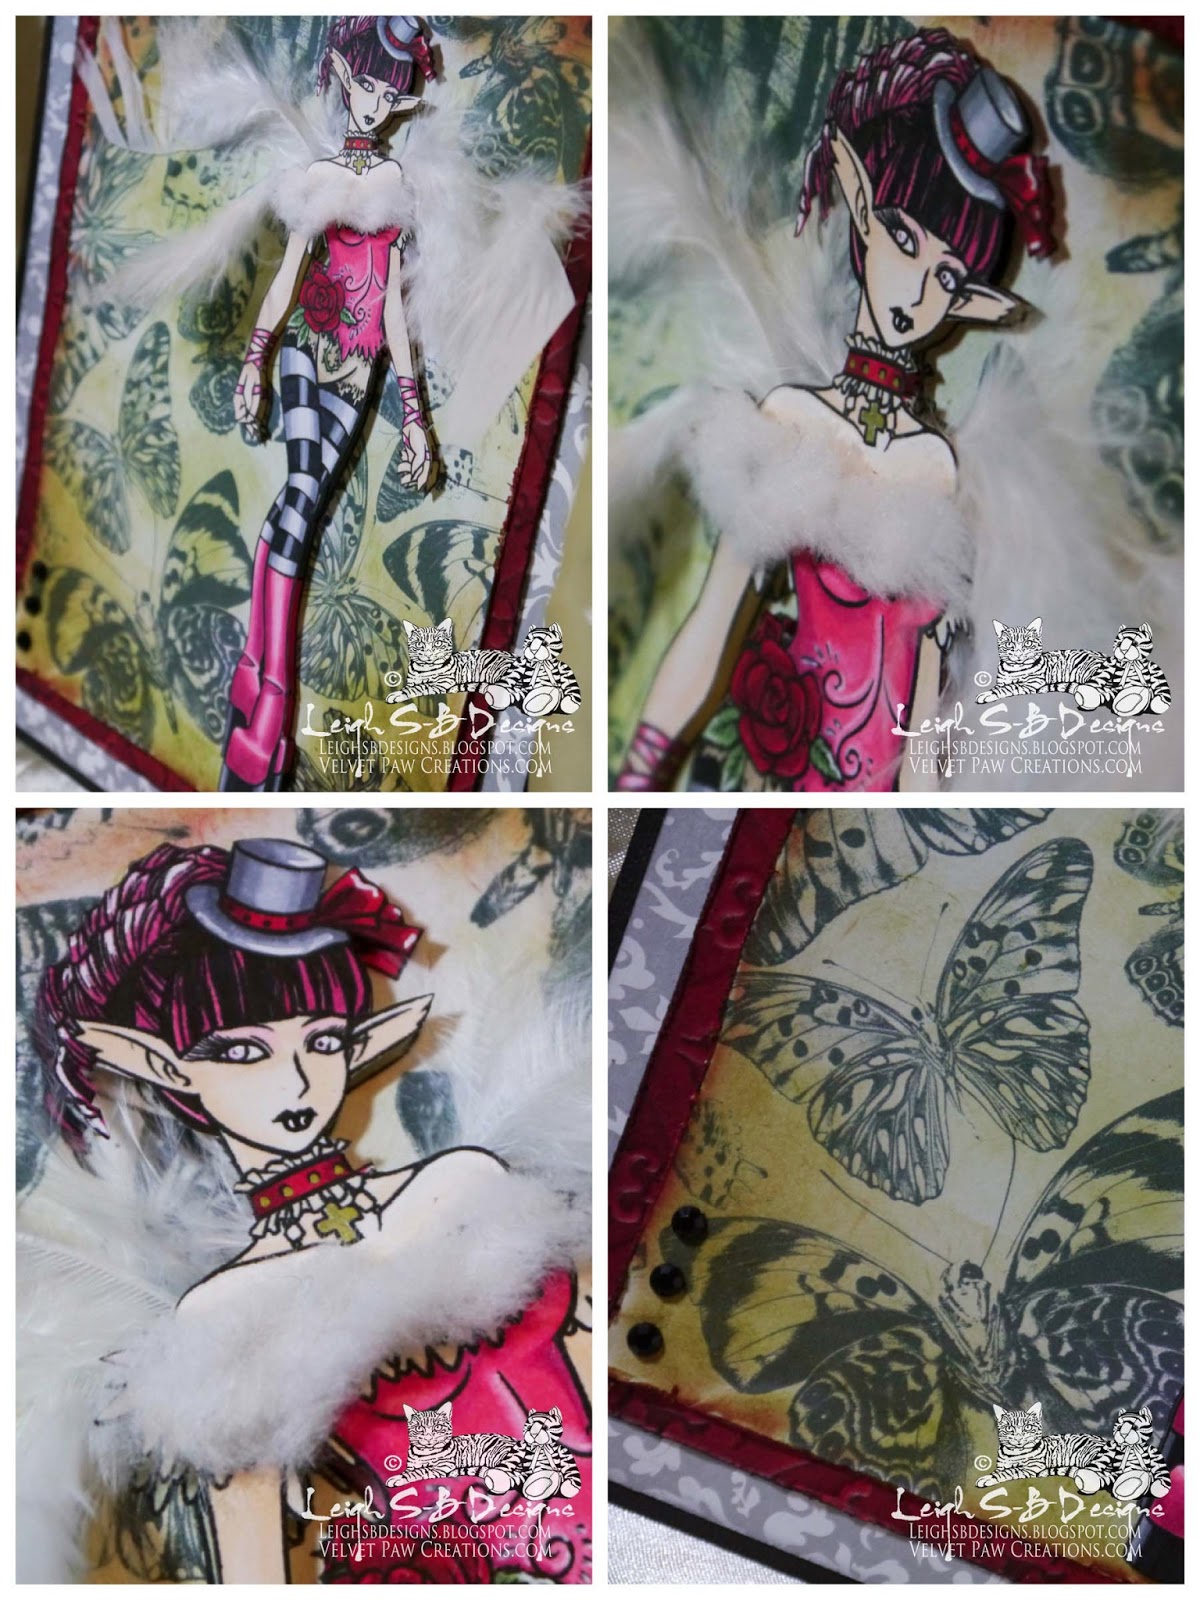
The Goth Fairy is one of Smeared Ink's beauties and she comes with as set of 9
Goth Fairies!
I also used the 3 butterflies from their new set called
Specimen Jar and created a collage for my background! Click on the photos to enlarge them.
I created the collage and included the goth fairy in Photoshop and printed the collage onto Core'dinations white cardstock. Then printed out just the fairy onto Neenah Solar White cardstock and fussy cut her out. I used Copic markers to colour both fairies but just blocked in colour on the background fairy and coloured the main fairy in detail with shading, added white highlights with a white gelly roll pen and touch of bling by colouring her choker cross with a metallic gold Letraset marker. I trimmed the background panel and distressed the edges with Tim's Paper Distresser tool. Then applied Peeled Paint Distress Ink to the entire panel, then Tea Dye DI concentrated around the edges and corners and finished off with Fired Brick DI.
I then adhered my 'fur' to the fairy's bodice with Scotch Quick Dry Adhesive. The fur is actually from a little white pompom and I shaved off bits of it with my scissors to create the fluffy fur. While that was dried I embossed a sheet of red cardstock with an eBosser Regency embossing folder, distressed the edges and applied Black Soot Distress Ink to emphasize the embossed design and the roughened edges. Next came the fairy's feather wings which I adhered to the back of the cut out fairy with more adhesive and also added
Kool Tak transparent dimensional foam tape at the same time. While the wings dried I prepared the mats.

I adhered the butterfly background to the embossed red cardstock and used my
Perfect Layers #1 tool by
Perfect Paper Crafting to cut the 1/4" border with a knife similar to an Xacto on a self-healing cutting mat. I then adhered everything to a sheet of grey/white decorative cardstock (Making Memories) and used the same tool to cut the 3/8" border. Everything was then adhered to textured black cardstock (Colorbok) and I again used the same tool to cut the 1/8" border. Aren't Perfect Layers tools awesome! I cut all those borders perfectly with just one tool that looks just like a ruler without the need for measuring and they're so easy to use! For a tutorial video and more info please visit my
PPC Ambassador page and use my special coupon code
Leigh5% to get 5% off your entire purchase if you decide you can't live without these tools either ;0)
I completed my art piece by adhering the fairy to the butterfly background and added the 3 black facet cut jewels to the lower left side. Here's a closer look at all the details.

Thank you for visiting with me today and before you dash off to enter the
Smudgy Antics challenge I'd like to remind you
that the current challenge over on my
DominoART blog is a fan favourite...
Any Game Goes and you can use any theme too so I hope you'll come and play with us!
The fun doesn't stop their either coz
June 4th is Skull Appreciation Day Blog Hop with Smeared Ink! DominoART is making a day of it by featuring skull altered game art by readers who would like to join in the fun! Click the link above for all the details and to sign up! I'm also playing in the blog hop here on Leigh S-B Designs too :0)
Happy Stamping!
THE SHARPIE DOMINO QUEEN


 Hello Friends!