News
The Summer BUZZ Collection
Re-Release Sale-bration thru July 19!
The Gilded Raven Release!
"Rocky Mountain Christmas"
Winter 2025 Collection
Adopt all the Loveleigh Kitties, they're PURRfect for every occasion!

Tuesday, May 22, 2018

Tutorial Tuesdays: World Goth Day - Celebrate YOU! by Leigh

Happy World Goth Day!
My card for today's Tutorial Tuesday features lil miss Oddleigh Cherished Heart and she's here to tell you how important it is for you to Celebrate YOU!❤️  
I also made this card with Pauley Perrette in mind as a thank you for giving us Abby Sciuto for 15 fabulous years, I'm already missing her, NCIS won't be the same without her😢❤️


lil miss Oddleigh Cherished Heart is quite the character, she's fun and sassy and can be used for pretty much any occasion!  Add her to collections while she's on FLASH SALE, enjoy 25% off thru Wednesday midnight PDT!


Print out Oddleigh Cherished Heart and 2 of the Oddleigh Cherished Heart decorative borders, that comes with her in the set, onto Neenah solar white cardstock and colour up the images using the following Copics:
Skin:  E000, 40, 41 and 42
Eyes:  YG00, 03 and 06
Makeup, Dress and Shoes:  BV00, 01, 02, 04 and 08
Hearts and Lips:  R22, 24, 27, 29 and 59
Hair:  W3, 5, 7 and 9 


Add white highlights with a gel pen then colour up the backgrounds with brown and black Derwent pastel pencils blended with a Dove Blender pen.  Closely trim the images to create 3 panels and apply Pumice Stone then Black Soot Distress Inks to the edges of each panel with foam ink applicators.


Type up the sentiment in Photoshop or similar software or hand write your own.  Colour the background with the DI inks and add a touch of bling to the text with Onyx Black Spectrum Noir sparkle brush pen.  I also added sparkle to her little black heart earring too.

Getting the seal of aPURRovul from Neo😻

Matt all the panels onto dark red cardstock and trim leaving a 1/16" border.  Adhere all the panels to a top folding card made from a sheet of black cardstock.  Adhere the sentiment to the front of the card with 3D silicone glue and embellish with metal fleur-de-lis brads glued in place with E6000 glue.
Tip:  I removed the brad prongs with my heavy duty metal snips. 


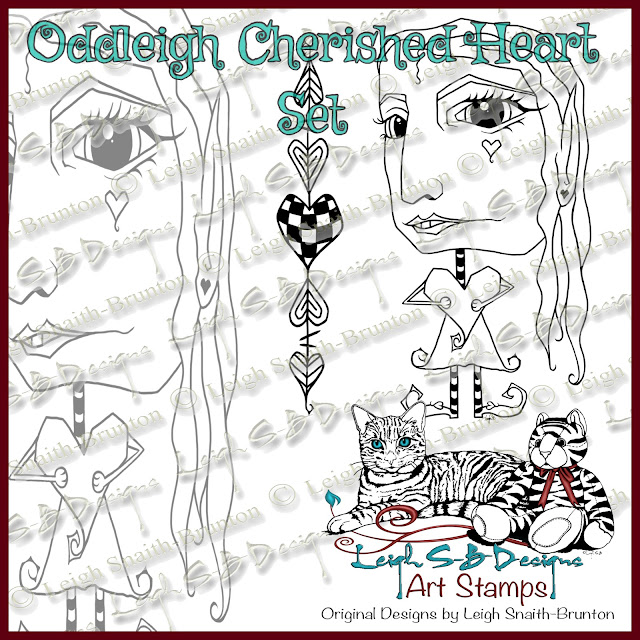
ODDLEIGH CHERISHED HEART
set of 2 digis
Flash Sale ends at midnight PDT on Wednesday!
 Supplies used:
Copics
Derwent pastel pencils
Ranger white gel pen
Dove Blender pen
Onyx Black - Spectrum Noir Sparkle Brush pen
Pumice Stone and Black Soot Distress Inks and ink applicators
Fleur-de-lis brads
Neenah solar white cardstock
Dark red cardstock
Black cardstock
Scotch Quick Dry adhesive
E6000 adhesive
Silicone Glue
Jewelry metal snips

Thanks for stopping by to see my project today😊
Happy Stamping!
THE SHARPIE DOMINO QUEEN

Sunday, May 20, 2018

Oddleigh Dreaming of Sleep card by GDT Susan R!

Howzit Creative Friends!
Today I'm sharing a fabulous card by Susan Renshaw featuring Oddleigh Dreaming of Sleep😴
 Poor lil miss Oddleigh, she sooooo desperately wants to catch some Zzzzzzz but if it isn't Mockingbirds keeping her awake it's a whole fence of caterwauling kitties, LOL, the poor ghoul!
Enjoy 25% off lil miss Oddleigh Dreaming of Sleep and the companion set, Oddleigh MockingbirdFLASH SALE ends Monday at midnight PDT!


Susan started out by combining lil miss Oddleigh Dreaming of Sleep with the Oddleigh Sleep Bubble, which comes with her in the set along with Oddleigh Stars, and digitally layered both images onto two star themed digi papers in Serif CraftArtist 2.   She then printed out the design and coloured up lil miss Oddleigh with Promarkers.   Susan trimmed the printed panel and matted it onto yellow cardstock then layered it off center onto blue cardstock then added everything to a 5 x 7 inch white folded card blank.  She then embellished with washi tape, a yellow button and finished off with the wicked cool kitties die cut from sparkly black foam.  Totally PURRfect, I love it😻
Snap her up and the companion set, Oddleigh Mockingbird, on FLASH SALE thru Monday at midnight PDT😋


Supplies used:
Pink starfish paper - Imagine that Digistamps
Blue star paper - Decosses Dynamite Doodles
Penny Black FeLINE die
Black sparkly foam
Washi tape
Yellow and blue cardstocks
5 x 7 inch white card blank
Yellow button

  Thanks for stopping by to see Susan's project today!

Before you go....do you know that something wicked this way comes?
Come hop with us on May 31st to celebrate Half-o-Ween👻
Details up on the Half-o-Ween page HERE!


Happy Stamping!
THE SHARPIE DOMINO QUEEN

Tuesday, May 15, 2018

Tutorial Tuesdays: Daisy Bee Gatefold card by Val!

Hiya Creative Friends😀
LeighSBDesigner Val has a fabulous gatefold card tutorial for you today featuring Daisy Bee so grab your favourite beverage and check it out😋


 If you haven't already added Daisy Bee to your collections then snap it up while it's on FLASH SALE, enjoy 25% off thru midnight Wednesday PDT🐝


Gatefold cards are so much fun to make!  For this one I started out with an 8.5" x 11", which is about an A4 size, sheet of white heavy weight cardstock and cut it down to a panel that measures 6" x 11".


 Fold each end of the panel in towards the center then score and fold to create the two gatefold flaps.


Cut two inserts for the gatefold flaps from white cardstock approximately half an inch smaller than the card base and decorate them with Wild Honey and Wilted Violet Distress Oxides using a sheet of punchinella as a stencil.  Then decorate the exposed areas of the gatefold panels on the card base in the same way.


Edge the two panels with a black Sharpie marker and add triangular corners on all 4 corners of each panel too.  Adhere the panels to the card base with your favourite glue.


 Size the Daisy Bee image to fit the front of the gatefold card and print out onto a sheet of Neenah white cardstock.  Colour just some of the daisies and the bee with Micron pens and Spectrum Noir Colourista markers in assorted colours for a fun bright and bold look.  Fussy cut out the image and mount onto a sheet of black cardstock and fussy cut out again.  I love how the black mat makes the image pop.  Apply Stickles Diamond glitter glue to the centers of the flowers and put aside to dry.


 Rubber stamp the sentiment (Funstamps) for the inside of the card onto a piece of Neenah white cardstock with Onyx Black Versafine ink and colour the stars with an orange Mircron pen.  Trim down the panel and edge it with the black Sharpie marker and adhere the panel inside the card.  Print out two extra flowers from the Daisy Bee image, fussy cut them out and colour them up with Rose and Gold Spectrum Noir Colourista markers.  Adhere them to the top corners of the sentiment panel and apply glitter glue to the centers of the flowers.


Once the glittered flowers inside the card have dried adhere the Daisy Bee topper panel to the front of the card.  Just apply adhesive to the one side of the Daisy Bee topper to allow the gatefold to open and tada, you've got a fabulous fancy fold card that looks amazing yet was so easy and loads of fun to make🌸

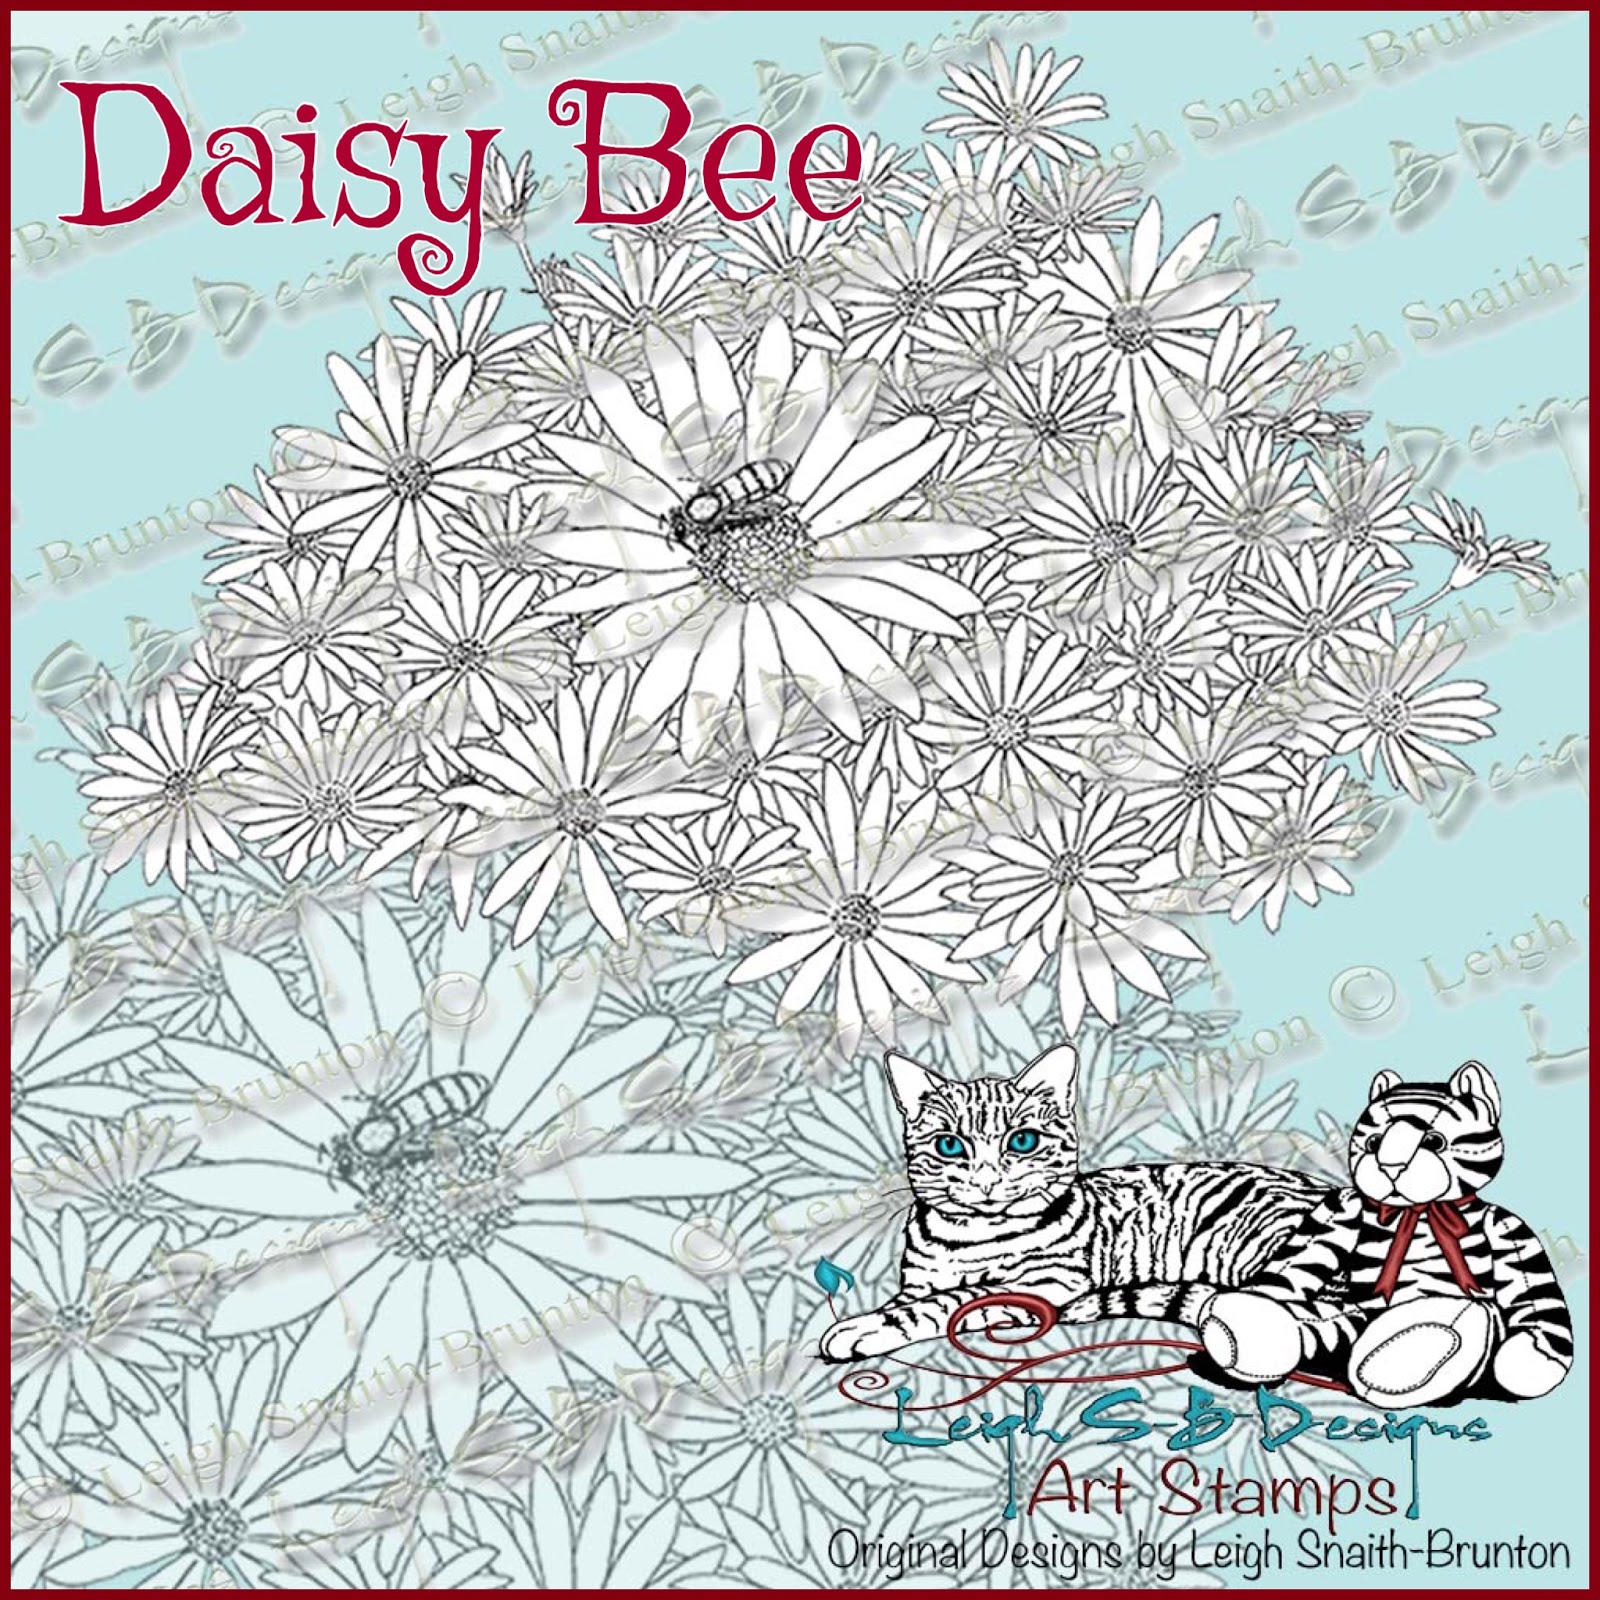
DAISY BEE

Thanks for stopping by to see Val's project today!
Happy Stamping!
THE SHARPIE DOMINO QUEEN

Monday, May 14, 2018

Half-o-Ween Blog Hop announcement - Join us May 31st!

Something Wicked This Way Comes Creative Friends👻
We're half way to October, time to dust off your Halloween supplies and get ready for
LeighSBDesigns Half-o-Ween Blog Hop on May 31st🎃

I've hosted "Halloween in May" in various guises for quite a few years now, 15 Days of Half-O-Ween and 15 Days of Terror to name a few.  I'm feeling withdrawal symptoms after missing it last year so lets celebrate that we're half way to October already with a one day blog hop on May 31st👻

 Any updates will be announced on the hop Page HERE!

  Spread the news and display the badge in your blog sidebars! 
Click on the photo to enlarge then right click to save or copy image URL.


 TWO PRIZES UP FOR GRABS!
Enter your NEW spooky kooky art in the hop and comment on all entries to
win a $10 gift certificate to LeighSBDesigns Etsy Boutique!
Feature ONLY LeighSBDesigns images on your project and boost the prize to $15👻
or 
Just enjoy the hop and comment on all entries to 
win a $5 gift certificate to LeighSBDesigns Etsy Boutique

 WHERE, WHEN, HOW to PLAY and RULES

 WHEN!
One day Blog Hop on May 31st, 2018
The hop starts at the stroke of midnight and ends at 5 to midnight on May 31st, pacific time!
 
WHERE!
 The hop is hosted here, on LeighSBDesigns Inspiration Blog!
The Blog Hop post will go live at midnight PDT! 

 HOW to PLAY!
Play in the hop any time throughout the night/day by submitting your Halloween themed projects in the Half-o-Ween linky party provided in my May 31st Blog Hop post.
The linky party is open for submissions for 23 hours and 55 minutes, the linky closes at 5 to midnight on May 31st! 
Everyone has 4 days to hop and comment on all the creeptastic projects in the linky party, May 31 - June 3rd, to qualify for the hopper prize.
You don't have to use LeighSBDesigns images to play, all companies are welcome, but of course I'd love to see projects featuring LeighSBDesigns images so I'm sweetening the prize!
Feature ONLY LeighSBDesigns images on your projects and boost the prize from $10 to $15😋

 RULES!
*#1 rule is have FUN👻
*All projects must be NEW...No past makes for this one!
*Macabre to creepy cute creations of all kinds are welcome! 
*You can enter via blogs and public social media sites!
*Include the following info in your blog posts and social media descriptions: 
 LeighSBDesigns Half-o-Ween Blog Hop 
The link to my May 31st hop post
(need to pre-schedule? then link to this PAGE instead)
include hashtag #LeighSBDesignsHalfoweenBlogHop on social media
*Include the hop badge in your blog posts, sidebars on the day is optional but appreciated!
*Submit a max of 4 projects, with each in their own post!
*Please link directly to your entry and not just your blog!
*No limits on how many other contests/challenges you can combine with this hop!
*All digi and rubber stamp company images are welcome but of course I'd love to see projects featuring LeighSBDesigns images😋

Ready to play?
See you May 31st👻
THE SHARPIE DOMINO QUEEN

Friday, May 11, 2018

I Love Bees - Daisy Bee card by Nan!

Time to Bee Happy coz it's Friday, YAY🐝
LeighSBDesigner Nan has a beautiful Spring card to share with you today featuring Daisy Bee🐝 
Enjoy 25% off on Daisy Bee, the FLASH SALE ends Saturday at midnight PDT😉
 I love the gentle monochromatic yellows/oranges Nan used on the daisies and bee and how they pop against the more vibrant colours used for the layers, so fresh, so pretty, so Spring🌼

DAISY BEE

Supplies used:
Assorted Yellow and Orange Soucolor Markers
Acrylic paints
Mowed Lawn Distress Ink
Letters and Heart stamps from Japan
glue

Thanks for stopping by to see my project today!
Happy Stamping!
THE SHARPIE DOMINO QUEEN

Wednesday, May 9, 2018

"Kitty Cuddles" Mother's Day Easel card by Leigh!

Hiya Creative Peeps!
Mother's Day is this Sunday and for today's inspiration I'm sharing the easel card I made for my Mom featuring Kitty Cuddles🐱

FLASH SALE
 Add Kitty Cuddles to your collections and enjoy 25% off!  Sale ends Thursday midnight pacific😻


I recently shared a watercolouring I did of Kitty Cuddles using Spectrum Noir ColourTint pencils, check out the post if you missed it!  This time I used the SN ColourTint pencils with touches of Prismacolor pencils.


Kitty Cuddles 
FLASH SALE ends Thursday midnight pacific😻

https://www.etsy.com/listing/609252835/new-kitty-cuddles-realistic-drawing-of-a?ref=shop_home_feat_2

Supplies used:
Crafter's Companion Die'sire Create-a-card Rose Easel die set
Craftwell Regency A4 embossing folder
Spectrum Noir ColourTint pencils
Prismacolor pencils
Brilliance Galaxy Gold ink pad
Peeled Paint and Squeezed Lemonade Distress Oxides
Onyx Black Versafine ink pad
Imagination Crafts Sage Green Sparkle Medium
Crystal Stickles
Yellow and mint green cardstocks
Spectrum Noir Premium paper pad
Sentiment rubber stamp by PSX 
Self-adhesive pearls

 Thanks for stopping by to see my project today!
Happy Stamping!
THE SHARPIE DOMINO QUEEN

Sunday, May 6, 2018

Kitty Cuddles card by Val!

Hiya Creative Friends!
 LeighSBDesigner Val has a wonderful project up for today's inspiration featuring Kitty Cuddles which is now on FLASH SALE until midnight PDT on Tuesday😻

So gorgeous, love these grey kitties and the background is so different and unique too❤️


https://www.etsy.com/listing/609252835/new-kitty-cuddles-realistic-drawing-of-a?ref=shop_home_feat_2

Val used these supplies:
IG5 Spectrum Noir marker
 Leaf Green and Coral Spectrum Noir Colourista markers 
Promarker ICR Grey 4
Black and white Prismacolor pencil
White gel pen
Wilted Violet and Wild Honey Distress Oxides 
Black Micron pen
Black Sharpie marker
Neenah white cardstock

Thanks for stopping by to see Val's project today!
Happy Stamping!
THE SHARPIE DOMINO QUEEN

Thursday, May 3, 2018

Daisy Bee Spring Time by Val!

Hiya Creative Friends!
LeighSBDesigner Val brings you Spring Time inspiration today with her lovely canvas art featuring Daisy Bee which is now on FLASH SALE until Friday at midnight pacific🐝


I can feel the sunshine radiating from this beautiful piece and if you listen closely you can almost hear the buzzing of bees🐝  Gorgeous colour palette and colouring, I love the touch of sparkle, so bright and cheerful❤️


Val used these supplies:
8 x 11 inch wall canvas
Spectrum Noir markers:  GB4 and GB1
Spectrum Noir Colourista markers:  Gold and Daffodil
Wild Honey Distress Oxide ink
Cardstocks:  Green, Lemon, White and Black
Studio G Stickles
Spring Time rubber stamp text from Val's stash
Diamond Stencil
 
Thanks for stopping by to see Val's project today!
Happy Stamping!
THE SHARPIE DOMINO QUEEN

Tuesday, May 1, 2018

Tutorial Tuesdays: I see Flowers of Blue - Oddleigh Flower card by Leigh!

Happy May Day!
Wow, I can’t believe it’s May already, this year is flying by just as fast as last year!
Well, here in 'not-so-sunny' California we’re now in what we call “grey May”.  But it’s Spring and the flowers are blooming in a riot of colour and I was inspired to brighten up my day by sharing my card “I see Flowers of Blue...and All Colours too” featuring the Oddleigh Flower set😉

Just a quickie reminder that the extra special Birthday coupon all my LeighSBDesigns Etsy Customers received expires tonight at midnight pacific, so hurry and check your Etsy conversation inboxes!


I’m having fun experimenting with my new toys, Spectrum Noir ColourTint pencils.  This card is actually my 2nd play with them, you can see my first play HERE as well as my more recent projects, Daisy Bee and Kitty Cuddles.


I started off by creating the scene in Photoshop.  I wanted her to stand on grass so used the cropped the grass from the separate flowers digi that comes with lil miss Oddleigh Flower and created the floral background with just the flowers and printed out the design onto Spectrum Noir premium paper.

  
I used colours from both the Primary and Nature Spectrum Noir ColourTint sets to colour her and the background using Derwent waterbrushes.  Then matted the panel onto black cardstock, trimmed to leave a narrow border and then mounted everything onto a white side-fold card I made from a sheet of heavy weight cardstock.

 
I had some ColourTint watercoloured paper left over from my Oddleigh Cupcake shabby chic card and die cut out 6 of the Spellbinders Carnation Creations flowers in 2 sizes and added touches of Wilted Violet and Peacock Feathers Distress Oxide inks to tint the flowers furthers with more colour coordinating colours.  I embellished the flower centers with a scrumptious metallic yellow gold Viva Pearl 3D gel and applied Diamond Stickles to the petal edges as well as the entire flower that lil miss Oddleigh Flower is holding.  I then bent all the flower petals to further enhance the 3D look and adhered them in place with dabs of Scotch Quick Dry adhesive.


 The Oddleigh Flower set is now on FLASH SALE until midnight pacific Wednesday!

Thanks for stopping by to see my project today!
Happy Stamping!
THE SHARPIE DOMINO QUEEN