Howzit Everyone!
It's my turn to share some Rick St Dennis Elite Design Team inspiration today and I've got a large 3D art piece for you. I created this one with a colouring page from Rick St Dennis' "Tierras de los Muertos - Day of the Dead 2" colouring book for adults which is available from Amazon HERE!
This one was picked to be Top 3 at


Isn't it gorgeous! I just love this drawing combining the exotic reptiles with beautiful flowers and skulls. Please click on all the photos for a closer look at all the details!

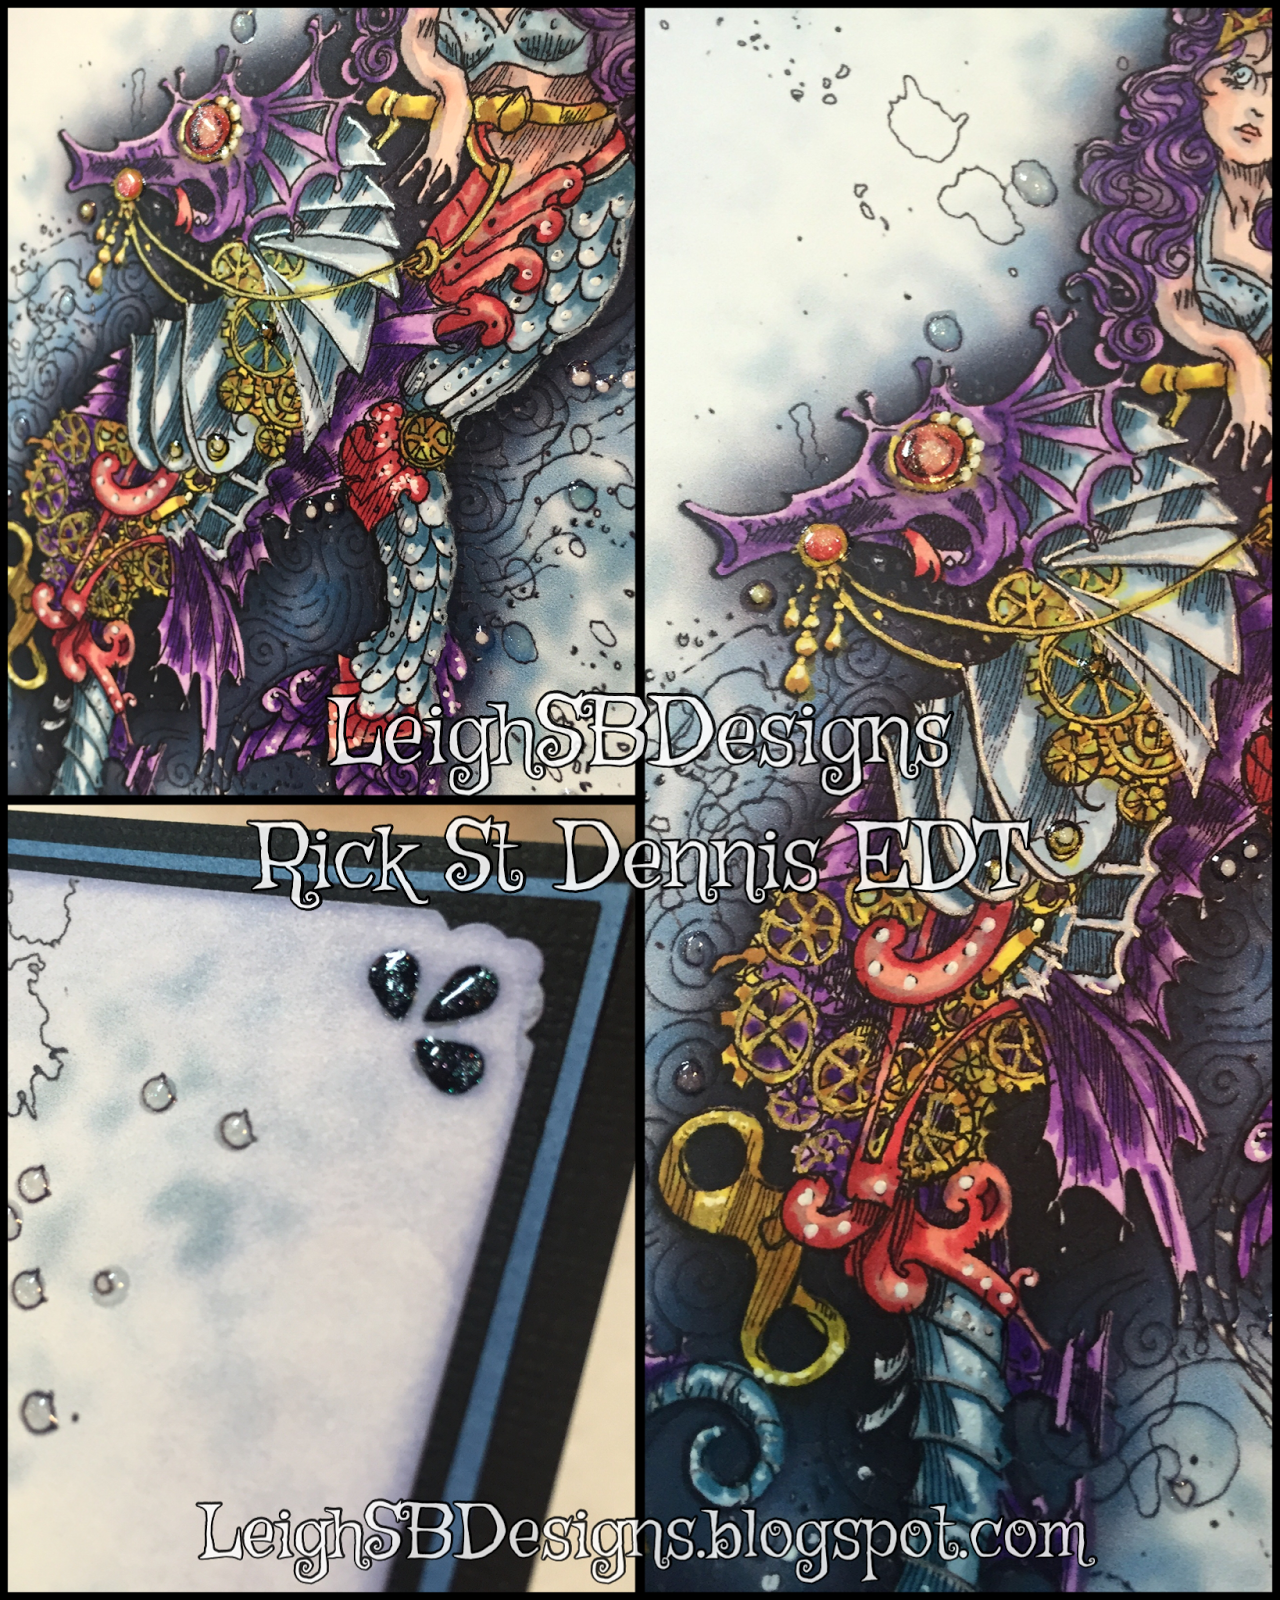
This was a freebie page that Rick shared on our Rick St Dennis Digi Fans and Friends Facebook group and I printed it out onto a full sheet of Neenah solar white cardstock and coloured the entire design with Copic markers with some light background shading around the design done with a black Prismacolor coloured pencil.

I then scanned it into Photoshop CS6, printed 3 copies out onto full sheets of Neenah cardstock and then the 3D fun began. This piece consists of 3 layers, the full base image and then 2 layers of fussy cut elements. Before assembling each layer I added highlights and little details with a white gel pen. I curled and rounded each element to further enhance the dimension of the piece and then adhered the elements in place with a combination of pop dots and Scotch quick dry adhesive. I mounted the finished project onto heavy black cardstock and now it's suitable for framing! Here's the finished piece showing the varying degrees of depth created by all the layers.
It's my turn to share some Rick St Dennis Elite Design Team inspiration today and I've got a large 3D art piece for you. I created this one with a colouring page from Rick St Dennis' "Tierras de los Muertos - Day of the Dead 2" colouring book for adults which is available from Amazon HERE!
This one was picked to be Top 3 at


This was a freebie page that Rick shared on our Rick St Dennis Digi Fans and Friends Facebook group and I printed it out onto a full sheet of Neenah solar white cardstock and coloured the entire design with Copic markers with some light background shading around the design done with a black Prismacolor coloured pencil.

I then scanned it into Photoshop CS6, printed 3 copies out onto full sheets of Neenah cardstock and then the 3D fun began. This piece consists of 3 layers, the full base image and then 2 layers of fussy cut elements. Before assembling each layer I added highlights and little details with a white gel pen. I curled and rounded each element to further enhance the dimension of the piece and then adhered the elements in place with a combination of pop dots and Scotch quick dry adhesive. I mounted the finished project onto heavy black cardstock and now it's suitable for framing! Here's the finished piece showing the varying degrees of depth created by all the layers.


Thank you for stopping by and I hope you enjoyed seeing my latest project!
This one is entered in:
Dark n Daring #1 Challenge Anything Goes
This one is entered in:
Dark n Daring #1 Challenge Anything Goes

THE SHARPIE DOMINO QUEEN